23 Small Kitchen Storage Ideas for Cabinets, Walls and Counters
Quick answer: The best small kitchen storage ideas use vertical space and hidden corners: wall rails, shelves, door racks, pull-out pantries, lazy Susans and drawer dividers. Store daily items within reach, bulky items high or low, and keep counters mostly clear. Edit what you own before you buy any new storage.
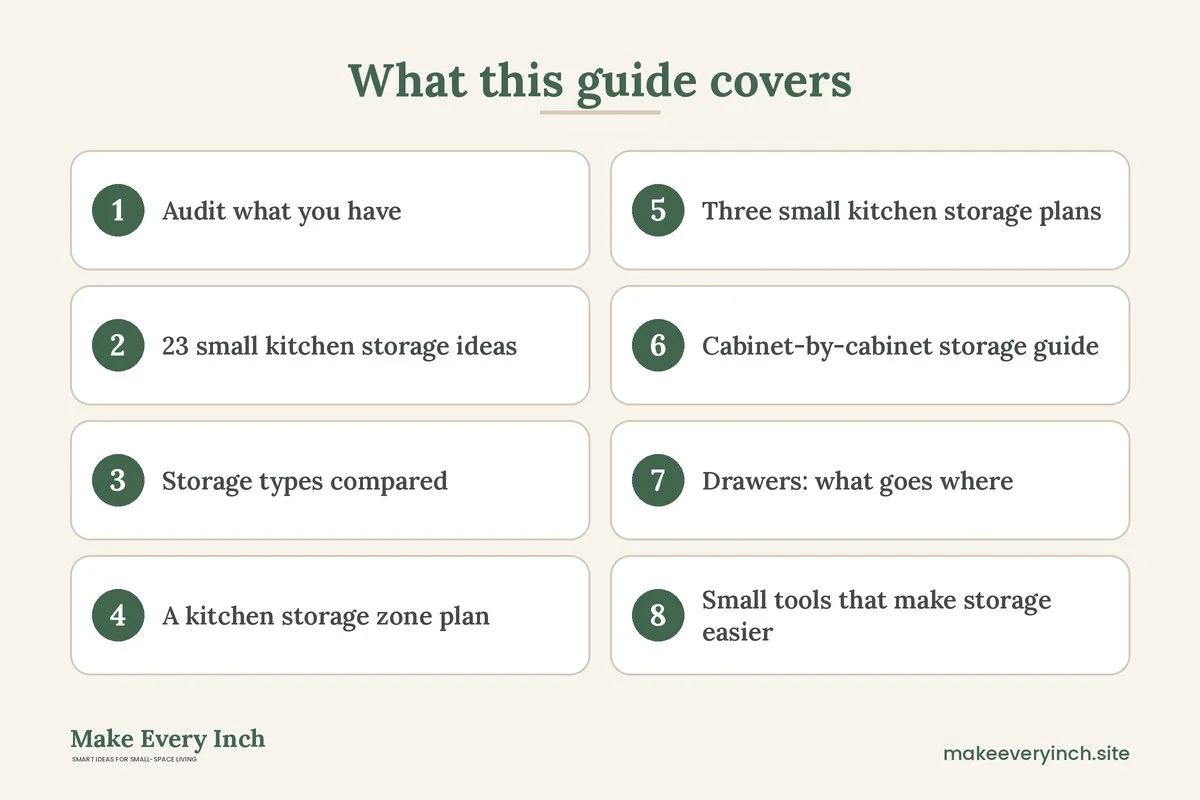
Small kitchen storage ideas work when they follow how you cook. If every pan, spice and plate has a spot within reach of where you use it, a small kitchen feels larger and easier. This guide shares 23 ideas, a zone plan, a table that compares storage types, three example kitchens, a renter section and a checklist so you can use every inch without clutter.
Audit what you have
Empty one cabinet or drawer at a time and sort the items into use daily, use weekly, use rarely and never use. Remove duplicates, broken items, expired food and gadgets that you forgot you owned. Donate or recycle what you do not use. Count what is left by category, such as pots, plates, glasses, food and tools. Knowing how many items you have helps you choose the right size of storage and prevents the common mistake of buying organizers that do not fit.
Measure the inside of each cabinet, including height, width, depth and the position of shelves. Measure the doors and drawers, and note which ones do not open fully. Draw a quick sketch with the numbers and keep it in your phone for shopping.
23 small kitchen storage ideas
1. Add a wall rail with hooks
A rail above the counter holds utensils, mugs, pots and small baskets. Place the heaviest items near the studs and keep the rail at about 60 inches from the floor.
2. Install a second shelf in cabinets
Most cabinets have too much empty vertical space. Add an adjustable shelf or a stackable rack to double the usable area.
3. Use door-mounted racks
Racks on the inside of cabinet doors hold lids, foil, wraps, spices and cleaning supplies. Choose slim models that do not hit the shelves.
4. Add a pull-out pantry
A narrow pull-out unit 6 to 9 inches wide fits beside the fridge or between cabinets and holds cans, bottles and jars.
5. Use a lazy Susan in corners
A turntable brings the back of a deep corner to the front. Use one for oils, spices or baking supplies.
6. Install drawer dividers
Dividers keep knives, spoons and tools in separate sections. Use a tiered insert for spices in a deep drawer.
7. Use a toe-kick drawer
A shallow drawer in the base of a cabinet stores baking sheets, trays and cutting boards that would otherwise take up shelf space.
8. Hang a magnetic strip
A magnetic strip holds knives, scissors and metal tools and frees up a drawer.
9. Mount floating shelves
Open shelves hold plates, bowls, jars and cookbooks. Use matching dishes and keep the shelves partly empty so they do not feel heavy.
10. Use the space above the cabinets
Baskets or boxes above cabinets hold seasonal items and serving platters. Keep light items on top and label each basket.
11. Use a tension rod under the sink
A rod under the sink holds spray bottles by the trigger, which frees up the floor of the cabinet for a bin.
12. Add a rolling cart
A narrow cart 12 to 16 inches wide holds food, tools or a small appliance. Use locking wheels and roll it out of the way when you do not need it. See kitchen ideas for layout tips.
13. Use stackable containers
Matching square containers hold dry goods and leftovers and stack neatly. Label each one with the contents and the date.
14. Use a can organizer
A tiered organizer or a rolling can dispenser keeps cans visible and easy to reach.
15. Add a pot lid organizer
A rack inside a cabinet or on the door holds lids upright and stops the avalanche of metal when you open the door.
16. Store pots and pans vertically
Use a dividers or a rack that holds pans on their sides, so you can pull out one without moving the rest.
17. Use the fridge top and side
A basket on top of the fridge holds light items, and magnetic hooks on the side hold towels and small tools.
18. Use a over-the-sink shelf
A shelf or rack above the sink holds dishes to dry, sponges and a small plant.
19. Use a corner shelf
A corner shelf or a wedge organizer fits into an awkward space and holds small jars or mugs.
20. Add a slim spice rack
Use a wall-mounted rack, a magnetic tin set or a drawer insert. Keep spices alphabetical or by cuisine and store them away from heat.
21. Use under-shelf baskets
Baskets that hang from a shelf use the empty space below and hold small packs, wraps and bags.
22. Use a hanging fruit basket
A tiered or hanging basket frees counter space and keeps produce visible and fresh.
23. Rotate seasonal items
Store holiday dishes, large platters and rarely used appliances in a different room or a high shelf. Swap them as needed.
Storage types compared
| Storage | Best for | Cost | Space gained | Installation |
|---|---|---|---|---|
| Wall rail | Utensils and mugs | Low | High | Drill or adhesive |
| Cabinet shelf riser | Plates and bowls | Low | Medium | None |
| Door rack | Lids and wraps | Low | Medium | Screws or hooks |
| Pull-out pantry | Cans and jars | Medium to high | High | Install in a gap |
| Lazy Susan | Corners | Low | Medium | None |
| Drawer divider | Utensils | Low | Medium | None |
| Floating shelves | Dishes and decor | Medium | High | Drill |
| Rolling cart | Food and tools | Medium | High | None |

A kitchen storage zone plan
Prep zone
Keep knives, cutting boards, mixing bowls and measuring tools in drawers and cabinets between the sink and the stove. A rail above the counter holds the most used tools.
Cooking zone
Store oils, spices, pots, pans and utensils near the stove, and keep a trivet and oven mitts on a hook. Choose heat-resistant containers and keep flammable items away.
Cleaning zone
Use the cabinet under the sink for cleaning supplies, trash and recycling. Hang a towel on the door and add a rack for sponges.
Food storage zone
Store pantry items in the cabinet beside the fridge or in a pull-out pantry. Use clear containers for dry goods, and put the oldest items at the front.
Serving zone
Keep plates, glasses and cutlery near the dishwasher or the table. A cart or a shelf near the dining spot holds trays and serving dishes.
Three small kitchen storage plans
Plan A: a 6 x 8 foot galley kitchen
Add a rail with hooks above the counter, an adjustable shelf in each cabinet, a pull-out pantry beside the fridge and a toe-kick drawer. Use a lazy Susan in the corner and door racks for lids and wraps.
Plan B: a studio kitchen with no pantry
Use a rolling cart for food, a tall shelf for dishes and a rack above the sink. Add a basket on top of the fridge and a magnetic strip for knives. Keep daily dishes in one cabinet and bulk items in stackable containers.
Plan C: a rental kitchen with limited cabinets
Use freestanding shelves, a rolling cart and adhesive hooks. Use a tension rod under the sink and a hanging organizer on the door. See small apartment kitchen ideas.
Cabinet-by-cabinet storage guide
The cabinet next to the stove
Keep oils, spices, cooking utensils and pots here, since you reach for them while cooking. Use a tiered spice rack on a shelf or on the door and a pull-out for oils. Keep items away from the stove heat and check that nothing blocks the oven door.
The cabinet next to the sink
Store dish soap, sponges, a drying rack and a trash bin. Use a tension rod for spray bottles and a slim organizer for sponges and brushes. Line the bottom with a mat to protect against leaks.
The cabinet near the dishwasher or table
Keep plates, bowls, glasses and flatware where you can unload and set the table with the fewest steps. Use shelf risers so you can stack plates safely. Choose a flatware tray with clear sections.
The upper cabinets
Keep lighter, less frequently used items here: serving dishes, cups, seasonal items and baking supplies. Use a step stool and label the shelf. Use door-mounted racks for foil, wraps and cutting boards.
The base cabinets
Keep heavy items, such as pots, pans, small appliances and bulk food, at the bottom. Use pull-out shelves or a rolling drawer so you can reach the back without kneeling. Add a divider for baking sheets and trays.
The pantry or food cabinet
Group by category: grains, cans, snacks, baking and breakfast. Use clear containers and risers so you see everything. Keep a bin for items that need to be used soon.
Drawers: what goes where
| Drawer | Contents | Organizer |
|---|---|---|
| Top drawer | Daily utensils, flatware | Tray with sections |
| Second drawer | Knives, peelers, scissors | Knife block or insert |
| Third drawer | Foil, bags, wraps | Box dividers |
| Deep drawer | Pots, pans, lids | Peg system |
| Junk drawer | Batteries, tape, keys | Small bins |
Sort the junk drawer first. Keep only what you use, throw away dead batteries and old menus and move tools to a toolbox. Use small bins to group items. A tidy junk drawer is a good sign that the system is working.
Small tools that make storage easier
A measuring tape, a label maker, a step stool and a set of adhesive hooks make most kitchen storage projects quick. Keep a small notebook for measurements, and use painter’s tape to mark where shelves will go. Buy organizers one at a time and test each before you buy more. Choose pieces in a consistent color and material, so the kitchen looks tidy even when it is full. Always check the weight limit on racks and hooks before you load them.
Renter-friendly kitchen storage
If you rent, avoid drilling and choose pieces that you can take with you. Use adhesive hooks rated for the weight of the item, freestanding shelves, rolling carts, over-the-door racks and tension rods. Use removable liners to protect shelves and adhesive strips for lightweight items. Keep the original shelves and hardware in a box if you change them. Read the lease and take photos of the kitchen before you start. See our renter bedroom ideas for a deposit-safe checklist.
Food storage tips for small kitchens
Use clear, airtight containers for flour, sugar, rice, pasta and snacks, and label them with the contents and the date. Store heavy items such as canned goods and bulk bags low, and light items such as cereal and snacks high. Keep daily items at eye level and put backup stock at the back or on the top shelf. Use shelf risers so you can see what is behind. Keep a list on the inside of a cabinet door, so you know what you have when you shop. Rotate older items to the front.
Keep storage working
A storage system only works if you maintain it. Spend ten minutes each week to put things back, wipe surfaces and check expiration dates. Once a month, review one cabinet or drawer and remove items you do not use. Each season, rotate seasonal items and clean the shelves. If a container is always empty, remove it. If a shelf is always overflowing, edit the items or add a shelf. Keep the system simple and make sure everyone in the household knows where things go.
Kitchen storage mistakes
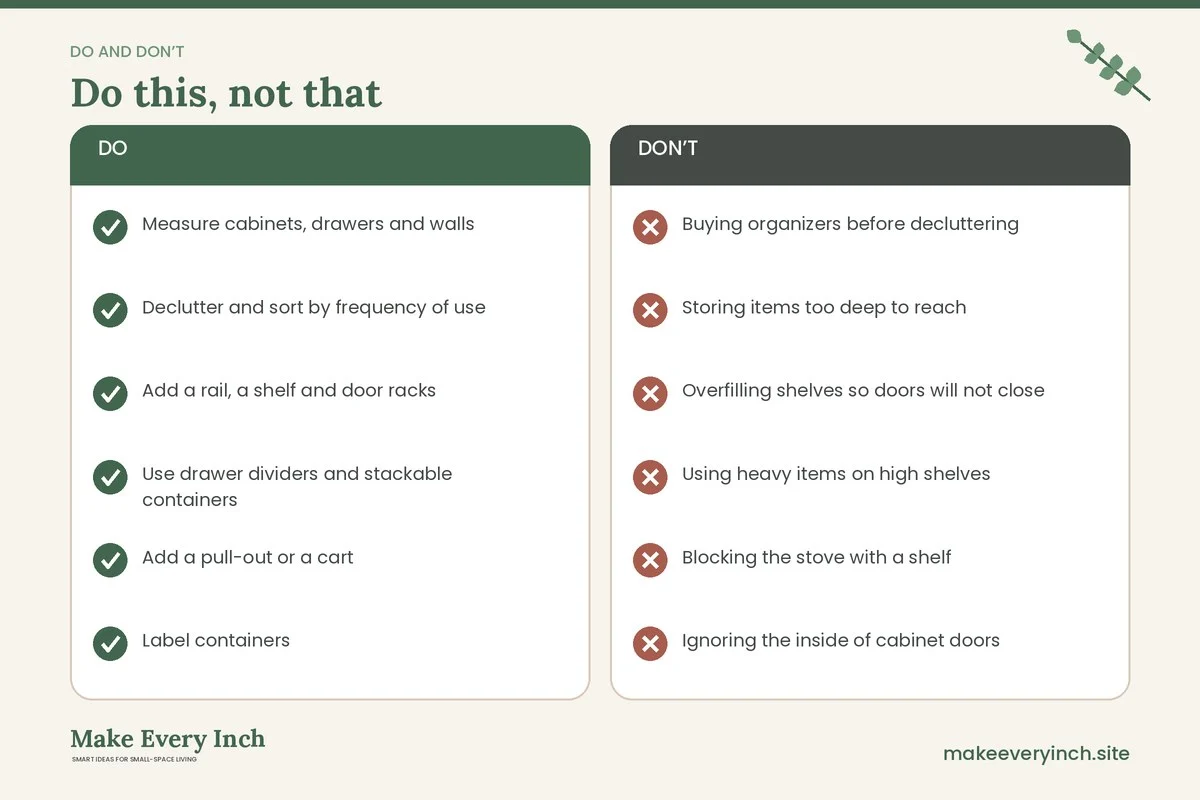
- Buying organizers before decluttering
- Storing items too deep to reach
- Overfilling shelves so doors will not close
- Using heavy items on high shelves
- Blocking the stove with a shelf
- Ignoring the inside of cabinet doors
- Storing food near the stove or sink where heat and moisture build up
- Forgetting trash and recycling
Finally, keep one drawer or shelf deliberately empty, so new items have somewhere to go and the system never overflows.
Once a month, wipe each shelf, check the dates on food and put anything you have not touched in a “use or lose” box for a week. Those ten minutes keep small kitchens from silently filling up again, and they remind you what you really use.
Think of kitchen storage as a living system. As your cooking habits change, move items to new spots and edit the containers. A kitchen that adapts to you stays organized for years and costs little to maintain. If you ever feel the system is breaking down, return to the audit step, empty one cabinet and start again.
Before you buy anything, tape the outline of each planned rack or shelf in place for a day and test it with your hands, since a rack that blocks a door swing can waste the whole idea.
Take one photo of every cabinet before you start and another once you finish; the comparison shows what the system gained and where to adjust.
If you want an easy test of your system, ask a friend to find a can of tomatoes, a spatula and a clean mug without help, and fix whatever slows them down.
A short walk through the kitchen once a month, with a basket for strays, keeps the whole system alive.
Write the date on your plan, and revisit it in three months to see what changed.
Storage checklist
- Measure cabinets, drawers and walls
- Declutter and sort by frequency of use
- Add a rail, a shelf and door racks
- Use drawer dividers and stackable containers
- Add a pull-out or a cart
- Label containers
- Keep daily items within reach
- Review the system each season
FAQ
How do I add storage to a small kitchen?
Use walls with rails and shelves, doors with racks, drawers with dividers and gaps with pull-outs or a cart.
What is the best storage for a kitchen with no pantry?
A rolling cart, a tall shelf or a pull-out pantry beside the fridge, plus stackable containers for dry goods.
How do I store pots and pans in a small kitchen?
Use a rail, a rack that holds pans on their sides or a drawer with dividers, and hang the ones you use most.
How can I store spices in a small kitchen?
Use a wall rack, a magnetic set, a drawer insert or a tiered organizer inside a cabinet.
What can I do with a corner cabinet?
Use a lazy Susan, a pull-out or a set of shelves that rotate so you can reach the back.
How do I keep the counters clear?
Store small appliances in cabinets, use a rail for tools and keep only items you use daily on the counter.
Is open shelving practical?
Yes, if you keep it tidy and use it for items you use often. Closed storage is better for items that look messy.
How can renters add kitchen storage?
Use adhesive hooks, freestanding shelves, a cart, tension rods and over-the-door racks.
Keep going: Explore our small kitchen ideas, small kitchen organization ideas and tiny kitchen ideas.
Save this guide for later
Pin the ideas you like to Pinterest so you can come back to them when you plan your space.