DIY Storage Ideas for Small Homes
Quick answer: The best DIY storage ideas for small homes start with no-skill projects, such as crate shelves, tension rods and jar racks, then move to bracket shelves, pegboards and rolling drawers, and finish with a platform bed or a fold-down desk. Match the project to your skill, check what your walls and lease allow, anchor anything tall and respect load limits.
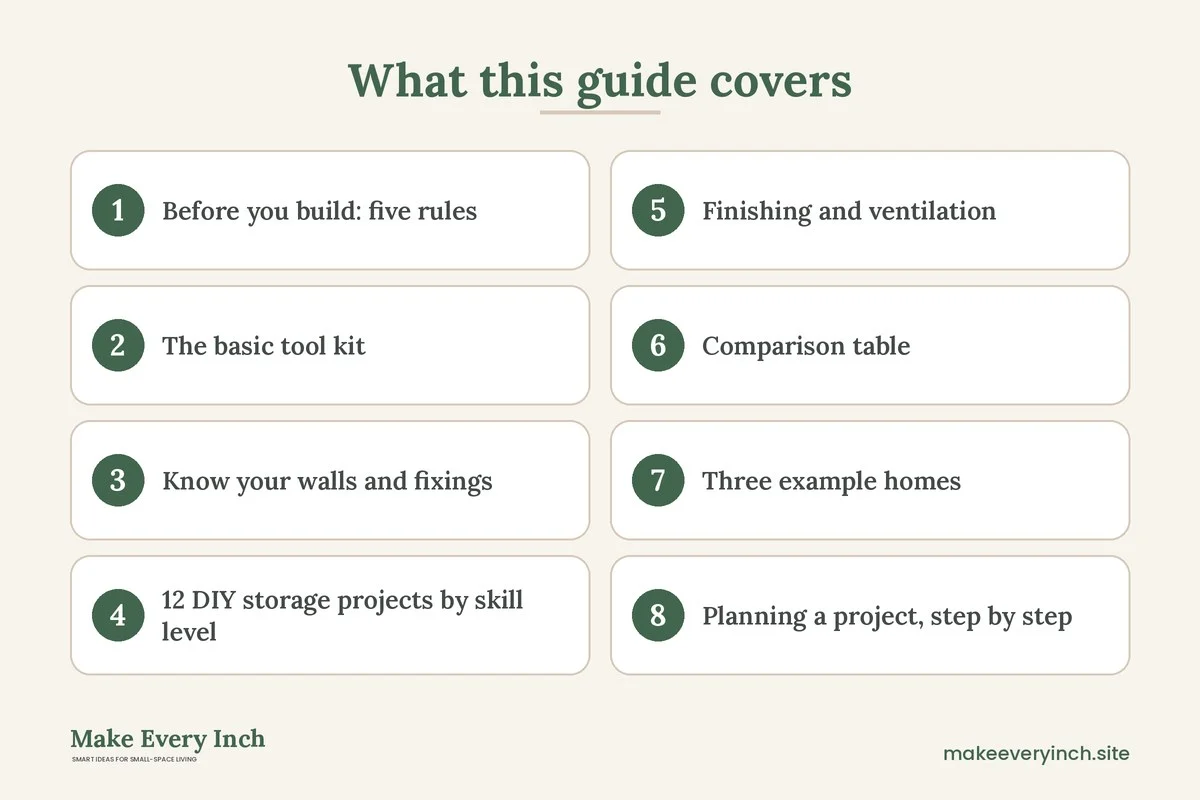
DIY storage ideas for small homes come with a trap: the project looks easy online, but the wall, the tools and the weight are not the same as in the photo. This guide sorts 12 projects by skill level, so you can pick one that matches what you can safely build. Each project has a materials list, steps, a hedged load limit and a note on what to watch for. It also covers the tool kit, wall types and fixings, finishing and ventilation, a comparison table, three example homes, a checklist and a FAQ. For the wider approach, see the pillar guides on small space organization ideas and budget small space ideas, and the companion post on small space decorating ideas on a tight budget.
Before you build: five rules
These five rules apply to every project below, and skipping them is how most DIY accidents happen.
- Get permission before you drill. If you rent, read the lease and ask in writing. Many leases ban holes, and some allow small ones that you fill at move-out. If permission is not clear, choose a freestanding or tension-based project. Our guide to no-drill storage ideas for renters covers those.
- Check what is inside the wall. Before drilling, look for pipes and electrical lines. A stud finder with a live-wire detector helps, but it is not perfect. Avoid drilling above or below outlets and switches, and do not drill near a bathroom or kitchen wall without checking where the plumbing runs.
- Anchor anything tall. A bookcase, a wardrobe frame or a tall shelf can tip, especially around children and pets. Fix it to a stud or use a suitable anchor, using the anti-tip hardware sold for this purpose.
- Respect load limits. Every shelf, hook and bracket has a rating, and a wall fixing is only as strong as the wall it sits in. Stay well below the stated limit, and spread the weight.
- Work safely. Wear eye protection when cutting or drilling, a dust mask when sanding and gloves when handling rough wood. Ventilate when you paint or varnish, and choose low-VOC products for a small space.
The basic tool kit
You can build most of these projects with a short kit. Buy or borrow only what you need for the project you have chosen.
- A tape measure and a pencil.
- A spirit level, or a level app as a second check.
- A cordless drill or driver with a set of bits for wood and masonry.
- A hand saw, or a store that cuts wood to size for you.
- A sanding block and sandpaper in medium and fine grades.
- A stud finder.
- Clamps, which act as a second pair of hands.
- A set of screwdrivers and a small hammer.
- Eye protection, a dust mask and gloves.
You can often borrow tools from a neighbor or a community tool library, which keeps costs low. Many hardware stores will cut boards to size for a small fee, which saves you from owning a saw.
Know your walls and fixings
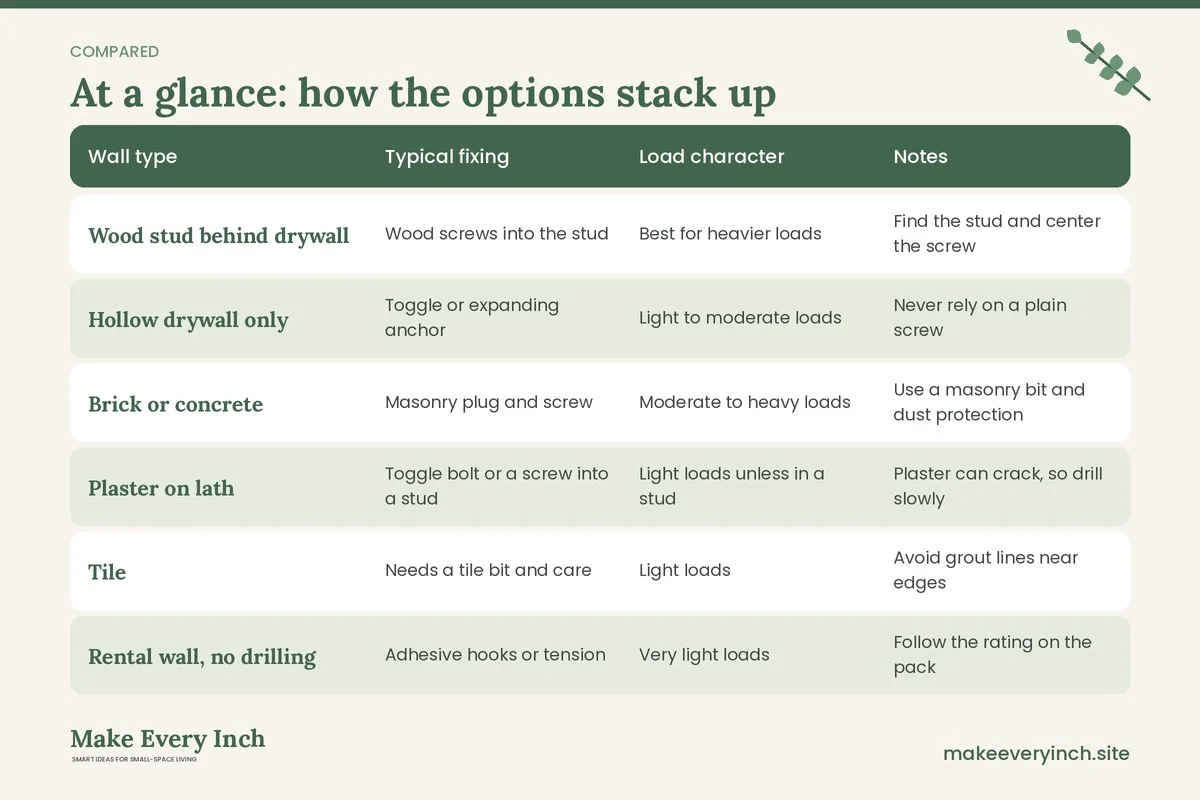
The wall decides how much a shelf can carry. Hedged guidance is given below, but always follow the fixing manufacturer’s instructions, and err on the side of less weight.
| Wall type | Typical fixing | Load character | Notes |
|---|---|---|---|
| Wood stud behind drywall | Wood screws into the stud | Best for heavier loads | Find the stud and center the screw |
| Hollow drywall only | Toggle or expanding anchor | Light to moderate loads | Never rely on a plain screw |
| Brick or concrete | Masonry plug and screw | Moderate to heavy loads | Use a masonry bit and dust protection |
| Plaster on lath | Toggle bolt or a screw into a stud | Light loads unless in a stud | Plaster can crack, so drill slowly |
| Tile | Needs a tile bit and care | Light loads | Avoid grout lines near edges |
| Rental wall, no drilling | Adhesive hooks or tension | Very light loads | Follow the rating on the pack |
Weights quoted by manufacturers assume ideal conditions, so treat them as a ceiling, not a target. A good habit is to load a shelf to about half of its stated rating and to keep heavy items low.
12 DIY storage projects by skill level
Beginner projects (no drilling, basic tools)
1. A crate shelf stack
Skill: beginner. Time: under an hour. Materials: two to four wooden crates or sturdy boxes, sandpaper, optional low-VOC paint or stain, felt pads.
Sand the edges until smooth. If you want a finish, paint or stain in a ventilated place and let it dry fully. Stack the crates on their sides, offsetting them for interest. Use strong wood glue or screws between crates if you want a fixed unit. Add felt pads to the base to protect the floor. For a tall stack, keep it to two or three crates, and place the heaviest items in the bottom crate.
Load limit: a sturdy crate may hold light to moderate loads, such as books or folded clothes, but check the corners and stay well below what feels strained. Do not stack higher than you can anchor, and keep tall stacks away from doorways.
2. A tension rod under the sink
Skill: beginner. Time: 10 minutes. Materials: a tension rod, S-hooks, and spray bottles or a small basket on a hook.
Measure the width of the cabinet under the sink. Fit a tension rod at the front, a little above the bottom. Hang spray bottles by their triggers on S-hooks. Keep the rod clear of pipes, and make sure the rod is snug.
Load limit: tension rods suit very light loads. Choose a rod rated for the weight, and avoid heavy bottles of cleaner.
Keep chemicals out of reach of children, and do not store them near heat.
3. A jar spice rack on a rail
Skill: beginner. Time: 30 minutes. Materials: small jars with lids, a wooden board or a magnetic strip, adhesive or screws, and labels.
Choose jars with metal lids if you use a magnetic strip, and glue a small magnet to the lid of non-magnetic ones. Mount the strip at eye level in a cupboard door or on a wall. If you cannot drill, stick a board inside the cupboard using strong double-sided tape that has a suitable rating. Label each lid and keep the jars light.
Load limit: light only, as the jars of spices weigh little. Check the strip’s rating before filling it.
4. Drawer dividers from shoe boxes
Skill: beginner. Time: 20 minutes. Materials: shallow boxes, a ruler, a craft knife, scissors and strong tape.
Measure the drawer. Cut the box lids to fit, or use the boxes whole. Arrange them in the drawer in a grid, with a use for each, such as socks or cables. Cut with the knife on a cutting mat, and keep your free hand behind the blade line. Replace the cardboard with wood or acrylic if the drawer is damp. See our guide to small home organization without buying bins for more ideas.
Load limit: not a structural concern, but do not overload a drawer beyond what its runners are meant to carry.
5. A hanging shoe pocket as a pantry or a closet organizer
Skill: beginner. Time: 15 minutes. Materials: an over-the-door pocket organizer or a length of sturdy fabric with pockets sewn on, and hooks.
Hang it over the back of a door. Use the pockets for small items such as snacks, scarves, cleaning cloths or hair tools. Check that the door still closes without catching, and distribute the weight evenly.
Load limit: light loads only. A door hinge and the top of a door can be strained by heavy items, so keep the pockets for small, light things. See our small shoe storage ideas for shoe-specific options.
Intermediate projects (some drilling, basic carpentry)
6. A simple bracket shelf
Skill: intermediate. Time: 1 to 2 hours. Materials: a board, two shelf brackets, screws, wall fixings suited to your wall, a pencil, a level.
Decide the height, and mark it with a pencil. Use a stud finder to locate a stud, or pick suitable anchors for your wall type. Hold a bracket in place, mark the holes, drill pilot holes and fix the bracket. Repeat on the other side, checking that both sit level. Place the board on top, and fix it through the bracket holes. Sand and finish the board in a ventilated space before mounting.
Load limit: loads vary widely with the bracket, the board and the wall. In a stud, a well-made shelf may carry a fair amount of books, but in plain drywall with anchors it may carry far less. Follow the ratings on the pack and keep heavy items near the brackets.
Only drill with permission, and check for pipes and wires first. See renter-friendly shelving if you cannot.
7. A pegboard wall
Skill: intermediate. Time: 2 to 3 hours. Materials: a pegboard panel, spacers or wood strips, screws and anchors, hooks, small baskets and shelves for the board.
Cut the panel to size, or have a store do it. Fix wood strips to the wall behind the board so that hooks have room to sit. Screw through the panel into the strips and into the studs where possible. Hang hooks and baskets, and arrange them to suit what you store. Paint the panel before mounting, in a ventilated place and with low-VOC paint.
Load limit: the board is only as strong as its fixings, and hooks are typically rated for light loads. Keep heavy tools on lower hooks and avoid overloading a single hook.
Wear a dust mask when cutting the panel, since the dust is fine.
8. A rolling under-bed drawer
Skill: intermediate. Time: 2 hours. Materials: boards for a shallow box, four casters, screws, wood glue, sandpaper, a handle or a rope pull.
Measure the gap under the bed, and allow for the caster height. Build a shallow box, with a base, four sides and an optional lid. Glue and screw the corners, and let the glue set. Attach a caster at each corner, with the screws short enough that they do not poke through. Add a handle at the front. Choose casters that lock if the floor is slick, or that are soft if the floor is easily marked. See our guide to under-bed storage ideas for more.
Load limit: casters carry a stated weight each, and you add them up and keep well below the total. For clothes, bedding and shoes, the loads are generally light.
Round the corners so that they do not scrape shins.
9. A slim rolling cart
Skill: intermediate. Time: 3 hours. Materials: two vertical boards, three or four shelf boards, casters, screws, glue, a handle.
Cut two side panels and three or four shelves, about 6 to 8 inches deep for a narrow gap, such as the side of a fridge. Fix the shelves between the sides with screws and glue, check for square with a measuring tape across the diagonals, and add casters at the base. Add a lip on each shelf to stop items sliding. Add a locking caster if the cart sits on a slope. See also our guide to best rolling kitchen carts if you would rather buy.
Load limit: keep the load light to moderate, with heavy items low. A tall, narrow cart can tip, so avoid reaching high on a loaded cart.
10. A fabric hanging organizer for a closet
Skill: intermediate. Time: 2 hours. Materials: sturdy fabric, a sewing machine or fusible tape, a wooden dowel, cord and hooks.
Cut fabric into a long panel, and hem the edges. Fold up the lower third to make pockets, and stitch the sides. Add a sleeve at the top for the dowel. Hang it from the closet rod or from hooks fixed to the closet wall. Use it for sweaters, shoes or accessories. For more closet ideas, see our small closet organization ideas.
Load limit: light loads, such as clothes and accessories. Heavy shoes can pull the stitching, so reinforce the seams.
Advanced projects (precise carpentry, anchoring)
11. A platform bed with drawers
Skill: advanced. Time: a weekend. Materials: framing lumber, plywood sheets, drawer slides or casters, screws, wood glue, sandpaper, low-VOC finish, drawer fronts and pulls.
Plan the footprint around your mattress. Build a sturdy base frame, with cross supports at regular intervals, and make sure the frame is square. Add a plywood top. Build the drawer boxes to slide into the base, using drawer slides or casters. Test the fit before finishing. Sand and finish the wood in a ventilated space and let the finish cure before sleeping on the bed. If the frame is heavy, ask a friend to help lift it.
Load limit: a bed carries body weight, so design it with a wide safety margin, support at the center and no weak joints. If you are not sure of the structure, have it checked by an experienced builder or buy a bed with storage. See best beds with storage.
Never skip the cross supports.
12. A fold-down wall desk with shelves
Skill: advanced. Time: a weekend. Materials: plywood for the desk and the cabinet box, a heavy-duty hinge or fold-down bracket, a support leg or chains, wall fixings suited to your wall type, screws, finish.
Build a shallow cabinet box that mounts on the wall, with shelves inside. Attach the desk surface to the bottom with a hinge, and fit a support leg or chain so that the desk stays level when open. Find the studs and mount the box into them using long screws, with the load spread across several. Test with light weight first, and increase slowly.
Load limit: a fold-down desk takes a leveraged load, which puts more strain on the fixings than a shelf does. Use rated hardware, mount into studs and keep the top for a laptop and light items. If the wall is not solid, do not build this project.
This project needs drilling and must be approved if you rent. See our list of best desks for small apartments for non-drilled options.
Finishing and ventilation
Raw wood can splinter, absorb stains and look unfinished. A finish seals the wood and makes it easier to clean. For a small home, the important question is air.
- Choose low-VOC or water-based products. They give off fewer fumes than solvent-based ones. Read the label and follow the directions.
- Work in a ventilated place. Open windows, use a fan to move air out and consider working outdoors or in a garage.
- Let the finish cure. Drying and curing are different. Keep the piece out of the bedroom until the smell has gone.
- Sand lightly between coats for a smooth surface, and wipe off the dust.
- Dispose of rags safely. Rags soaked in some oil finishes can heat up as they dry. Lay them flat outside to dry, or follow the guidance on the product.
- Protect your lungs. Use a suitable mask when sanding and when spraying.
If you want a quick finish, a clear water-based sealer, a coat of low-VOC paint or a wax is often enough.
Comparison table: which project suits which job
| Project | Skill | Drilling | Best for | Load character |
|---|---|---|---|---|
| Crate shelf stack | Beginner | No | Books, toys, shoes | Light to moderate |
| Tension rod under sink | Beginner | No | Spray bottles | Very light |
| Jar spice rack | Beginner | Optional | Spices, craft supplies | Very light |
| Shoe box dividers | Beginner | No | Drawers | Light |
| Door pocket organizer | Beginner | No | Small items | Light |
| Bracket shelf | Intermediate | Yes | Books, plants | Light to moderate |
| Pegboard wall | Intermediate | Yes | Tools, craft, kitchen | Light |
| Rolling under-bed drawer | Intermediate | No | Bedding, off-season clothes | Light to moderate |
| Slim rolling cart | Intermediate | No | Gaps beside appliances | Light to moderate |
| Fabric closet organizer | Intermediate | Optional | Sweaters, accessories | Light |
| Platform bed with drawers | Advanced | No | Bedroom storage | Heavy, structural |
| Fold-down wall desk | Advanced | Yes | Work nook | Moderate, leveraged |
Three example homes
A rental studio with a no-drill lease
The tenant has about 350 square feet and a lease that bans holes. The plan uses projects 1, 2, 4, 5 and 8. A crate stack beside the sofa holds books and works as a side table. A tension rod under the sink keeps sprays off the floor. Shoe box dividers sort the drawers. An over-door pocket organizer takes small items, and a rolling drawer under the bed stores bedding. Nothing goes into the walls. When the lease ends, everything moves to the next place. For ideas on keeping a rental safe, read security deposit safe apartment upgrades.
A one-bedroom with a landlord who allows small holes
The owner agrees to small, filled holes, so the plan adds projects 6 and 7. A bracket shelf goes into a stud above the desk, and a pegboard in the kitchen holds pots, utensils and a spice rack. The tenant uses a stud finder, checks for wires and fits anchors in the sections without studs. The heavy items sit low, and the lightest items go on the top row. The tenant keeps the receipts and takes photos for the move-out check. See hidden storage ideas for ways to tuck away what remains.
A small house with a skilled DIYer
The owner has tools and time, so the plan includes project 11, a platform bed, and project 12, a fold-down desk in the spare room. The bed frees a whole wardrobe worth of space. The desk turns a corner into an office that folds into a cabinet when work ends. Both are anchored, with the structure reviewed by a more experienced friend before use. The house gains storage without losing floor. See best furniture for small apartments if you want to compare with ready-made options.
Planning a project, step by step
A little planning prevents a lot of waste.
- Define the job. Write down what you need to store, how much it weighs and how often you reach for it.
- Measure the space. Measure width, height and depth, and note door swings, outlets and radiators.
- Sketch the project. A rough drawing with measurements shows the cuts you need and the materials to buy.
- Make a cut list. List every piece, with the length and width. Add a small allowance for error.
- Buy a little extra. Screws, sandpaper and a spare board save a second trip.
- Dry-fit before you fix. Put the pieces together without glue or screws, and check that they fit.
- Pre-drill holes near the edge of a board to prevent splitting.
- Test with a light load and increase slowly, watching for creaks and sags.
- Check again after a week, since screws can loosen and shelves can bow.
Materials: smart and low-cost choices
Cost depends on where you live and what you choose, so think in terms of relative cost.
- Reclaimed wood and pallets are often free or very low in cost, though they need inspection. Avoid boards that were treated with chemicals, have an unknown history or show stains. Sand them well.
- Plywood is a common choice for boxes and shelves because it is stable and strong for its weight. Thicker sheets resist sagging.
- Solid pine is a moderate-cost option that is easy to cut and paint.
- Particle board and fiberboard are the lowest in cost, but they sag under load and swell when wet. Use them for light loads only.
- Secondhand furniture can be taken apart for its boards, hardware and drawer slides.
- Hardware often costs more than wood, so reuse screws, brackets and casters where it is safe.
Buying a few good fixings is usually a better use of money than buying more wood. Quality hardware is what keeps a shelf on the wall.
Common DIY storage mistakes
- Skipping the stud. A shelf loaded on plain drywall can pull out. Find a stud or use a suitable anchor.
- Ignoring tipping. A tall unit that is not anchored can fall. Always secure it.
- Overloading. Heavy books on a thin shelf will bow it. Reduce the load or add support.
- Building too deep. A shelf deeper than the items it holds wastes space and hides things.
- Forgetting the door swing. A cart or a cabinet that blocks a door is a daily annoyance.
- Using the wrong fixings. The screw that came in the box is not always the right one for your wall.
- Not asking the landlord. A hole without permission can cost you your deposit.
- Rushing the finish. Fumes and wet paint in a small home are unpleasant and can be unhealthy.
- Hiding clutter instead of removing it. A new unit does not remove the need to edit. See decluttering rules for small homes.
Project checklist
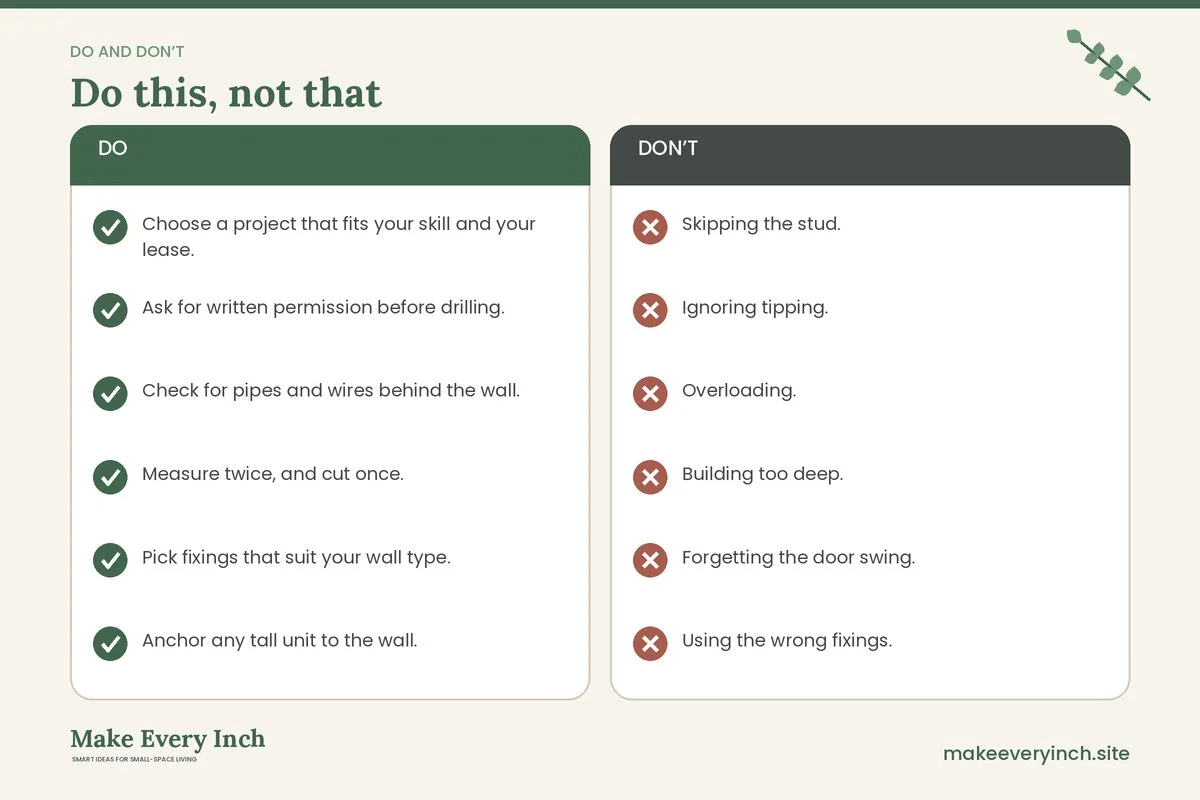
- Choose a project that fits your skill and your lease.
- Ask for written permission before drilling.
- Check for pipes and wires behind the wall.
- Measure twice, and cut once.
- Pick fixings that suit your wall type.
- Anchor any tall unit to the wall.
- Stay well below load ratings, and keep heavy items low.
- Wear eye protection, gloves and a mask.
- Finish in a ventilated space with low-VOC products.
- Let the finish cure before use.
- Test with a light load first.
- Check the fixings again after a week.
FAQ
What is the easiest DIY storage idea for a small home?
A crate shelf stack, a tension rod under the sink and shoe box drawer dividers need basic tools or none and involve no drilling.
Can I build DIY storage in a rental?
Yes, if you pick no-drill projects or get written permission. Freestanding units, tension-based ideas and rolling pieces leave no marks.
How much weight can a DIY shelf hold?
It depends on the board, the brackets and the wall. A shelf fixed into studs can carry more than one on plain drywall with anchors. Follow the ratings on the hardware, stay well under them and keep heavy items low.
Do I need to anchor a DIY bookcase?
Yes, if it is tall or could tip. Use anti-tip hardware into a stud or a suitable anchor, especially with children or pets in the home.
What paint or finish is safest in a small home?
Low-VOC or water-based products are a better choice for small spaces. Ventilate well and let the finish cure before using the piece.
Is it cheaper to build or buy storage?
It depends on the materials and tools you already have. Building can cost less and fit better, while buying saves time and offers rated hardware. For ready-made options, see our guide to cheap storage ideas for apartments.
Where should I start?
Start with one beginner project in the room that frustrates you most. Use it for a week, and plan the next one from what you learn.
Keep going: Keep building with our guides to small space storage furniture, vertical storage ideas and small home storage ideas for every room.
Save this guide for later
Pin the ideas you like to Pinterest so you can come back to them when you plan your space.