21 DIY Apartment Upgrades You Can Do Without Special Skills
Quick answer: The easiest DIY apartment upgrades are painting with permission, swapping cabinet hardware, adding freestanding shelves, re-caulking a tub, hanging a curtain rod, laying peel-and-stick tile, lining drawers and refreshing cabinet doors. Get written permission for anything permanent, turn off the breaker before touching a fixture and call a pro for wiring, plumbing leaks or suspected lead paint.
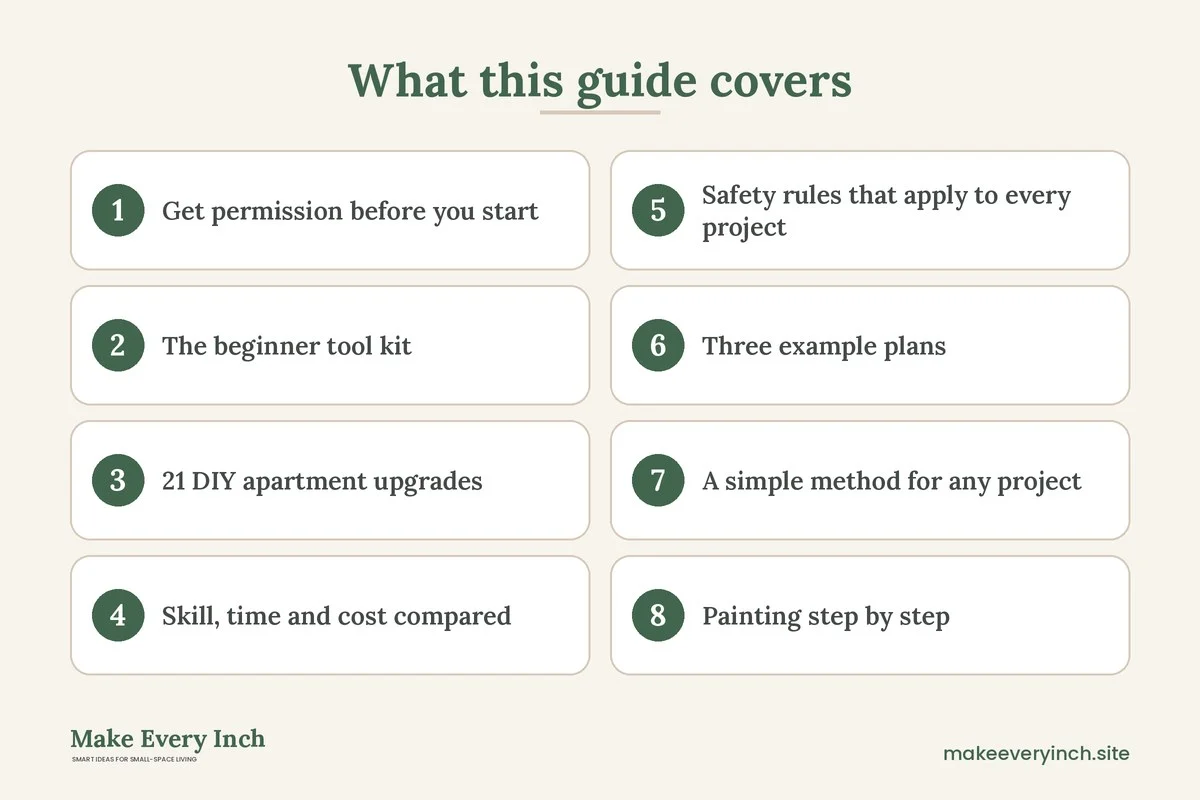
DIY apartment upgrades do not require a workshop, a truck or years of practice. They require a short list of basic tools, a clear plan and respect for the lease. Most beginners can paint a room, swap a handle, caulk a seam or build a simple shelf in an afternoon, and the result often looks like a much bigger renovation. This guide lays out 21 projects in order of difficulty, with a tools list, a skill, time and cost table, three example plans, a method for each job, safety rules and a clear guide to when a professional is the smarter choice. If you rent, begin with our hub on renter-friendly apartment decorating ideas and read the permission section below before you pick up a brush.
Get permission before you start
Many leases ban painting, new fixtures and anything attached to the structure. Others allow it if you ask, or if you restore the original at move-out. Read the clause, then email your landlord or property manager with a short description of what you plan to do, the colors or products, and whether you will reverse it. Save the written reply.
Photograph the room before you start, including ceilings, trim, cabinet interiors and any damage that already exists. Label a box for original hardware. If your landlord says no to permanent work, choose projects from this guide that are reversible, and see security deposit safe apartment upgrades for more options.
The beginner tool kit
You can do nearly every project here with a short list. Many items cost about $5 to $30 each, and some can be borrowed from friends or a local tool library.
- Cordless drill and driver with a basic bit set, about $40 to $90 if you do not own one
- Screwdrivers, a small adjustable wrench and pliers
- Tape measure, pencil and a small level
- Painter’s tape, drop cloths, a roller, a brush and a paint tray
- Putty knife and lightweight spackle
- Caulk gun, silicone or acrylic caulk and a caulk removal tool
- Utility knife with fresh blades
- Stud finder and a voltage tester, so you know what is behind a wall and whether power is off
- Safety glasses, work gloves and a dust mask or respirator suited to the job
21 DIY apartment upgrades
Easiest: no tools or permission worries
1. Line drawers and shelves
Cut non-adhesive liner to fit and lay it flat. It takes about 20 minutes, costs roughly $8 to $20 and hides worn surfaces. Nothing is attached, so you can remove it at move-out.
2. Hang a curtain rod and panels
A rod mounted just outside the window frame and a pair of panels make a window look taller. Use wall anchors rated for the load, or a tension rod where drilling is banned. Plan on an hour and about $30 to $80 total.
3. Add drawer and cabinet organizers
Trays, dividers and risers cost about $10 to $40 and turn chaos into zones. Measure the interior first, and buy the sizes that fill the space.
4. Put felt pads under everything
Felt pads on chair legs and furniture bottoms stop scratches and noise. A pack costs about $3 to $8, and the job takes ten minutes.
Easy: basic hand tools
5. Swap cabinet knobs and pulls
A screwdriver is enough, and a new set costs roughly $10 to $40 for a kitchen. Measure the distance between screw holes on existing pulls so replacements fit without new holes. Keep the originals in a labeled bag.
6. Refresh cabinet doors without painting
Contact paper, a new handle and a clean door can transform a flat cabinet. Test the paper in a corner, since some finishes lift on removal. Expect about $15 to $40 and a couple of hours.
7. Lay peel-and-stick floor or wall tile
Clean the surface, plan the layout from the center and press each tile firmly. Cost runs about $1 to $4 per square foot depending on quality, and a small area takes one afternoon. Check the lease, since adhesive can mark certain surfaces. See temporary backsplash ideas for removable options.
8. Add tile stickers over a worn backsplash
Printed tile stickers are thinner than full tile and cover cracked or dated tile for about $15 to $50. Clean and dry the surface, and apply with a flat card to push out bubbles.
9. Replace a toilet seat
A soft-close seat costs about $20 to $50, installs with a screwdriver in about 15 minutes and fits most standard bowls. Check whether your bowl is round or elongated before you buy.
10. Install a new shower head
A wrench, plumber’s tape and ten minutes get you a better spray for about $15 to $40. Hand tighten first, then a quarter turn, and keep the old head for move-out.
11. Swap switch plates and outlet covers
A screwdriver and about $5 to $15 get you cleaner plates. Turn the breaker off first and test the outlet with a voltage tester, even though you only touch the cover.
Medium: practice helps
12. Paint a wall or a room
Painting is the best value upgrade in this guide, at about $30 to $70 per room for paint, tape and supplies. Wash, patch, sand lightly, tape, cut in edges, then roll in a W shape. Allow a full day, plus drying time between coats. Pick a washable finish for kitchens and bathrooms.
13. Paint an accent wall
One wall in a darker tone adds depth and costs about $25 to $45. Use painter’s tape pressed down firmly and pull it off while the paint is slightly wet.
14. Paint cabinet doors and drawer fronts
Remove the doors, label them, degrease, lightly sand, prime and paint with a durable enamel. This takes a weekend, mostly for drying, and costs about $60 to $120 with materials. Get permission, since painted cabinets are hard to reverse.
15. Re-caulk a tub, sink or backsplash seam
Remove old caulk with a removal tool, clean with rubbing alcohol, tape both sides and apply a thin bead of kitchen and bath silicone. Smooth with a gloved finger, remove the tape and let it cure for the time on the label. Cost is about $8 to $20, and a small tub takes an hour or two.
16. Patch small holes and dents
Press lightweight spackle into the hole, scrape flat, wait to dry, sand lightly and touch up. A kit costs about $6 to $15, and the job takes under an hour plus drying time.
17. Install a floating shelf with proper anchors
Find studs when possible, drill pilot holes, use a level and choose anchors rated for the load. Permission matters here, because holes are permanent. A shelf and hardware cost about $20 to $60, and the job takes an hour.
18. Build a simple freestanding bookcase from lumber or a kit
A basic ladder or box shelf needs a saw cut at the store, a drill and wood glue or screws. Materials run about $40 to $120. It stays put without wall damage and moves with you. See cheap storage ideas for apartments.
Needs extra care
19. Replace a light fixture, only with permission and power off
Switch the breaker off, confirm with a voltage tester and take photos of the wiring before disconnecting. A basic fixture costs about $25 to $80. If you see aluminum wiring, cracked insulation or confusing wires, stop and call an electrician.
20. Replace a faucet
A kitchen or bathroom faucet costs about $40 to $120 and takes two to four hours for a first-timer. Close the shutoff valves first, have a bucket ready and photograph the old setup. Shutoffs that will not turn, or old corroded pipes, are a stop-and-call sign. Always ask the landlord, because plumbing is usually theirs to approve.
21. Build a window seat or storage bench from a kit
A kit bench or a box with a hinged lid costs about $60 to $150 and holds blankets or shoes. It needs only a drill and level, and it sits on the floor without fixing to walls. See small space storage furniture for ideas.
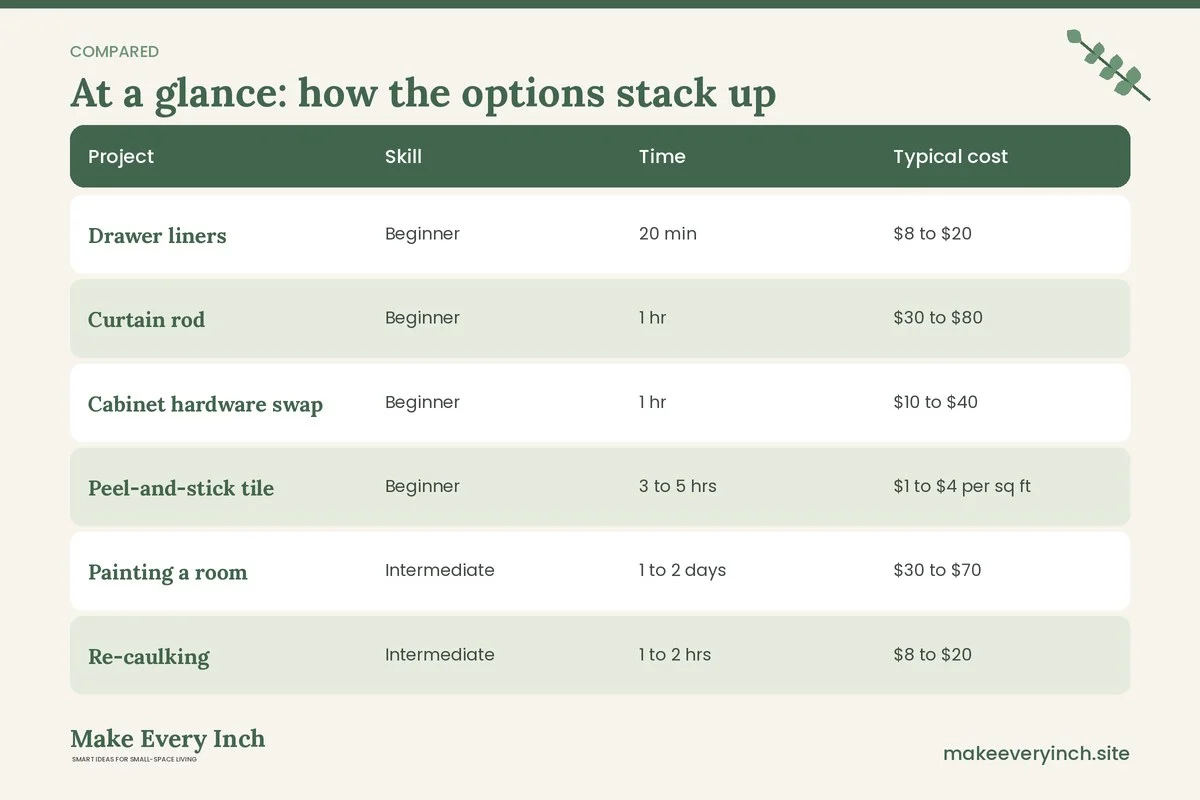
Skill, time and cost compared
| Project | Skill | Time | Typical cost | Reversible |
|---|---|---|---|---|
| Drawer liners | Beginner | 20 min | $8 to $20 | Yes |
| Curtain rod | Beginner | 1 hr | $30 to $80 | Mostly |
| Cabinet hardware swap | Beginner | 1 hr | $10 to $40 | Yes |
| Peel-and-stick tile | Beginner | 3 to 5 hrs | $1 to $4 per sq ft | Partly |
| Painting a room | Intermediate | 1 to 2 days | $30 to $70 | With repaint |
| Re-caulking | Intermediate | 1 to 2 hrs | $8 to $20 | N/A |
| Floating shelf | Intermediate | 1 hr | $20 to $60 | With patching |
| Painted cabinets | Intermediate | 1 weekend | $60 to $120 | Hard |
| Light fixture | Careful | 1 to 2 hrs | $25 to $80 | Yes, if kept |
| Faucet | Careful | 2 to 4 hrs | $40 to $120 | Yes, if kept |
Safety rules that apply to every project
Turn off the power at the breaker
For any fixture, switch plate or outlet job, flip the breaker, then test with a non-contact voltage tester before touching a wire. Do not rely on the wall switch alone, since it may only break one of the wires.
Ventilate when you paint, caulk or use adhesives
Open windows, run a fan that pulls air out and take breaks. Choose low-VOC paint when possible, and keep children and pets out of the room until it dries.
Check for lead paint in older buildings
Homes built before 1978 may contain lead-based paint. Do not sand, scrape or heat old paint on trim, windows or doors until you know it is safe. Ask the landlord, who is required in the US to share known information on lead paint, and consider a certified test or a certified renovator for disturbing paint. Wet-wipe dust, and never dry-sand.
Protect your body and the building
Wear glasses, gloves and a dust mask, and use a ladder on a flat surface. Do not cut into walls without knowing what is behind them, since pipes and wires run in unexpected places.
Know when to hire a pro
Call a licensed professional for wiring changes, a leaking supply line, anything that smells of gas, mold larger than a small patch, structural walls, or any task where you cannot clearly answer what happens if it goes wrong. In a rental, many of these jobs belong to the landlord anyway, so report them instead of fixing them yourself.
Three example plans
The weekend refresh for about $120
Paint one living room wall, swap cabinet pulls in the kitchen and line the drawers. Add a curtain rod and panels. On Saturday you paint, on Sunday you finish the hardware and hang the curtains. The apartment feels new without any structural change.
The kitchen face-lift for about $200
Degrease and paint cabinet doors, replace the pulls, re-caulk the sink edge and lay tile stickers over a tired backsplash. Plan three days because of drying time. See our budget small kitchen makeover for the full path.
The no-permission plan for about $80
For a renter who cannot alter anything, build a freestanding bookcase from a kit, add felt pads, lay shelf liners, add organizers and install a tension rod curtain. Every piece leaves with you.
A simple method for any project
Step 1: Plan and measure
Write down the finished result, measure twice and list the materials. Check the lease and take photos.
Step 2: Prepare the surface
Clean, dry and patch. Most failures, from peeling paint to bubbling stickers, come from skipped preparation.
Step 3: Test small
Try paint, adhesive or caulk in a hidden spot. Let it dry and see how it behaves.
Step 4: Work in stages
Finish one section before starting another, and keep your work area tidy. Put tools back after each stage so you do not lose small parts.
Step 5: Clean up and photograph
Dispose of old caulk, paint and solvents according to local rules, and photograph the finished work. Keep receipts and manuals in one folder.
Painting step by step
Painting makes the biggest difference, and mistakes are fixable. Move furniture to the center and cover it with drop cloths. Wash walls with mild soap, rinse and let them dry. Fill holes, sand them smooth and wipe off dust. Tape the trim and cut in along the ceiling and corners with a brush. Roll with moderate paint on the roller, working in sections of a few feet and keeping a wet edge. Apply a second coat after the time listed on the can. Remove the tape at a low angle, and do not wait until the paint is fully hard. Wash brushes right away. If you must return the walls to white, take a sample chip and photos so the match is easy.
Budget guide
Under $50
Liners, felt pads, hardware, a small caulk job and a tension rod.
About $100 to $150
A room of paint, a curtain rod set, new pulls and a toilet seat.
About $200 and up
Cabinet painting, a faucet, a shelf kit and a light fixture, if the landlord approves.
For more ways to stretch a small budget, see small apartment decor under $100.
Mistakes to avoid
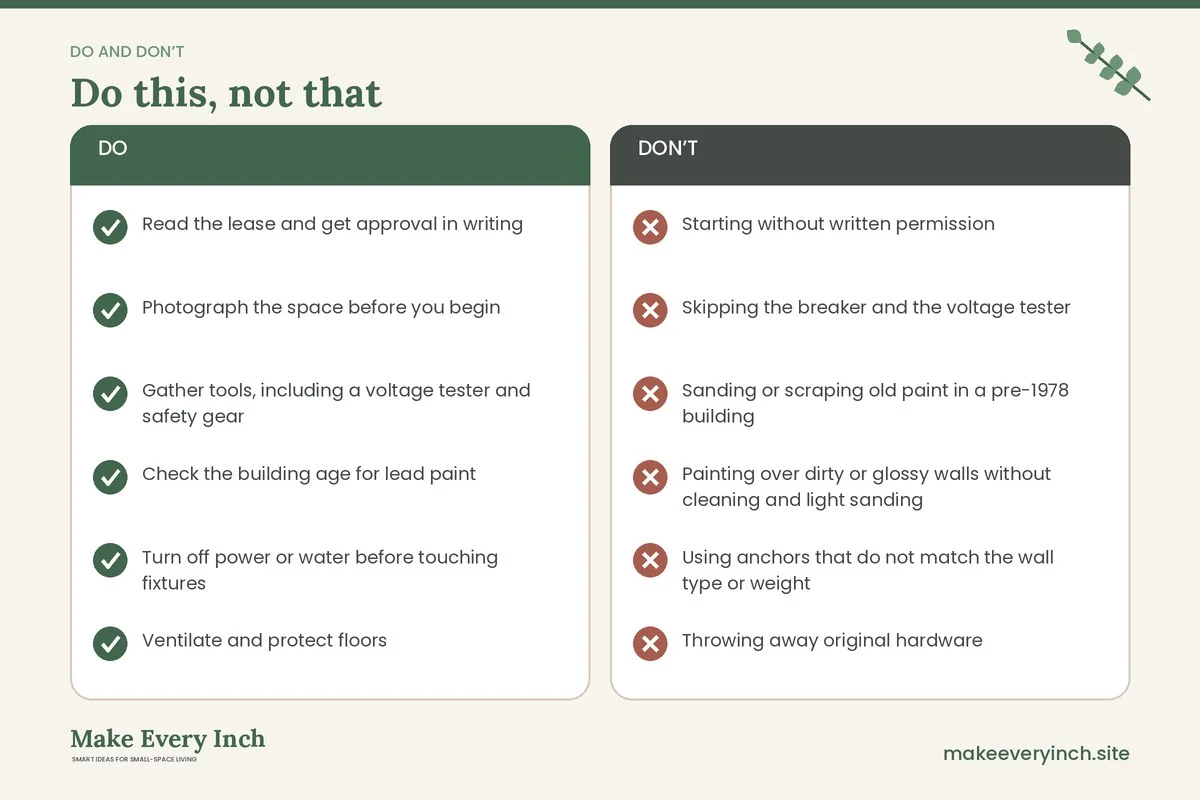
- Starting without written permission
- Skipping the breaker and the voltage tester
- Sanding or scraping old paint in a pre-1978 building
- Painting over dirty or glossy walls without cleaning and light sanding
- Using anchors that do not match the wall type or weight
- Throwing away original hardware
- Rushing the drying time
- Taking on plumbing or wiring beyond your comfort
DIY apartment upgrades checklist
- Read the lease and get approval in writing
- Photograph the space before you begin
- Gather tools, including a voltage tester and safety gear
- Check the building age for lead paint
- Turn off power or water before touching fixtures
- Ventilate and protect floors
- Test products in a hidden spot
- Save original parts in a labeled box
- Clean up and dispose of materials properly
- Photograph the finished work
FAQ
What are the easiest DIY apartment upgrades for beginners?
Drawer liners, cabinet hardware, a curtain rod, felt pads and a freestanding shelf need only basic tools and little practice.
Can I paint my apartment?
Only if the lease allows it or the landlord approves in writing. Some require you to repaint to the original color at move-out.
Can I change light fixtures in a rental?
Usually only with permission, and always with the breaker off and a voltage tester. Keep the original fixture so you can reinstall it.
How do I know if my building has lead paint?
Buildings built before 1978 may have it. Ask the landlord for records, and use a certified tester or a certified professional before sanding or scraping.
What tools do I need to start?
A drill, screwdrivers, a tape measure, a level, a putty knife, painter’s tape and safety gear cover most projects.
How long does a beginner room painting take?
Plan one to two days, including prep, two coats and drying.
Are peel-and-stick tiles removable?
Often, but adhesive strength varies by product and surface. Test a small area and warm tiles with a hair dryer when removing.
When should I call a professional?
For wiring beyond a simple swap, plumbing leaks, mold, gas smells and structural work, and in a rental, report these to the landlord.
Keep going: Next, explore renter-friendly apartment decorating ideas, budget renter upgrades and cheap storage ideas for apartments.
Save this guide for later
Pin the ideas you like to Pinterest so you can come back to them when you plan your space.