Small Laundry Room Ideas Before and After: 3 Makeover Plans to Copy
Quick answer: A small laundry room before after makeover works best when you plan in this order: safety checks, layout, vertical storage, then looks. Measure first, read the appliance manuals for clearances, keep the dryer vent and lint filter clear, store chemicals high or latched, and ask permission before drilling. Then add a shelf, a folding surface, a sorting system and one finish like paint or a curtain.
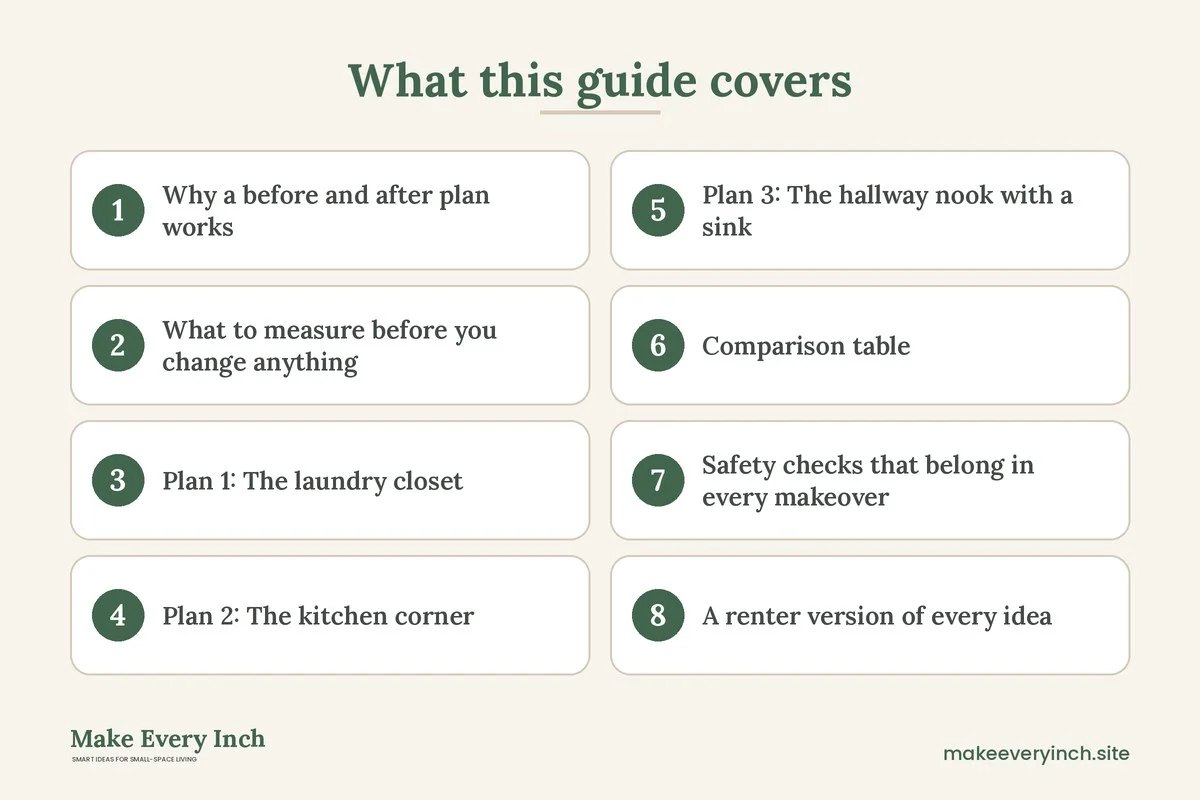
A small laundry room before after story usually starts with the same picture: a washer and dryer wedged into a corner, a pile of baskets, a bottle of detergent balanced on a lid and a floor nobody can see. The after picture is rarely about a big renovation. It is about a few decisions made in the right order. This guide describes three makeover plans you can copy, each for a different kind of small laundry space. It covers the planning steps, the measurements to take, a table of what changes in each plan, safety checks, a renter version of every idea, a checklist and a short FAQ. Think of the plans as templates, not exact recipes. Your room will have its own quirks. For the full overview of the topic, start with our pillar guide on small laundry room ideas. If you want to avoid pitfalls while you work, our companion post on small laundry room mistakes to avoid is a good second read.
Why a before and after plan works
Makeovers fail when people start with the finish. They buy a pretty basket or a roll of wallpaper, then discover that the dryer cannot breathe, that the shelf blocks the lid or that the basket does not fit anywhere. A before and after plan keeps you honest. You document the starting point, choose a small number of changes and measure the result against the goals you set. It also gives you proof of condition if you rent, which protects your deposit.
Here is the sequence that works for almost any laundry space.
- Photograph the room. Take wide shots from the doorway, close-ups of the vent, the water connections, the outlets and the shutoff valves.
- Write down the pain points. Where do you trip? What do you reach for most? Which tasks take longest?
- Measure everything. Width, depth and height of the room, the appliances, the doors and the gaps around them.
- Read the manuals. Look for clearance, venting, stacking and surface-use guidance.
- Check the lease. Know what you may change without permission.
- Choose three changes. Not ten. Pick the ones that solve the pain points.
- Fix safety items first. Then storage, then look.
What to measure before you change anything
Measurements decide whether a plan works. Write these down in a notebook or phone note, and keep them with the photos.
- Room width, depth and ceiling height. For a closet, measure the opening and the inside separately.
- Appliance sizes. Width, depth and height, including the control panel and the open door.
- Gaps. Space behind the dryer for the vent connection, space at the sides and any gap between machines.
- Door swings. Mark them with painter’s tape. Check the swing of the room door and of each appliance door.
- Shelf zones. Note the height of the top of the machines, the open lid height on a top-loader and the highest comfortable reach in your household.
- Outlets and water. Note where they are, and which are close enough to the sink or washer to need GFCI protection.
Clearance numbers vary. A manual may ask for a few inches behind a dryer, a small gap at the sides and some space above, but each model is different, and your vent may need more. Use the manual as the source, not a general article, including this one.
Plan 1: The laundry closet
Before
A stacked washer and dryer live in a hallway closet behind a pair of folding doors. Detergent and softener sit on the washer lid. A hamper blocks the doors. Cleaning supplies and spare light bulbs occupy any gap. The closet gets hot and smells slightly damp after a load. There is nowhere to fold.
The changes
Step 1: Clear the airflow. Remove everything from around the dryer. Check the manual for clearances. Clean the lint filter and the area around it. Look at the vent hose where you can see it, and report anything crushed, disconnected or heavily blocked to the landlord or a qualified technician.
Step 2: Open the door. If the doors allow it, leave them open while the dryer runs so that heat and moisture can leave the closet. A louvered door may help if the building and lease allow the change.
Step 3: Use the wall above the stack. There is usually a gap above the dryer. A narrow shelf can sit there, if the machines leave enough clearance and the shelf is anchored. If you rent and cannot drill, a freestanding unit that straddles nothing and sits next to the stack on the floor may work better. Anchor tall pieces with the hardware the maker recommends, if the lease allows the fixing.
Step 4: Use the back of the doors. An over-the-door organizer holds small items, if the door has the strength and the hinges are not stressed. Hooks can hold a lint brush and a drying bag. Keep chemicals out of reach in a latched bin on the highest shelf.
Step 5: Add a fold zone outside the closet. Where the closet has no space, a wall-mounted drop-leaf shelf in the hallway, or a slim console, can serve as a fold area. A rolling cart parked next to the closet and pushed back in when not in use does the same.
Step 6: Add the finish. A coat of low-VOC paint on the walls, a set of matching baskets and a label for each shelf. Ventilate the area while painting and let the paint cure before closing the door on a hot dryer.
After
The closet now has clear airflow, a shelf for detergent that is out of reach of small hands, an organizer on the door and a folding spot in the hall. The hamper has moved to the bedroom, split into compartments for sorting. The result is a closet that opens in seconds, closes without a fight and looks like it was planned.
Plan 2: The kitchen corner
Before
A single front-loader sits beside the refrigerator, with a stacked dryer above it. The counter near the machines is covered with mail and plates. The vent is hidden behind stored bags. Detergent shares a shelf with food. The room is part of a living area, so the laundry is always on show.
The changes
Step 1: Separate chemicals from food. This is the most important change in a kitchen corner. Move detergent, bleach and stain removers to a latched cabinet or a high shelf away from food, children and pets. Keep them in original containers with labels and closed caps. Never mix cleaners.
Step 2: Clear the vent path. Remove bags, boxes and other storage from around the dryer and its vent. Follow the manual for clearances, and do not hang any fabric or screen so that it blocks the air.
Step 3: Make a fold surface on the counter. If a counter sits beside the machines, clear it and make it the fold zone. Add a tray for items in progress, so the surface can be wiped clean after folding.
Step 4: Conceal without trapping. A curtain on a tension rod or a sliding panel can hide the machines. Only use it if it stays open or breathable while the dryer runs, and keep it away from vents and heat. A washable cotton curtain is easy to maintain. Do not use anything that touches the dryer or covers its vent opening.
Step 5: Add vertical storage. A narrow shelf or a wall rail beside the machines holds a few baskets. If drilling is not allowed, use a freestanding tower with a firm base, anchored according to its instructions. For more ways to use wall space in a kitchen, see our post on small kitchen ideas.
Step 6: Add a drying plan. A wall-mounted or folding rack for air-drying gives a place to hang delicate items without tying up the dryer. Place it where drips will not reach outlets, and wipe the floor under it.
After
The corner looks like part of the kitchen. A curtain hides the machines when they are not in use, and it parts easily on laundry day. The chemicals are locked away from food. The counter works as a fold zone and then returns to being a counter. The vent is clear. The only visible additions are a single shelf and two matching baskets.
Plan 3: The hallway nook with a sink
Before
A small nook off a hallway holds a washer, a dryer side by side and a utility sink. The floor is bare concrete and often damp. A tangle of hoses and cords sits behind the machines. The shelves are open and filled with paint cans, cleaning products and spare parts. A power strip hangs near the sink.
The changes
Step 1: Handle the water and electric risks. Find the shutoff valves and make sure everyone in the home knows where they are. Check the supply hoses for bulges and cracks. Replace the power strip near the sink with a protected, permanently installed outlet if needed. Ask your landlord or a licensed electrician about GFCI protection near water. Do not change wiring yourself.
Step 2: Keep the floor dry. Add a washable mat in front of the machines. Do not put cardboard boxes or fabric baskets on a damp floor. If dampness is persistent, report it. It could point to a leak or to a humidity problem.
Step 3: Sort the shelves. Remove everything. Group items into laundry, cleaning and tools. Move paints and solvents to a place that suits their labels, away from heat and from children, and follow local disposal rules for what you no longer need.
Step 4: Install a stable shelf. A shelf over the machines should have proper support. Check what the wall is made of, locate studs, use anchors rated for the load and ask permission if you rent. The shelf should sit above the open lid height and be easy to reach.
Step 5: Use the sink. A utility sink is a big advantage. A cover board can turn it into a fold surface, but only if it is stable and clearly removable when you need the sink. A hanging rod above it handles dripping items.
Step 6: Add light. A battery-operated or plug-in light under the shelf makes the nook easier to use, but keep it away from water and heat, and use a fixture rated for the space.
After
The nook now has a clear floor, dry baskets on shelves, a labeled system and a protected outlet. The machines have space to breathe and the sink does double duty. There is no visible tangle, and the wall above the machines holds what the household uses weekly.
Comparison table: what changes in each plan
| Area | Closet plan | Kitchen corner plan | Hallway nook plan |
|---|---|---|---|
| Main goal | Airflow and a fold spot | Hide and separate from food | Dry floor and safe power |
| Biggest safety fix | Clear dryer clearance | Lock away chemicals | Check GFCI and shutoffs |
| Storage move | Door organizer and high shelf | Slim tower and counter tray | Anchored shelf above machines |
| Fold surface | Hall shelf or cart | Counter | Sink cover or wall leaf |
| Looks upgrade | Matching baskets and paint | Curtain on a rod | Mat, light and labels |
| Renter option | Freestanding pieces | Tension rod and tower | Mat, cart and freestanding rack |
| Effort | Low | Low to medium | Medium |

Safety checks that belong in every makeover
Whatever your plan, these checks go first.
- Dryer clearance and venting. Follow the manual. Do not block the vent, crush the hose or end the vent inside a closed cupboard.
- Lint. Clean the filter after each load and check the area around it.
- Water. Know where the shutoff valves are. Inspect hoses and connections.
- Electricity. Keep cords and power strips away from water. Ask about GFCI protection near wet areas.
- Stacked machines. Only stack models designed for it, with the correct kit, and secure them as the manuals say. Washers vibrate and are heavy.
- Shelves. Anchor shelves into studs or with correct anchors, or secure freestanding units according to the instructions. Keep heavy items low.
- Chemicals. Store in original containers, closed, high or latched. Never mix cleaners. Ventilate when using strong products.
- Paint. Use low-VOC paint where possible, ventilate and follow the can’s cure time.
- Permission. Check the lease. Never drill without permission.
A renter version of every idea
You can create a convincing before and after without a single hole.
- Shelving: use a freestanding shelf, a rolling cart or a tension-rod shelf in a closet. See our guide to renter friendly shelving ideas without drilling.
- Hooks: use over-the-door hooks and adhesive hooks rated for light items. Never trust them with a heavy load.
- Wall color: try peel-and-stick panels on a small area, if the lease allows, or leave the walls alone and change the baskets, curtain and mat.
- Lighting: a plug-in or battery light does the job without wiring.
- Folding: a wall-leaf shelf needs fixings, so choose a freestanding table or a cart instead.
- Drying: a freestanding or door-hung rack gives you air-drying without nails.
For more renter strategies, see our posts on no-drill storage ideas for renters and renter friendly apartment decorating ideas. If funds are tight, the guide to budget small space ideas shows how to spread changes over time.
How to document your own before and after
A good record helps you plan, and it supports any conversation with a landlord.
1. Take the before photos. Use the same three angles you will use for the after photos: the doorway, a corner and a close-up of the machines.
2. Keep the measurements. Put them in a note next to the photos.
3. Make a list of changes. Tick each one off as you go.
4. Take the after photos. Same angles, same light.
5. Keep a short log. Write down the date you cleaned the vent, replaced a hose or moved a chemical shelf.
6. Share the plan. Tell everyone in the household where things now live, especially where chemicals are kept.
Finish ideas that do not cost much effort
Once safety and storage are done, a few finishing touches make the room feel intentional.
- A cohesive set of containers. One material and two sizes look better than many different ones.
- Labels. Clear labels reduce guesswork and help guests, children and partners put things back.
- A single accent. One color on a door, a curtain or a basket. Keep it away from heat sources.
- Good light. Brighter light makes small rooms feel larger and makes stains easier to spot.
- A mat. A washable mat protects the floor and gives the eye a place to rest.
- Art or a sign. A framed print or a small shelf with a plant, if the room is not too humid and the plant is safe for pets.
Common questions about makeovers
How long does a small laundry makeover take?
A basic plan with a clear-out, a shelf and a fold surface can fit into a weekend. Anything involving paint, new fixtures or an electrician takes longer. Plan around drying times and the availability of a professional if you need one.
Should I paint first or organize first?
Clear the room and fix safety items first, then paint, then organize. Painting around a full room of baskets is a hassle, and wet paint near a running dryer or washer is a poor combination.
Can I put a shelf directly above the dryer?
Only if the manual and the shelf position leave enough clearance and the shelf is firmly anchored. Do not obstruct vents or controls, and keep flammable items away from heat.
What is the easiest first change?
Clear the area around the dryer and clean the lint filter. It costs nothing and it addresses the most important risk.
What if I cannot drill into the walls?
Use a freestanding shelf or a rolling cart, a tension-rod system or an over-the-door organizer. Anchor tall pieces as the manufacturer advises, and ask your landlord about alternatives.
How do I keep the room from sliding back into clutter?
Assign each item a home, label the home and do a five-minute reset after each laundry day. A visible limit, such as a single basket for loose items, keeps it from growing.
Your own before and after checklist
- Photographed the room from three angles
- Measured the room, appliances, doors and gaps
- Read the manuals for clearance, venting and stacking
- Checked the lease for drilling and appliance rules
- Cleared the area around the dryer and cleaned the lint filter
- Located the water shutoff valves and checked the hoses
- Checked outlets near water for GFCI protection
- Moved chemicals high or into a latched cabinet
- Anchored any tall shelf or secured freestanding units
- Chosen a folding surface
- Set up a sorting system
- Added one finish: paint, curtain, mat or baskets
- Took after photos from the same angles
Final thoughts
The most satisfying before and after is usually not the one with the biggest change. It is the one where the room works better on an ordinary Tuesday. The machines have room to breathe, the chemicals are safe, the floor is clear and there is a place to fold. Choose the plan closest to your own space, change it to fit, work in the right order and take your own photos. A small room rewards patience and careful measuring more than it rewards spending.
Keep going: Keep going with our guides to small laundry room ideas, small laundry room mistakes to avoid and small space organization ideas.
Save this guide for later
Pin the ideas you like to Pinterest so you can come back to them when you plan your space.