How to Create a Work Zone in a Small Apartment
Quick answer: To create a work zone in a small apartment, follow four steps. Choose a spot using light, outlets, noise and sightlines. Define its boundary with a rug, a shelf, a screen or a lamp. Equip it with only what the work needs, at a comfortable height. Then end each day with a shutdown ritual that hides or covers the zone, so the apartment returns to home mode.
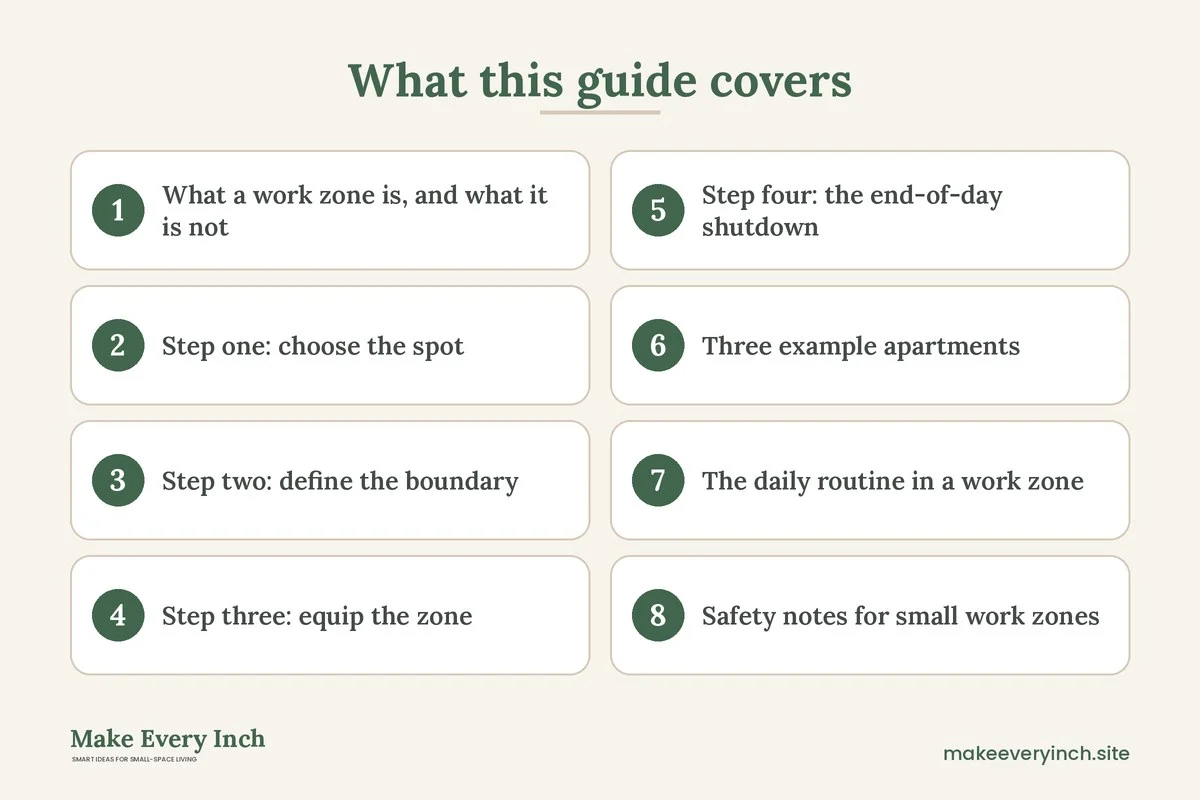
Learning how to create a work zone in a small apartment is mostly a process, not a shopping list. When one room does everything, work leaks into rest, and rest leaks into work. The laptop on the sofa becomes the laptop in bed, and the dining table becomes a permanent pile of paper. A work zone is a small area with a clear edge, a short list of tools and a start and end routine, so that you can switch on and switch off. This guide walks you through the four steps in order: choosing a spot, defining the boundary, equipping the zone and shutting it down at the end of the day. It also covers a spot-comparison table, three example apartments, a daily routine, the safety points and a checklist. For the wider room ideas, read our pillar guide on small home office ideas. For the cord side of the setup, our companion post on small home office cable management ideas goes into the audit, labeling and power strip safety.
What a work zone is, and what it is not
A work zone is not a room. It is not necessarily a desk, either. It is a defined area of your floor plan that your brain learns to associate with work. The area can be as small as a 24 by 48 inch corner or as large as a wall of a studio. The key features are the same:
- A fixed location. You go to the same place each time.
- A visible edge. Something marks where the zone starts and stops.
- A short tool list. Only the things you need for work live there during work hours.
- A start and end ritual. A small set of actions begin and finish the day.
This differs from a general “home office” article in one way. It treats the zone as something you set up and then shut down. The shutdown matters as much as the setup, and most guides skip it. In a small apartment, where you see your workspace from your bed or your sofa, the shutdown is what stops the apartment feeling like an office all evening.
Step one: choose the spot
Walk the apartment with a notebook and a tape measure. Score each candidate spot on the factors below, and pick the one with the best overall score, not the one that looks best in a photo.
Factor 1: daylight and glare
Sit in each candidate spot at the time of day you usually work. Notice where the sun falls. A desk facing a window gives you the view but can cause glare on the screen. A desk placed side-on to the window gives light without the glare. A desk with its back to the window can put a shadow on your work and reflections on the screen. If you have no good daylight, plan for a lamp with a diffuse light, and read our post on small living room lighting ideas for light layers that also work in a work corner.
Factor 2: power
Check how close the nearest outlet is. A spot within a few feet of an outlet saves you from long extension runs. Avoid running cords across walkways. If the best spot has no outlet nearby, think about whether another spot would work, because an extension cord across a room is a trip and clutter risk. Do not overload outlets or daisy-chain power strips. Our guide to cable management explains how to check a strip’s load.
Factor 3: noise and traffic
A work zone next to the front door, the kitchen or the TV gets interrupted. Choose a spot with a low traffic count, or one where your back faces the traffic so you are not distracted by every movement. If you share the apartment, decide who uses which area and when.
Factor 4: sightlines and the “off” view
Look at what you see from the zone. A view of the bed, the dishes or the laundry makes it harder to focus. A view of a wall, a window or a plant helps. Think too about the reverse. From the sofa or bed, how much of the zone can you see? If you can see the laptop and papers from bed, your brain may keep working. Choose a spot that you can hide or turn away from.
Factor 5: the footprint
Measure the space. A desk for laptop work needs about 24 inches of depth and 36 to 48 inches of width. You need about 30 inches of clear floor behind the chair to sit and stand, and a path of at least 30 inches to the zone. If you cannot fit those, look at foldable or shelf-based options, such as in our guide to how to fit a desk into a studio apartment.
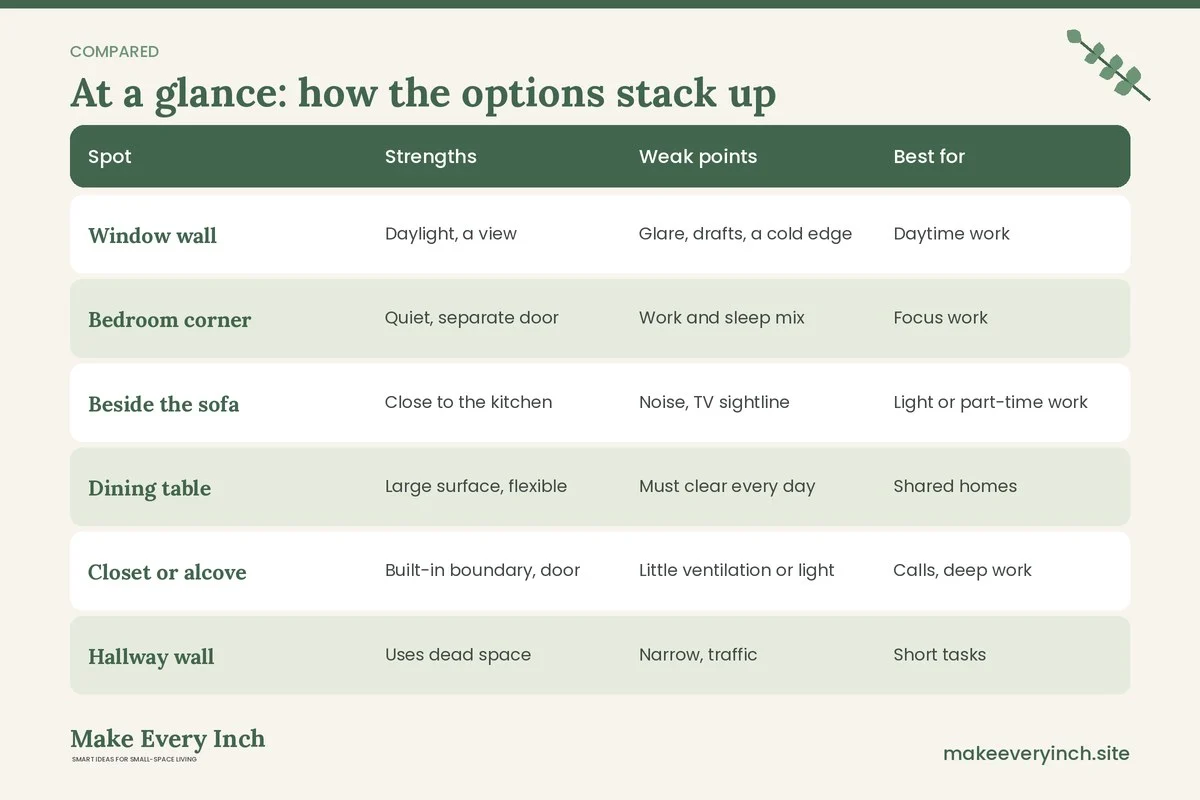
Spot comparison table
| Spot | Strengths | Weak points | Best for | Shutdown difficulty |
|---|---|---|---|---|
| Window wall | Daylight, a view | Glare, drafts, a cold edge | Daytime work | Easy, with a curtain or a closed laptop |
| Bedroom corner | Quiet, separate door | Work and sleep mix | Focus work | Harder, needs a cover or a screen |
| Beside the sofa | Close to the kitchen | Noise, TV sightline | Light or part-time work | Medium |
| Dining table | Large surface, flexible | Must clear every day | Shared homes | Easy, with a box |
| Closet or alcove | Built-in boundary, door | Little ventilation or light | Calls, deep work | Easy, close the door |
| Hallway wall | Uses dead space | Narrow, traffic | Short tasks | Easy, with a fold-down top |
| Entry nook | Near outlets | Noise, door drafts | Part-time work | Medium |
If your best candidate is a bedroom, read our posts on small bedroom ideas with a desk and small bedroom desk ideas, which deal with the mix of work and sleep in detail.
Step two: define the boundary
A zone only works if you can see where it ends. In a small apartment, the boundary should be light, cheap and easy to move. It also should not block light, air or a fire exit.
Use the floor
A rug under the desk and the chair marks the zone with no hardware. Choose a rug that lets the chair roll, such as a flat weave, or use a chair mat on top. Make sure the edges lie flat and do not catch on wheels or feet.
Use furniture
A low bookcase or a console placed at right angles to the wall makes an edge. It also stores your supplies. If it is tall, anchor it to the wall as the maker instructs, with the landlord’s permission if it means drilling, and keep heavy items low. A freestanding open shelf lets light through, while a closed cabinet blocks the view of the work. Our post on small space organization ideas shows ways to store supplies in the same piece.
Use a screen or a divider
A folding screen, a curtain on a tension rod or a hanging panel hides the zone when you are off work. Lightweight screens suit renters, since they do not need drilling. Keep a screen away from heaters, candles and other heat sources, and choose a stable base. For ideas on partitions, our post on DIY room divider ideas for studio apartments gives several budget options, and renter-friendly ways to divide a studio apartment covers those that leave no marks.
Use light and color
A lamp that you turn on only in work hours marks the zone in time as well as space. A different color temperature, a little cooler than the rest of the home, helps. Use a warm light elsewhere in the evening. A strip of wall painted a different color is an option if the lease allows paint; otherwise use a large piece of art or a fabric panel. If you do paint, choose low-VOC paint and ventilate the room well during and after.
Use sound
A small area rug, a curtain and a bookcase soften the sound. White noise or headphones create an invisible boundary for yourself and for others in the apartment. Agree a rule with housemates, such as “headphones on means do not interrupt unless needed.”
The three-signal rule
Aim for at least three signals that say “this is the zone”: one on the floor (a rug), one at the edge (a shelf or screen) and one in the light (a lamp). With three, the zone is clear even in a room of 150 square feet.
Step three: equip the zone
Now fill the zone, and only with what the work needs. A small zone fails when it holds too much.
The essentials
- A work surface. A desk, a table or a shelf at a height where your elbows rest at a comfortable angle. A common range for a desk is about 28 to 30 inches, but your own body and chair matter more. Ergonomics are personal, and this is general information, not medical advice. If you have pain, speak to a health professional.
- A chair you can sit in for hours. Choose a seat that supports your back and lets your feet rest flat or on a footrest. A dining chair with a cushion may serve for short sessions, but mix it with breaks.
- Screen height. Raise a laptop on a stand or a stack of books so the top of the screen is near eye level, and use a separate keyboard and mouse if you work for long periods. This is a general guide, not a prescription.
- Light. A task lamp placed to the side, so the light does not reflect on the screen.
- Power. One outlet, one strip with a suitable rating, and cords routed out of the foot path. See our cable post for the audit and labeling steps.
- Storage. A drawer, a box or a shelf for papers, chargers and notebooks. The goal is to clear the surface at night.
The “one tray” rule
If you work at a shared surface such as a dining table, keep all work gear in one tray or box. In the morning, take it out. In the evening, put it back. This saves the table and makes the shutdown quick. Our post on small home organization for busy people explains more about simple systems that need very little effort.
What to leave out
Leave out things that you do not use daily: a printer you use once a month, stacks of old paper, decor that collects dust. Store these in a closet or under the bed and fetch them when needed. Move snacks and dishes to the kitchen so the zone does not become a dining spot too.
Add comfort and focus
A plant, a framed picture or a small object gives the zone character. A footrest or a rug under the feet is helpful in cooler months. Keep a blanket in a basket nearby, but off the desk. Make sure the zone has fresh air. If you work in a closet or an alcove, open a door or a window now and then, and take a short break to move around.
Step four: the end-of-day shutdown
The shutdown is what makes a small apartment livable. Without it, the work area stays “on,” and you feel it all evening.
A ten-minute shutdown
1. Write tomorrow’s top three. Put them on a card or a sticky note. It frees your head from tonight’s rehearsal.
2. Save and close. Close open files, then shut down the laptop or put it to sleep and close the lid.
3. Clear the surface. Put papers, pens and notebooks into the tray or drawer. Wipe the desk.
4. Cover or hide the gear. Put the laptop and tray in a cabinet or a closet, fold the desk, draw the curtain or close the screen. If you cannot hide it, drape a cloth over the zone.
5. Switch off power. Turn off the strip, or unplug chargers you do not need. It saves energy and reduces the chance of overheating while you are asleep or away.
6. Change the light. Turn off the task lamp and turn on the warm evening light.
7. Move your body. Take a short walk, stretch, make tea or change clothes. The change in activity marks the end of the day.
The start-of-day ritual
The shutdown pairs with a start ritual. Open the curtain, place the tray, turn on the lamp and open the laptop. These steps tell you that work has begun. Even a two-minute version is useful.
When the zone cannot be hidden
Sometimes the zone is in the bedroom or the living room and cannot be moved. Then the cover does the job. Use a fabric panel on a tension rod, a roll-top cover, a cabinet with doors or a folding screen. If you cannot do any of these, turn the chair to face away, clear the surface and turn off the lamp. The signal matters more than the method.
Three example apartments
A 380-square-foot studio, work corner by the window
A studio has one main room with a sofa-bed against the long wall and a window on the short wall. Plan: choose the window wall for daylight and put a 40 by 24 inch desk at a right angle to the window, to reduce glare. Use a small rug under the chair, a lamp on the far side and a low bookcase as the edge between the zone and the bed. Use a folding screen to cover the desk at night. The shutdown puts the laptop and tray in the bookcase, closes the screen and turns off the strip. More studio ideas are in our post on studio apartment ideas for working from home.
A one-bedroom, work zone in the bedroom corner
A one-bedroom has a living room that doubles as a dining room, and a bedroom with a free corner. Plan: use the bedroom corner for calls and focus work, and the dining table for light tasks. Use a narrow desk with a shelf above it. Hang a curtain on a tension rod to close off the corner at night. Keep the bed out of the line of sight by placing the chair so you face the wall. The shutdown folds the laptop into a drawer, closes the curtain and moves the lamp off so the bedroom signals rest.
A two-person apartment, a shared dining table
Two people work from home in a one-bedroom. Plan: use a dining table as a shared surface, with a tray for each person, and a closet with a door as a call booth, with a small shelf and a stool. Use colored trays so each person’s tools are clear. Each person sets up and packs down at fixed times. A basket by the door holds the chargers and cords, and the table is cleared by dinner. A rug under the table marks the zone, and a pendant light, or a lamp, above the table is used only for work.
The daily routine in a work zone
A work zone is a habit as much as a place.
- Morning: open the curtain, set the tray, turn on the lamp, plan the day.
- Mid-morning: take a short break away from the zone. Look out the window or walk around the room.
- Lunch: eat away from the desk. Leave the zone and return after.
- Afternoon: check the light and adjust the lamp. Stretch.
- End of day: run the ten-minute shutdown.
- Weekly: wipe the surface, empty the tray, clear the paper pile and review the layout.
Safety notes for small work zones
- Electrical load. Do not overload outlets or strips, do not daisy-chain strips, and plug heaters directly into the wall. If you are unsure, ask an electrician or your landlord.
- Cords. Keep cords out of walkways and doorways, and do not run them under rugs.
- Anchoring. Anchor tall shelves and bookcases to the wall as the maker advises, and ask your landlord before drilling. Put heavy items low.
- Glare and eyes. Place the lamp and the screen so the light does not reflect on the display. Take regular breaks.
- Ventilation. Closets and alcoves have little airflow. Open a door or window now and then, and do not block vents or radiators.
- Lease. Read the lease before you attach anything to the wall, paint or change the fixtures. Photograph the area before you start.
- Body. The advice on chair and screen height is general. If you have pain or a condition, seek advice from a health professional.
Mistakes to avoid
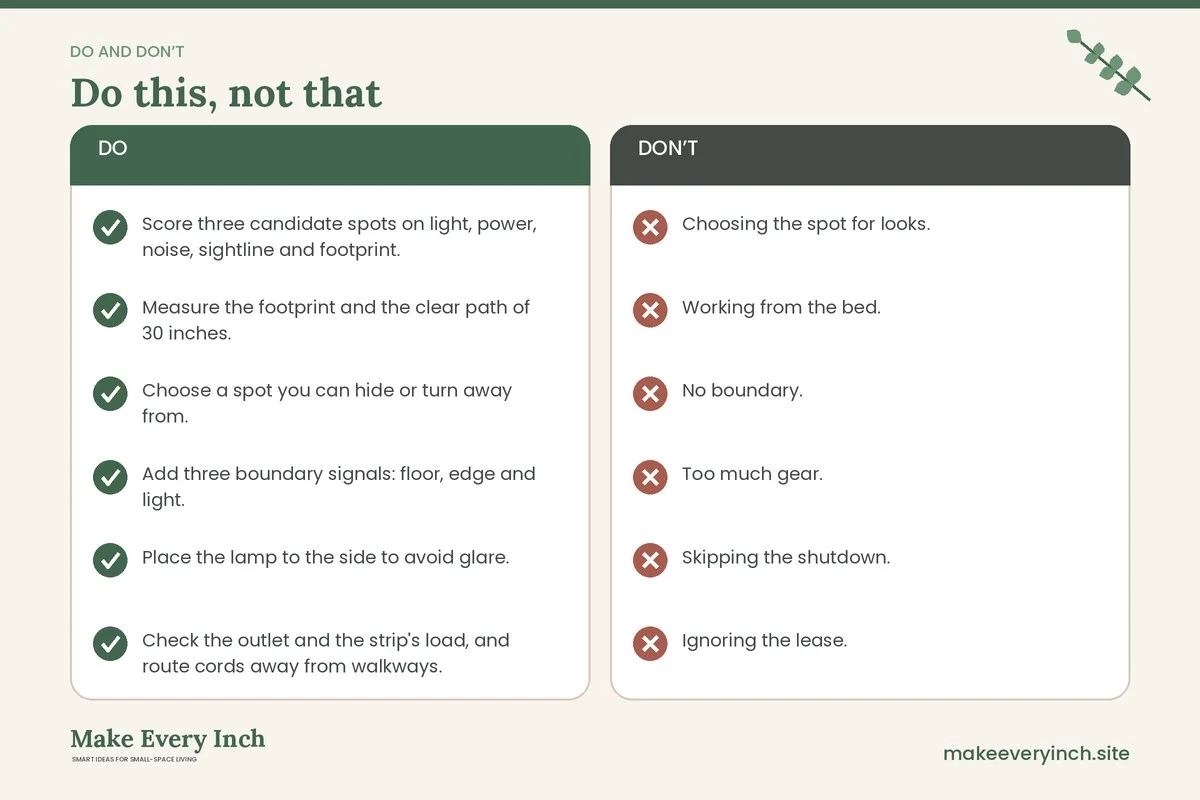
- Choosing the spot for looks. A pretty corner with no outlet and bad light will not last.
- Working from the bed. It blurs the line between rest and work, and can affect sleep.
- No boundary. Without an edge, the zone spreads across the apartment.
- Too much gear. If the zone has more than you use daily, it will clutter.
- Skipping the shutdown. This is the most common reason people feel they never leave work.
- Ignoring the lease. Nails, paint and wiring changes need permission.
- Blocking walkways. Allow at least 30 inches of clear path.
- Overloading the outlet. Heating devices and strips do not mix.
Budget approach
A work zone does not need new furniture. Begin with what you have: a table, a tray, a rug and a lamp. Add a screen or a curtain on a tension rod for the boundary. Buy a proper chair only after you have tried the zone for a few weeks, since it is the item most worth spending on. Look for second-hand desks, shelves and screens, and measure before you buy. Our guide to DIY desk ideas for small spaces shows low-cost builds, and best desks for small apartments lists what to check if you buy new.
Work zone checklist
- Score three candidate spots on light, power, noise, sightline and footprint.
- Measure the footprint and the clear path of 30 inches.
- Choose a spot you can hide or turn away from.
- Add three boundary signals: floor, edge and light.
- Place the lamp to the side to avoid glare.
- Check the outlet and the strip’s load, and route cords away from walkways.
- Fit a work surface, a chair, a lamp and storage.
- Put all work gear in a tray or box.
- Write a ten-minute shutdown and a start ritual.
- Cover or hide the zone at the end of the day.
- Check the lease before attaching, drilling or painting.
- Review the zone weekly and adjust.
FAQ
How much space do I need for a work zone?
A laptop desk can fit in an area of roughly 24 by 48 inches, plus a clear path and room for the chair. Measure your own space and your needs.
How do I separate work and living space in a studio?
Use three signals: a rug, a shelf or screen and a lamp. Then use a daily shutdown to cover or put away the gear.
Can I work from the bedroom?
Yes, if you have to. Choose a corner away from the bed, face away from it and cover the desk at night. Keep work out of the bed itself.
What should I put in a work zone?
Only what you use daily: a surface, a chair, a lamp, an outlet and a place to store papers and gear.
How do I make a work zone in a rental?
Use freestanding furniture, a rug, a tension rod curtain or a folding screen. Check the lease before you drill or paint.
How long should a shutdown routine take?
Ten minutes is a good target. A shorter version still helps if you do it every day.
How do I stop the zone from taking over the apartment?
Keep a clear edge, keep a short tool list and put everything into a tray or a cabinet at the end of the day.
Is a closet a good work zone?
It can be, if it has light, power and some ventilation. Open the door now and then, and take breaks away from it.
Keep going: Keep planning with our pillar on small home office ideas, the companion guide to small home office cable management ideas and our ideas for small bedroom ideas with a desk.
Save this guide for later
Pin the ideas you like to Pinterest so you can come back to them when you plan your space.