16 Small Utility Closet Organization Ideas for Mops, Vacuums and Supplies
Quick answer: Small utility closet organization works best when you sort by weight and frequency: heavy, daily tools at waist height, light backup supplies up high, chemicals on a locked or high shelf away from children and pets, and the floor kept as clear as possible. Check what the closet also houses, such as a water heater, a furnace or an electrical panel, and keep the clearances the manuals and local rules call for before adding any shelf.
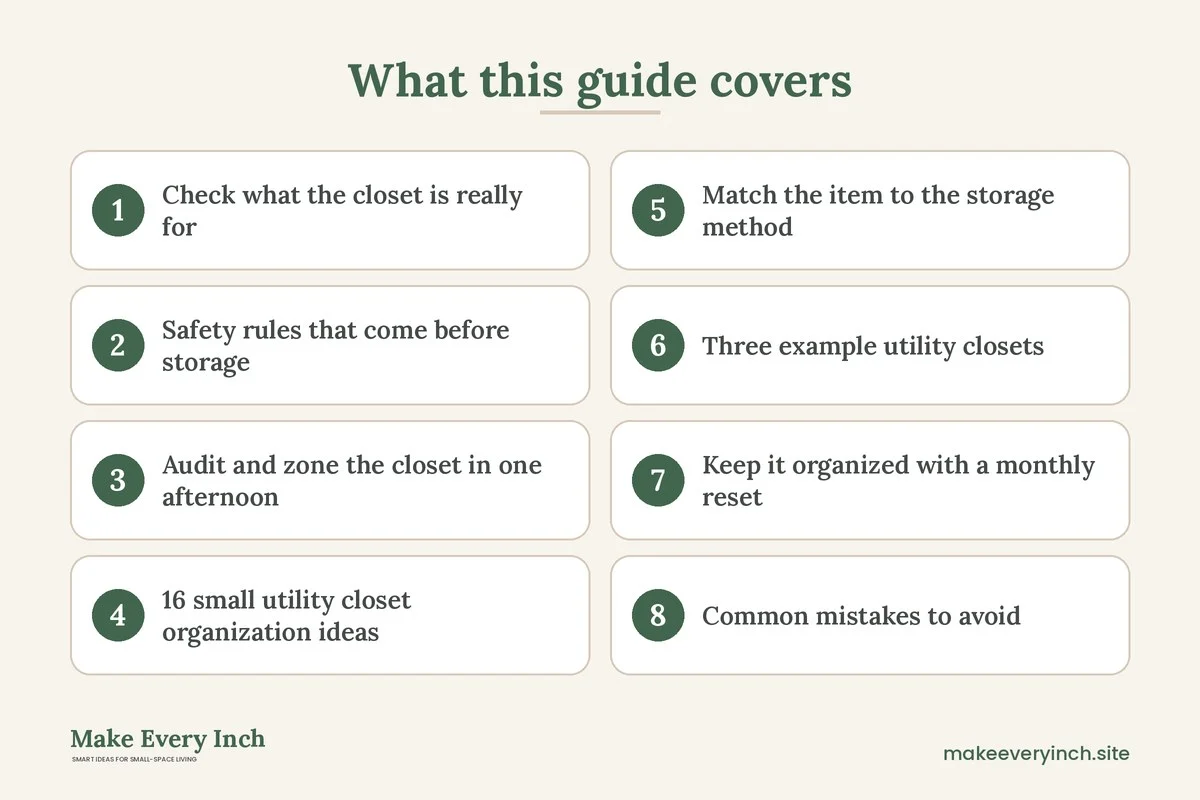
Small utility closet organization is a different job from tidying a regular closet. A utility closet is a working space. It might hold a mop and bucket, a vacuum, a broom, a toolbox, spare light bulbs, cleaning sprays, trash bags, a step stool and a box of batteries, and in many homes it also hides a water heater, a furnace, a breaker panel or a shutoff valve that you must be able to reach in a hurry. That mix of heavy tools, tall handles, chemicals and equipment is why a utility closet gets messy faster than almost any other storage spot. This guide covers the safety rules to check first, how to audit and zone the closet, 16 ideas, a table that matches each item to a storage method, three example closets, a maintenance routine and a checklist. If your closet sits next to the washer and dryer, our main guide on small laundry room ideas shows how to plan the whole area, and the broader small space organization ideas hub covers the rest of the home.
Check what the closet is really for
Before buying a single bin, open the door and look at what is actually in there besides your own things. Many utility closets contain equipment that needs space, air or access. Write down every item that is part of the building rather than part of your storage.
- Water heater or furnace: these often need clear space around them and a supply of air. The appliance manual, the label on the unit and local rules set the exact distances, so do not guess. As a general principle, keep anything that can burn well away from the unit, and never pile boxes or bags against it.
- Electrical panel: a breaker panel generally needs a clear area in front of it so a person can reach it quickly and safely. Local codes often specify a minimum width and depth, commonly in the range of 30 inches wide and 36 inches deep, but confirm the requirement for your building. Do not hang coats, shelves or tall tools in front of the panel.
- Water shutoff valves: know where the main shutoff for the home or the unit sits, and keep the path to it open. In an emergency you do not want to move a vacuum and three boxes first.
- Vents and louvers: a closet door with slats or a grille is there to let air move. Keep those openings uncovered.
- Washer and dryer connections: if the closet holds a stacked unit, the hoses, the vent and the power cord all need room. See the safety section below.
If you are not sure what a pipe, a valve or a panel does, take a photo and ask the building manager, the landlord or a qualified professional. A utility closet can look like simple storage while hiding the most important controls in the home.
Safety rules that come before storage
A tidy closet is only an improvement if it stays safe. These rules apply in almost every utility closet.
- Never block the appliance or the panel. Keep the clear zones in front of and around equipment open. Mark them on the floor with tape so everyone in the household can see where nothing should stand.
- Keep flammable items away from heat. Aerosol cans, solvents, paint thinners, gasoline, lighter fluid and rags that have oil on them should not sit near a furnace, a water heater or any other heat source. If an item has a flammable label, follow the label and store it as directed, often outdoors in a suitable container or in a cabinet made for that purpose.
- Store chemicals out of reach of children and pets. Put cleaning products on a high shelf, in a closed bin or behind a childproof latch. Keep them in their original containers with the labels intact. Never decant a cleaner into a drink bottle.
- Never mix cleaners. Some common products release harmful fumes when combined, with bleach and ammonia being the best-known example. Store different types apart, use one product at a time and open a window or run a fan when you clean.
- Anchor tall shelves. A tall shelf loaded with heavy bottles can tip if a child climbs it or you pull on a top item. Use the anchoring hardware that comes with the unit, and only when you have permission to drill. In a rental, choose a low freestanding unit, or a design that does not need anchoring, and keep heavy items on the bottom.
- Do not drill without permission. Read your lease. If the lease says no holes, use freestanding racks, tension poles, over-the-door organizers and adhesive hooks rated for the load.
- Use electrical items carefully. Keep extension cords out of closets where they can be pinched or overloaded, never run a cord under a rug or a stack of boxes and check each device against its manual.
- Ventilation matters. Chemicals, damp mops and wet towels all raise humidity and odors. A closet with some airflow stays fresher, and a mop that dries in the open is less likely to grow mildew.
Audit and zone the closet in one afternoon
An audit is quick and tells you what the closet needs. Empty it completely onto a clean floor or a bed sheet. Wipe the shelves. Sort everything into five piles: keep in the closet, keep elsewhere, donate, recycle and throw away. Check the expiry dates on any chemicals and batteries. Recycle or dispose of old paints, solvents and cleaners according to your local household hazardous waste rules rather than pouring them down a drain.
Next, measure. Write down the width, depth and height of the closet, the door opening and the clear zones you must preserve. Note the height of the tallest tool, which is usually a broom, a mop or a vacuum wand. Note the footprint of the vacuum, since it is the largest single item. These numbers decide everything else.
Then divide the closet into zones using the sorting rule from the quick answer.
- Floor zone: the vacuum, the bucket and the heaviest items. Keep the floor free of clutter so you can reach the back of the closet and so a leak under a pipe or appliance is easy to see.
- Waist zone: the things you use weekly, such as a spray bottle caddy, a dustpan and a toolbox.
- Shoulder and eye zone: the things you use monthly, such as spare bulbs, a roll of tape, small hardware and a flashlight.
- High zone: lightweight backups such as paper towels, trash bags, a spare filter and seasonal items. Keep this zone light, since you will be reaching overhead.
- Door zone: hooks, pockets and narrow racks for tools with handles and for small items.
16 small utility closet organization ideas
Handle the tall tools
1. A wall rail for brooms and mops
A rail with spring clips or hooks holds tools by the handle so the heads hang free and dry. If drilling is not allowed, mount the rail to the inside of the door with the mounting method the product allows, or use a tension pole wedged between floor and ceiling. Check that the pole fits snugly and can hold the weight.
2. A tension pole corner
A tension pole in a corner turns dead space into a tall hanging area. Clip brooms, dusters and squeegees to it. Ceiling heights and surfaces vary, so test the pole with a light load first and watch that it does not slip.
3. A tool-only door
The inside of the door is a spare wall. Hang two or three hooks at different heights for a dustpan, a duster and a bag of rags. Keep the door swing clear, and check that nothing hits the shelf behind it when the door closes.
4. A slim vacuum parking spot
Give the vacuum a marked home on the floor, ideally at the front of the closet so you can pull it out without lifting. If it is a stick model, a wall dock or a stand may hold it upright. Follow the manual for charging, keep the charger on a clear outlet and never charge a device under a pile of items.
Shelves and bins
5. A low freestanding shelf
A low, sturdy shelf holds heavy items near the floor and does not need anchoring in the same way a tall shelf does. Keep the heaviest bottles and tools on the bottom shelf. If the shelf is more than about waist height, ask whether it needs to be secured to the wall and look at the manufacturer’s instructions.
6. Clear lidded bins by category
Bins keep small items from spreading. Use clear ones so you can see the contents. Label the front with the category, such as batteries, light bulbs, tape and glue, plumbing and electrical. Stack no more than two bins high, and keep the heavy one on the bottom.
7. A locked or latched chemical bin
Put all cleaning products in one sturdy bin with a lid or a childproof latch. This keeps them together, stops them from tipping, and puts a barrier between the products and anyone small. Keep the bin on a high shelf if the closet has no lock. Do not store the bin near heat or in a damp spot.
8. A caddy for the weekly cleaning kit
Fill a caddy with the sprays, cloths, gloves and scrubbers you use each week. You grab it, clean and return it. Use one that has a handle and a flat base, and keep it at waist height. Store only products you actually use. Dispose of the rest.
9. Shelf risers for the middle
A riser doubles the usable space on a deep shelf by letting you stack a second row of small items above the first. Use risers for spray bottles and for boxes of dryer sheets or sponges. Keep items stable and do not stack higher than you can see.
Use the door and the walls
10. An over-the-door organizer
An over-the-door rack with pockets or baskets holds gloves, sponges, rags and spray bottles. Check that the door still closes with the rack on. Choose a model that hangs without screws, and keep the heaviest items low and near the hinge side if the manufacturer allows.
11. A magnetic strip for metal tools
If part of the closet wall is metal, or you mount a magnetic strip to the inside of the door, small metal tools such as screwdrivers, pliers and tape measures can sit within reach. Keep the strip away from any electronics or cards that magnets could harm, and check how much weight the strip is rated to hold.
12. A pegboard panel
A pegboard panel on the back wall of the closet turns it into a flexible tool wall. Outline each tool with marker so everything has a home. Mounting needs screws in most cases, so get permission first, or lean a freestanding pegboard on a stand instead.
Handle what the closet hides
13. A clear path to the shutoff
Mark the path to the water shutoff and any panel with tape on the floor and a small label on the shelf edge. This makes it obvious to anyone, including a guest or a repair person, where not to put things.
14. A leak tray and a quick check
If the closet holds a water heater or a washer connection, ask whether a drain pan or a leak sensor is appropriate and what the manufacturer recommends. At the least, keep boxes off the floor so any leak is visible, and use a shelf with legs rather than stacking cardboard directly on the ground. Cardboard soaks up water and hides problems.
15. A spare-parts drawer for the home
Keep a small drawer or box for items you may need quickly, such as spare fuses where applicable, a flashlight, batteries, a utility knife with a cap, and the manuals. Put the manuals and warranty papers in a folder or a zipper pouch on the door.
16. A light you can reach
A dark closet leads to tripping and to things getting lost. Add a battery-operated puck light or a motion-activated light that sticks on with an adhesive pad, if the lease allows adhesive. Follow the product’s instructions, and avoid wiring changes without permission and proper qualifications. Our small bathroom lighting ideas post shows how small, damp spaces use light.
Match the item to the storage method
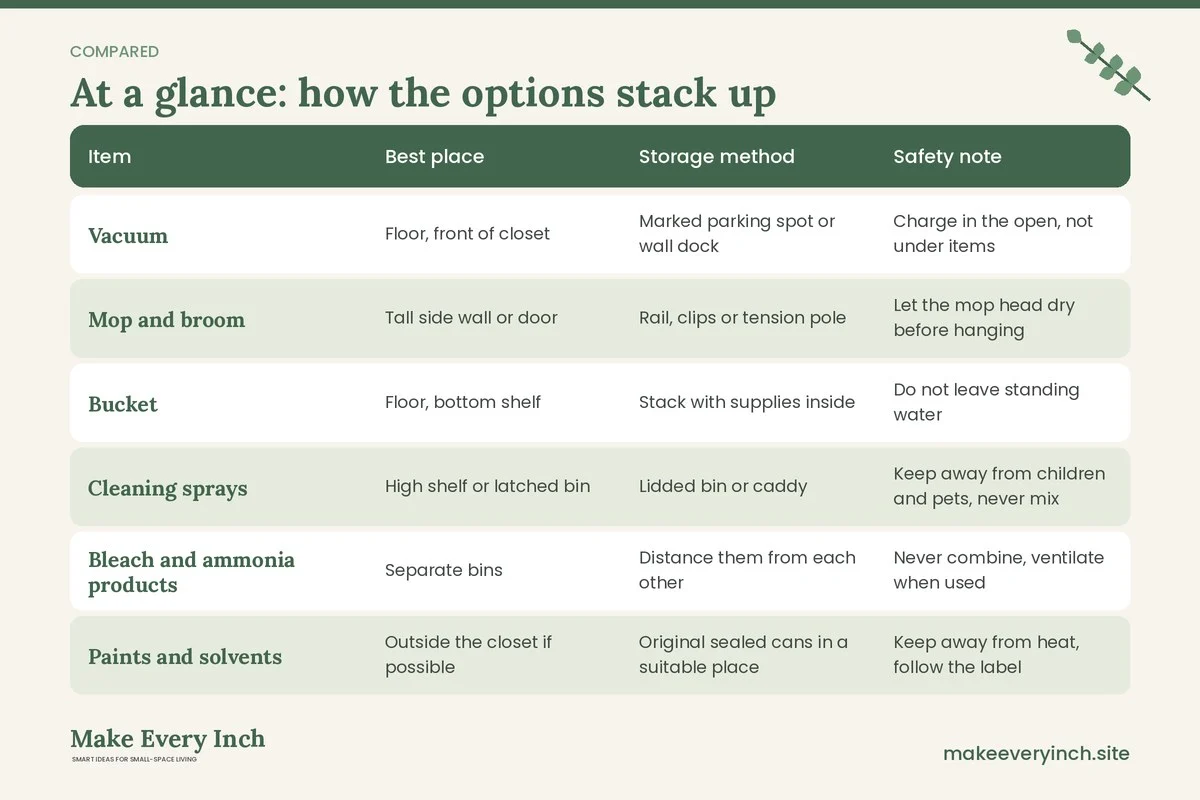
This table helps you decide where each type of item should go in a typical small utility closet. Adjust it to the clearances and rules for your own building.
| Item | Best place | Storage method | Safety note |
|---|---|---|---|
| Vacuum | Floor, front of closet | Marked parking spot or wall dock | Charge in the open, not under items |
| Mop and broom | Tall side wall or door | Rail, clips or tension pole | Let the mop head dry before hanging |
| Bucket | Floor, bottom shelf | Stack with supplies inside | Do not leave standing water |
| Cleaning sprays | High shelf or latched bin | Lidded bin or caddy | Keep away from children and pets, never mix |
| Bleach and ammonia products | Separate bins | Distance them from each other | Never combine, ventilate when used |
| Paints and solvents | Outside the closet if possible | Original sealed cans in a suitable place | Keep away from heat, follow the label |
| Light bulbs | Middle shelf | Labeled box with dividers | Store upright, away from impact |
| Batteries | Middle shelf | Lidded container | Keep terminals apart, away from coins |
| Tools | Waist height | Toolbox or pegboard | Keep sharp tools capped or in a case |
| Extension cords | Coiled in a bin | Hook or bin | Do not overload, do not run in the closet |
| Trash bags and paper goods | High shelf | Open basket | Keep light, easy to reach |
| Seasonal items | Top shelf | Labeled box | Lightweight items only |
Three example utility closets
Example 1: The hallway closet, 24 by 24 inches
This narrow hallway closet holds a vacuum, a mop, a broom and a small bucket, with no equipment inside it. The owner places the vacuum on the floor at the front and mounts a tension pole in the back corner for the mop, the broom and a duster. A slim freestanding shelf sits on the left with a caddy of cleaning supplies at waist height and a lidded bin of batteries and bulbs above it. An over-the-door rack with pockets holds gloves and cloths. A latched bin on the top shelf holds all the chemicals. Because the closet is only about two feet square, the shelf is shallow, around 10 to 12 inches deep, so tools can still stand beside it. The result is a closet where nothing leans on anything else.
Example 2: The closet with a water heater
This closet is about 36 inches wide and houses a water heater on one side. The occupant checks the manual and the label and keeps the area around the heater clear, leaving the clearances the instructions describe and not using that side for storage at all. The other side has a low shelf for cleaning supplies, with no flammable items stored anywhere near the heater. Chemicals live on a high shelf in a closed bin away from the heat source. The occupant keeps the floor clear, so a leak would be easy to spot, and posts a small card on the door that lists the shutoff valve location and the contact number for repairs. Because half the closet is off limits, the household moves the vacuum to another closet and keeps only the broom and mop here.
Example 3: The closet next to the electrical panel
This closet holds a breaker panel on the back wall. The household treats the front of the panel as a no-storage zone, taping the clear area on the floor and keeping nothing hung on the door that would cover the panel when opened. Tools and cleaning supplies sit on the side walls, with a pole for tall tools and a narrow shelf for the weekly caddy. The tall items are kept to the side, and the access path remains open. A battery light helps anyone checking a breaker after dark. The household labels the shelves clearly so a guest can find a flashlight without moving anything.
Keep it organized with a monthly reset
An organized closet drifts back to chaos unless you keep a small routine. Set a ten-minute reset once a month.
- Return anything that does not belong.
- Wipe the shelves and the floor.
- Check chemical containers for leaks, rust or bulging.
- Check dates on batteries and cleaners.
- Hang mops and cloths so they dry fully.
- Check the clear zones around equipment and the panel.
- Look at the floor and the pipes for dampness.
- Restock only what is nearly out.
Put a note on the inside of the door with the date of the last reset. You will notice when it is overdue.
Common mistakes to avoid
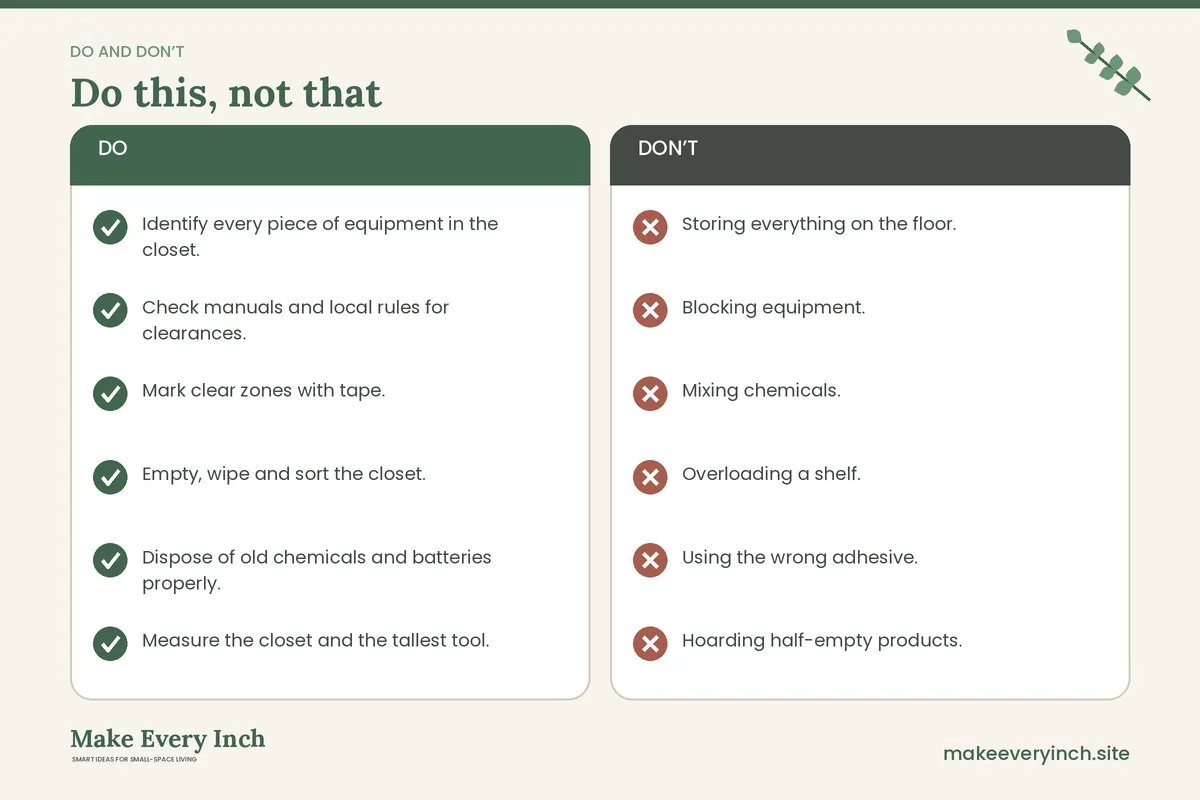
- Storing everything on the floor. It makes cleaning impossible and hides leaks.
- Blocking equipment. Boxes against a water heater or in front of a panel are a safety problem.
- Mixing chemicals. Storing bleach and ammonia products together is asking for trouble.
- Overloading a shelf. Heavy bottles belong low and on a shelf that can carry them.
- Using the wrong adhesive. Adhesive hooks have weight limits, and damp closets can weaken them. Follow the instructions.
- Hoarding half-empty products. Keep one open bottle of each type and dispose of the rest properly.
- Forgetting the manuals. Keep them in one folder so you can look up clearances and settings.
- Ignoring the lease. Ask before drilling, painting or changing anything built in.
Budget and renter-friendly approach
You can organize a utility closet without much spending. Start with what you already own, such as a basket for small items and a spare crate for a caddy. Check second-hand shops for a sturdy low shelf. Pick up a few hooks and a tension pole only after you have measured. For a renter, the safest approach is freestanding and removable: a shelf with its own legs, a tension pole, an over-the-door rack and adhesive hooks within their weight rating. Our guide to no-drill storage ideas for renters and the post on renter-friendly storage ideas for small apartments cover many of these options, while budget small space ideas shows how to stretch a small budget.
Utility closet checklist
- Identify every piece of equipment in the closet.
- Check manuals and local rules for clearances.
- Mark clear zones with tape.
- Empty, wipe and sort the closet.
- Dispose of old chemicals and batteries properly.
- Measure the closet and the tallest tool.
- Zone the closet by weight and frequency.
- Put chemicals out of reach and apart from each other.
- Anchor any tall shelf, or use a low one.
- Hang tall tools on a rail or a pole.
- Add a caddy for weekly supplies.
- Label the bins.
- Keep the path to the shutoff open.
- Add a reachable light.
- Store the manuals in one place.
- Schedule a monthly reset.
FAQ
How much space should I leave around a water heater in a utility closet?
It depends on the type of heater, the manual and local rules, so check the label and the instructions. In general, leave the space the manufacturer asks for and keep flammable items well away. If you are unsure, ask a qualified professional.
Can I put shelves in front of my breaker panel?
No. Panels usually need a clear area in front of them for safe, fast access. Local codes often set a minimum width and depth, so confirm the requirement for your building and keep the area free.
What is the safest way to store cleaning chemicals?
Keep them in their original labeled containers, on a high shelf or in a latched bin out of reach of children and pets. Store them away from heat, and keep products such as bleach and ammonia cleaners apart. Never mix them.
How do I organize a utility closet without drilling?
Use a freestanding low shelf, a tension pole, an over-the-door organizer and adhesive hooks within their weight limits. Always check the lease and the product instructions first.
Where do I put a vacuum in a small closet?
Park it on the floor near the front, or use a wall dock if you may mount one. Charge it according to the manual and never under other items. If space is tight, a stick model stores more compactly than a canister.
How often should I reorganize the closet?
A ten-minute reset each month keeps it under control, and a full audit once or twice a year clears out old chemicals and unused items.
Keep going: Keep going with our guide to small laundry room ideas, the roundup of small closet ideas and the post on small kitchen ideas.
Save this guide for later
Pin the ideas you like to Pinterest so you can come back to them when you plan your space.