21 Small Kitchen Makeover Ideas on a Budget
Quick answer: The best small kitchen makeover ideas follow an order: declutter, fix the layout and storage, upgrade the lighting, then paint or refresh the cabinets, hardware and backsplash. Spend first on lighting and storage, keep counters clear and finish with textiles, plants and art. Most changes cost under 500 dollars.
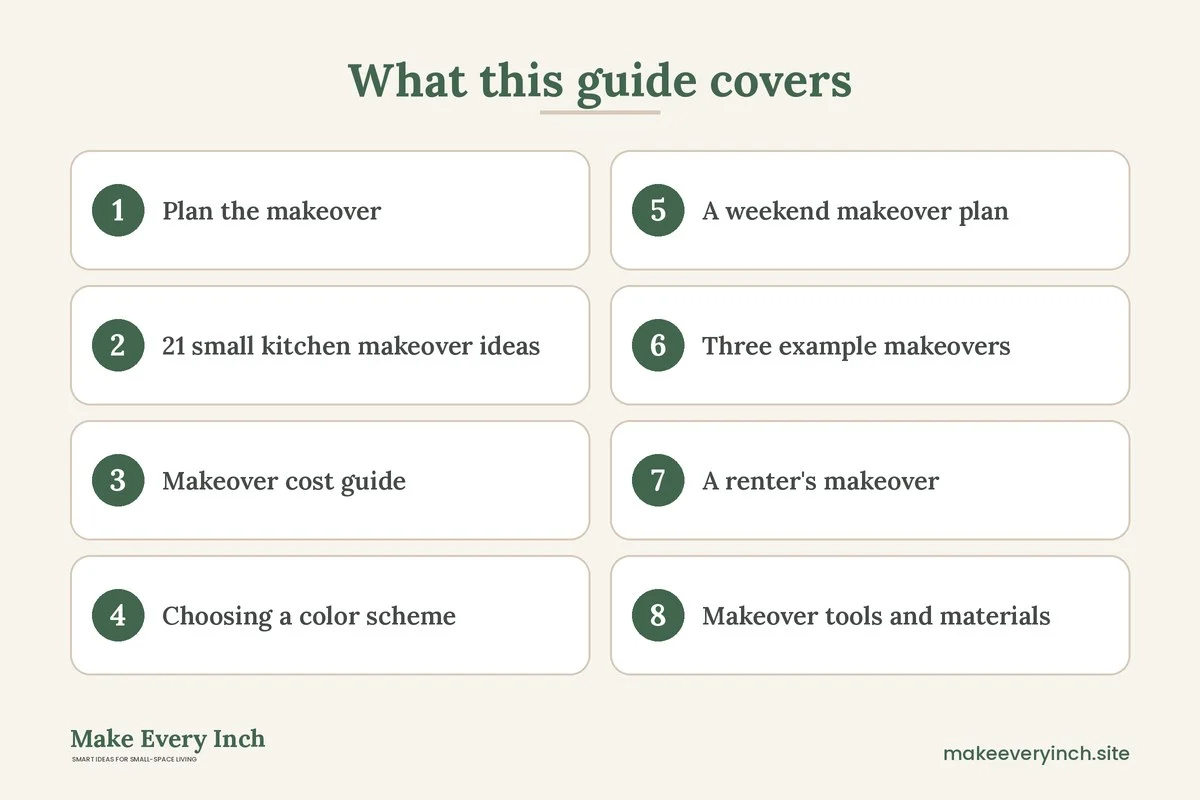
Small kitchen makeover ideas work when you treat the kitchen as a workspace first and a showroom second. A kitchen that cooks well and feels bright will always look better than one with new finishes and no light. This guide shares 21 steps in a sensible order, a budget table, a color guide, a weekend plan, three example makeovers, a renter section and a checklist so you can plan and finish a makeover without a full remodel.
Plan the makeover
Start with a list of what bothers you. Note whether the kitchen is dark, cluttered, dated, cramped or hard to clean. Photograph every wall and cabinet. Measure the counters, the walls and the floor. Decide on a budget, and divide it: roughly 30 percent for lighting and storage, 30 percent for surfaces such as paint and backsplash, 20 percent for hardware and fixtures, 10 percent for decor and 10 percent in reserve.
Choose a style direction in two or three words, such as bright, warm and simple, or clean, modern and light. Use it to say no to items that do not fit. Collect three images that match the mood, and use their colors and materials as a guide.
21 small kitchen makeover ideas
1. Declutter every surface
Remove everything from the counters and the cabinets that you do not use. A clear kitchen looks larger and cleaner before you spend any money.
2. Reorganize the cabinets
Group items by task, add risers and bins and move rarely used items out of the way. See kitchen organization ideas.
3. Upgrade the lighting
Replace dim bulbs, add under-cabinet strips and a bright ceiling light. See kitchen lighting ideas.
4. Paint the walls
Choose a light, warm color such as soft white, cream or pale sage in a washable satin or eggshell finish. Paint the ceiling a shade lighter or the same color.
5. Paint or refinish the cabinets
With permission or in your own home, clean, sand lightly, prime and paint cabinet doors in a durable cabinet paint. White, soft gray, sage and navy are popular choices. Replace the hardware at the same time.
6. Replace the hardware
New pulls and knobs update the look for little money. Choose a finish that matches your faucet and lights.
7. Add a backsplash
Tile, peel-and-stick panels, a metal sheet or a painted wall with a sealant all work. Choose a simple pattern and a color that complements the counters.
8. Refresh the counters
Options include replacing them, resurfacing with a kit, covering with film or using a large board. Choose a light or medium tone that hides crumbs.
9. Replace the faucet
A new faucet changes the look of the sink and improves daily use. Choose a pull-down model for ease of cleaning. Check compatibility with your sink and plumbing.
10. Update the sink area
Add a new dish rack, a soap dispenser and a plant. Clean the sink with baking soda and polish the faucet.
11. Replace or cover old appliances
Clean and polish stainless steel, replace knobs and cover dated finishes with magnets or film. If an appliance is failing, replace it with a slimmer model.
12. Update the floor
Options include peel-and-stick tile, vinyl planks, paint or a rug. Choose a light or mid-tone that hides dirt.
13. Add open shelves
Replace one upper cabinet with open shelves for dishes and plants. This makes the kitchen feel lighter. See storage ideas.
14. Add a cart or an island
A cart adds counter and storage. See cart ideas.
15. Replace the window treatment
A café curtain, a roman shade or a sheer panel adds privacy and light. Choose a washable fabric.
16. Add a rug or runner
A runner adds color and comfort and covers wear. Choose a washable, non-slip one.
17. Add plants and herbs
A pot of herbs or a hanging plant brings life to the kitchen. Choose plants that tolerate steam.
18. Add art or a mirror
A framed print or a mirror adds personality. Hang it away from the stove and steam.
19. Hide clutter with closed storage
Add doors to open shelves or a curtain under the sink. Use baskets with lids to hide small items.
20. Replace the trash and recycling bin
A slim, good-looking bin that fits in a cabinet or by the wall improves both looks and function.
21. Style the final details
Add a tray with oils, a bowl of fruit and a clean towel. Edit until the kitchen feels calm and ready to use.
Makeover cost guide
| Step | Low | Mid | Higher | Impact |
|---|---|---|---|---|
| Declutter and organize | Free to 40 | 40 to 100 | 100 to 200 | High |
| Lighting | 30 to 80 | 100 to 250 | 250 and up | High |
| Paint walls | 40 to 80 | 80 to 150 | Professional | High |
| Cabinet paint or film | 60 to 120 | 150 to 300 | Refacing | High |
| Hardware | 20 to 50 | 50 to 150 | 150 and up | Medium |
| Backsplash | 50 to 150 | 150 to 400 | 400 and up | High |
| Floor | 30 to 100 | 100 to 400 | 400 and up | Medium |
| Decor and plants | 20 to 60 | 60 to 150 | 150 and up | Medium |

Choosing a color scheme
A small kitchen looks larger with light, low-contrast colors. Choose one main color for the walls and cabinets, one accent for the hardware and textiles and one natural material such as wood. Warm whites and sage feel inviting, soft blues feel fresh and warm grays feel modern. Use a deeper color on the lower cabinets for contrast, and keep the upper cabinets light. Test paint on two walls and look at it in different light.
| Palette | Cabinets | Walls | Accent | Mood |
|---|---|---|---|---|
| Soft white and wood | White | Warm white | Natural wood | Clean and warm |
| Sage and cream | Sage | Cream | Brass | Calm and natural |
| Navy and white | Navy lower, white upper | White | Brass | Classic |
| Gray and brass | Light gray | White | Brass | Modern |
| Pale blue and white | Pale blue | White | Chrome | Fresh |
A weekend makeover plan
- Friday evening: declutter, empty the cabinets and clean the surfaces
- Saturday morning: remove hardware and doors, clean and prime the cabinets, and tape the walls
- Saturday afternoon: paint the walls and the first coat of the cabinets
- Sunday morning: second coat, install the backsplash and the lights
- Sunday afternoon: add hardware, put back the doors, reorganize and style
Plan the project so that paint has time to dry between coats, and cabinet doors cure for a few days before heavy use. Keep a few days with limited use for the kitchen, and plan simple meals.
Three example makeovers
A 300 dollar refresh
Declutter, paint the walls, change the bulbs, add under-cabinet lights and swap the hardware. Add a runner and a plant. This changes the mood without touching the cabinets.
A 1,000 dollar makeover
Paint the cabinets, add a backsplash, replace the faucet and the hardware, install lights and add a cart. Replace the window treatment and the rug. See galley kitchen ideas.
A 2,500 dollar makeover
Resurface or replace the counters, paint the cabinets, add a backsplash, replace the floor and install new lights. Add open shelves and a new sink. Hire a professional for plumbing and electrical work.
A renter’s makeover
If you rent, choose removable steps: new hardware you can swap back, film, peel-and-stick tile, plug-in lights, a runner, a cart and freestanding shelves. Ask for permission before painting or replacing fixtures, and keep the originals. See renter-friendly kitchen upgrades for 21 ideas and a move-out checklist.
Makeover tools and materials
Gather a few basics before you start: painter’s tape, drop cloths, a screwdriver, a drill, a level, a tape measure, a putty knife, sandpaper, a degreaser and a good brush and roller. Buy cabinet paint that is made for kitchens, and a primer suited to your surface. Label each door and hinge as you remove them, and store the hardware in a labelled bag. Ventilate the room, use gloves and keep children and pets away from wet paint. A small investment in good tools makes the job easier and the finish cleaner.
Cabinet painting step by step
Painting cabinets is the single biggest budget upgrade, and the result depends on preparation. Remove the doors and drawer fronts and label each one with tape. Remove all hardware. Clean every surface with a degreasing cleaner, since kitchen grease stops paint from sticking, then rinse and dry. Lightly sand with fine sandpaper to dull the shine, and wipe off the dust. Fill dents with wood filler and sand smooth. Apply a bonding primer in thin coats and let it dry. Apply two thin coats of cabinet-grade paint with a small foam roller and a brush for the corners, sanding lightly between coats. Let the doors dry flat and cure for several days before you rehang them. Add soft-close bumpers and new hardware to finish.
Backsplash options compared
| Option | Cost | Effort | Durability | Notes |
|---|---|---|---|---|
| Peel-and-stick tile | Low | Low | Medium | Removable, check heat limits |
| Ceramic subway tile | Medium | High | High | Classic and easy to clean |
| Painted wall with sealant | Low | Low | Low to medium | Use washable paint |
| Metal sheet | Medium | Medium | High | Good behind the stove |
| Glass panel | High | High | High | Reflective and sleek |
| Beadboard | Low to medium | Medium | Medium | Needs sealing |
Choose the option that suits your budget, skills and lease. Behind the stove, use a heat-resistant and easy-to-clean material. Along the sink, seal the edges to stop water getting behind. Choose a pattern that matches your style: simple subway tile suits most kitchens, and a pop of color adds personality.
Small details that finish a kitchen
Details make a makeover look finished. Replace worn outlet covers and switch plates with clean ones. Caulk the edges where the counter meets the wall and around the sink. Replace the faucet aerator and the drain stopper. Add felt pads to drawers and bumpers to doors. Hang a clean towel on a hook, and choose a soap dispenser that fits the colors. Replace old cabinet liners and wipe the inside of the oven and fridge. Keep spare bulbs in a labelled box. Each detail takes minutes but adds up to a kitchen that feels cared for and complete.
Makeover safety and permits
If your makeover involves plumbing, gas or electrical work beyond changing a fixture, hire a licensed professional. Turn off the water and power before you work near them, and wear gloves, goggles and a mask when sanding or painting. Ventilate the room and keep children and pets away. In older homes, test for lead paint before you sand. Check local rules and, if you rent or live in a condo, your lease and building rules. Keep receipts and warranties for appliances and fixtures. Safe, legal work protects you and your home.
Makeover ideas by kitchen style
A galley kitchen
Keep the aisle clear, paint both runs in the same light color and add under-cabinet lighting and a runner. Use a glossy backsplash at the end wall to bounce light. Replace one run of upper cabinets with a shelf to open the space. See galley kitchen ideas.
An L-shaped kitchen
Treat the corner as a feature: add a lazy Susan below and a shelf above. Use a pendant or a lamp at the end of one run and make the second run the work zone. Paint the walls and the cabinets in one color, with a deeper tone on the base cabinets.
A single-wall kitchen
Create depth with a backsplash that runs the whole wall and a rail with tools. Use a cart and a fold-down table as the second surface. Add a rug to separate the kitchen from the living area and use pendants for definition.
A kitchen open to the living room
Match the color palette and finishes so the two rooms feel unified. Use stools and a bar edge to define the kitchen. Hide the clutter with closed cabinets and keep the counters facing the living room clear. See small living room ideas for renters for matching tips.
A dark kitchen
Repaint in light colors, add a mirror or glossy tile and install layered lighting. Remove heavy window coverings and keep the sill clear. Choose a pale floor or a rug. Increase the lumens and use neutral-warm bulbs.
Before and after thinking
Photograph the kitchen before you start, from the doorway and from each corner. Look at the pictures and note what you see. Often the eye is drawn to clutter, a dark corner or a dated surface that you stopped noticing. At the end, take the same photos and compare. The comparison motivates you and shows which changes made the largest difference. Keep the photos in a folder with receipts and paint colors, so you can maintain the kitchen or repeat the process in the next home.
Give yourself a finish line: when the lighting, the storage and one surface are done, stop, cook a week of meals and then decide what the kitchen still needs.
Makeover mistakes to avoid
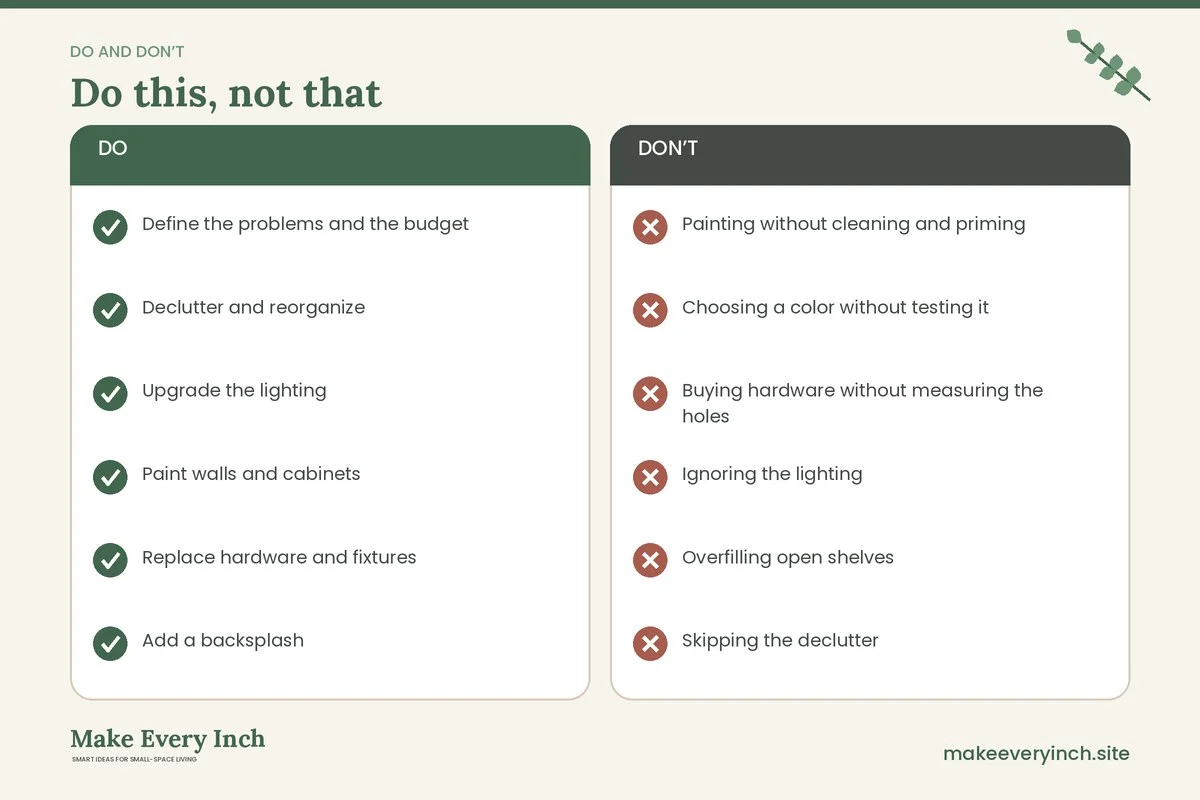
- Painting without cleaning and priming
- Choosing a color without testing it
- Buying hardware without measuring the holes
- Ignoring the lighting
- Overfilling open shelves
- Skipping the declutter
- Using a high-gloss finish that shows every mark
- Spending first on decor
Planning the budget for a makeover
Split the money into three buckets before you buy anything. Put about half into the item that changes the room most, such as lighting or a backsplash, a third into storage and organizing pieces, and the rest into finishing touches such as a rug, art and hardware. Keep a small reserve for surprises like a sticky cabinet or an uneven wall, and track each purchase in a simple list so you know the total cost before the work ends.
Makeover checklist
- Define the problems and the budget
- Declutter and reorganize
- Upgrade the lighting
- Paint walls and cabinets
- Replace hardware and fixtures
- Add a backsplash
- Add a cart, shelves and storage
- Style and edit
FAQ
How much does a small kitchen makeover cost?
You can do a basic refresh for 200 to 500 dollars, and a larger makeover with new counters and flooring costs 1,500 dollars or more.
What is the best first step in a kitchen makeover?
Declutter and improve the lighting. These two steps change the feel of the kitchen more than any finish.
What color should I paint a small kitchen?
Light, warm colors such as soft white, cream, pale sage or light gray.
Can I paint my kitchen cabinets myself?
Yes, with proper cleaning, sanding, priming and cabinet paint. Allow the paint to cure before heavy use.
What is the cheapest way to update a kitchen?
Paint, new hardware, better lighting and a good clean.
How long does a makeover take?
A weekend for a refresh, a week or two for painting cabinets and a backsplash and longer for new counters and floors.
Can renters do a kitchen makeover?
Yes, with removable upgrades such as film, tile, lighting, hardware you can swap back and carts.
How do I make a small kitchen look bigger?
Use light colors, good lighting, a clear counter and a glossy or mirrored backsplash.
Keep going: Explore our small kitchen ideas, small kitchen lighting ideas and small kitchen storage ideas.
Save this guide for later
Pin the ideas you like to Pinterest so you can come back to them when you plan your space.