12 Small Room Gallery Wall Layout Ideas With Spacing Math
Quick answer: A good small room gallery wall layout covers about two thirds of the width of the furniture below it, keeps 2 to 3 inches between frames, centers the group at roughly 57 inches from the floor and uses a limited palette of frames and mats. Plan on paper first, tape the templates to the wall, check the lease before making any hole and choose adhesive or leaning options in a rental.
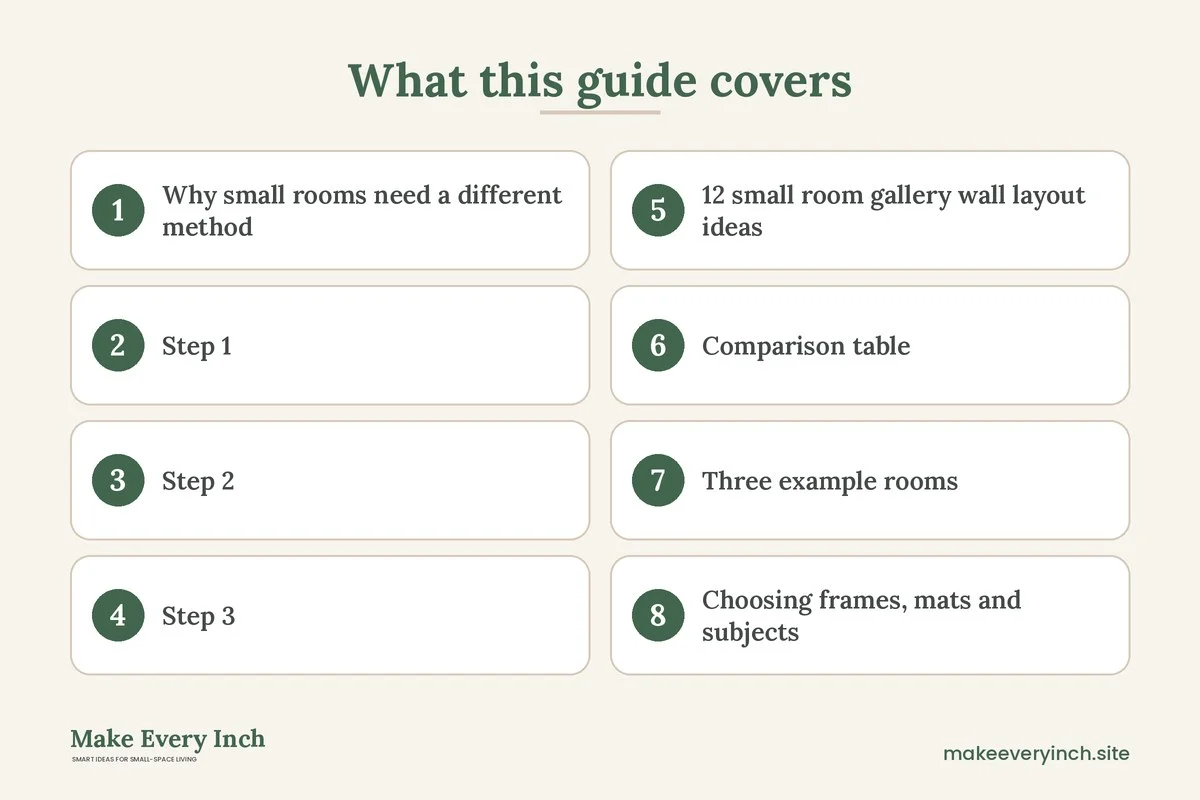
A small room gallery wall layout is a different problem from a gallery wall in a big living room. In a large space you can sprawl across twelve feet of wall and nobody notices the edges. In a small room the wall is short, the ceiling may be low, the furniture is close to the surface and every frame competes with a door, a window or a light switch. A gallery wall can still work beautifully, and it can even make a compact room feel more deliberate, but the planning has to be tighter. This guide focuses on the arithmetic and the sequence rather than on style: how to measure the wall, how to size the whole group, 12 layouts for specific wall shapes, a comparison table, three example rooms, a hanging method for owners and for renters, safety notes and a checklist. If you want the broader decorating picture first, start with our main guide to small room decor ideas.
Why small rooms need a different method
Most gallery wall advice is written for large, plain walls. Small rooms bring several constraints that change the answer. The first is proximity. You usually stand or sit only a few feet from the wall, so the details of the frames, the mats and the gaps are visible. Uneven gaps that disappear across a large room look sloppy at three feet. The second is interruption. A small wall often has a door frame, a heater, a vent, a switch plate or a window next to it, and the gallery must respect those. The third is scale. Oversized frames overwhelm a small wall, and a lot of tiny frames can look like clutter. The fourth is visual weight. One crowded wall in a compact room can pull the eye so hard that the rest of the room feels like an afterthought.
The method below handles these constraints in order. First you measure the wall and the furniture. Then you decide the outer shape of the group. Only after that do you choose the frames and plan the interior. People who start with the frames and try to fit them to the wall usually end up with a group that is too tall, too wide or off center.
Step 1: Measure the wall and the furniture
Measure the wall from corner to corner and from floor to ceiling. Then measure the furniture the gallery will relate to. A sofa, a bed, a desk, a console or a dresser each acts as an anchor. Write down the width and the height of the anchor and the distance from the top of the anchor to the ceiling.
Now note every obstruction. Mark the position of switches, outlets, vents, thermostats, door frames, window casings, sconces and any smoke alarm. A frame should never cover a vent or a thermostat, and you should keep a clear margin around a switch plate so nobody bumps the glass. If the room has a radiator or a baseboard heater, keep frames well above it so heat does not warp prints or loosen adhesive. Check your notes against the lease, because some landlords restrict what may be attached to a wall at all.
Step 2: Set the outer shape of the group
Treat the whole gallery as one big picture and decide its outline before you worry about individual frames. These rules suit most compact rooms.
- Width: about two thirds of the width of the furniture below, so a 72-inch sofa gets a group about 48 inches wide. On a bare wall, leave at least 8 to 12 inches of space on each side to a corner or a door frame.
- Height of the group: between 20 and 36 inches for most small walls. Taller groups need a ceiling of at least 9 feet to feel balanced, and a group that fills more than half of the wall height makes a low room feel lower.
- Gap above furniture: 6 to 8 inches between the top of a sofa or console and the bottom of the group. Over a bed, 8 to 10 inches above the headboard works, and some people prefer a bit more.
- Center line: the visual center of the group at roughly 57 inches from the floor, which is a common eye-level standard for gallery walls. In a room where people mostly sit, such as a living room or a bedroom, you can lower this to 50 to 54 inches.
- Gap between frames: 2 to 3 inches, and the same gap everywhere. A consistent gap is the main thing that makes a group look planned.
If your numbers do not fit, shrink the group, not the gaps. Use fewer frames or a smaller maximum frame size before you give up the 2 to 3 inch rhythm.
Step 3: Cut paper templates and tape them up
This is the step that saves walls. Trace each frame on kraft paper or newspaper, cut it out and write the frame size on it. Mark on the back of each template the position of the hanger, measured from the top of the frame. Tape the templates on the wall with painter’s tape, and rearrange them until you like the arrangement. Stand back at the distance you usually view the wall from, and take a photo, because a photo shows imbalance that your eye forgives.
Painter’s tape on the floor can help for freestanding arrangements too, but for a wall the templates are essential. Once you are happy, transfer the hanger marks from each template to the wall and hang. If you use adhesive strips, put them on the frame first, then press each frame in place by its template position.
12 small room gallery wall layout ideas
Grid layouts for tight, orderly walls
1. A two-by-three grid of matching frames
Six frames of the same size in two rows of three is the cleanest option for a small wall. With 8 by 10 inch frames and a 2 inch gap, the group measures about 28 by 22 inches, which suits a narrow wall beside a window. The uniformity makes the wall feel calm.
2. A three-by-three grid above a console
Nine small frames, such as 5 by 7 inches, fill a square of about 19 inches on each side when the gaps are 2 inches. It is an excellent format for a collection of small prints or postcards, and it fits above a narrow console without crowding the lamp.
3. A single row over the sofa or bed
A horizontal row of three to five frames reaches the right width while staying shallow. This layout suits low-ceilinged rooms because it adds interest without adding height. Keep the frames the same height and align their centers or their tops.
Layouts that follow the furniture
4. A stacked pair above a desk
Two frames stacked vertically fit the narrow space above a small desk. Leave at least 18 inches between the desk surface and the lower frame so a monitor or a lamp has room. This is a minimal answer to a work nook that needs something to look at.
5. A symmetrical group centered above a sofa
Put one large frame, such as 16 by 20 inches, in the center and pair smaller frames on each side. The center line sits on the center of the sofa, and the whole group measures about two thirds of the sofa width. Symmetry is forgiving, since small errors vanish, which is a plus for a first attempt.
6. An asymmetric cluster beside a window
Place an irregular cluster on the wall next to a window, and let the outline follow the window height. The cluster can start 4 to 6 inches from the casing. Keep the closest frame clear of any curtain that swings.
7. An arc above a headboard
Frames arranged in a gentle arc above a bed give a soft frame to the head of the bed. Keep the whole arc within the width of the headboard, with the lowest frames 8 to 10 inches above it. Never hang heavy glass directly above the pillow, and read the safety section below.
Layouts that do not need nails
8. A picture ledge row
A shallow ledge holds three to five frames that lean against the wall and can be changed in minutes. One ledge fixed at the center line is enough. Where drilling is not allowed, place a freestanding ledge on a console or dresser instead.
9. Frames leaned on a dresser or a shelf
A group of leaning frames at various heights creates a gallery with no holes. Keep the largest frame at the back and in the corner, and let small frames overlap it. See our guide to renter-friendly wall decor ideas for more no-hole methods.
10. A tension rod and clip system
A tension rod in an alcove or a window recess holds a row of light prints on clips. It suits a nook where the walls are plain and the width is fixed. Respect the weight rating of the rod, and use light paper prints only.
Layouts for awkward spaces
11. A vertical strip on a narrow wall
A narrow stretch of wall between a door and a corner can hold a tall column of three to five frames. The column should be 10 to 16 inches wide, with 2 to 3 inches between frames and 6 to 8 inches clear of the door frame. For ideas about these spaces, see our guide to hallway gallery wall ideas for small homes.
12. A staircase or sloped-ceiling group
Under a sloped ceiling, a group that follows the angle looks intentional. Start with the lowest frame at least 4 inches below the slope, and step each frame upward. Use small frames so nothing touches the ceiling, and keep clear of any attic eaves that could knock a head.
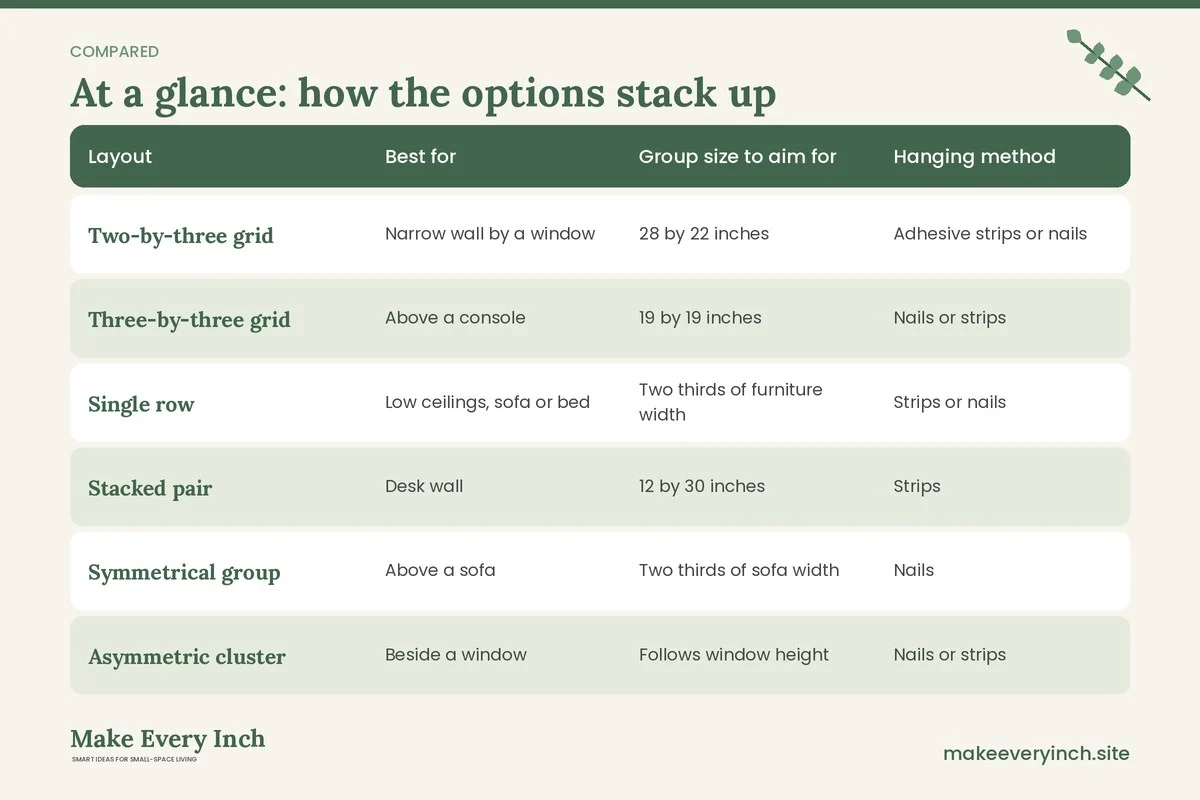
Comparison table: which layout suits which wall
| Layout | Best for | Group size to aim for | Hanging method | Difficulty |
|---|---|---|---|---|
| Two-by-three grid | Narrow wall by a window | 28 by 22 inches | Adhesive strips or nails | Easy |
| Three-by-three grid | Above a console | 19 by 19 inches | Nails or strips | Medium |
| Single row | Low ceilings, sofa or bed | Two thirds of furniture width | Strips or nails | Easy |
| Stacked pair | Desk wall | 12 by 30 inches | Strips | Easy |
| Symmetrical group | Above a sofa | Two thirds of sofa width | Nails | Easy |
| Asymmetric cluster | Beside a window | Follows window height | Nails or strips | Hard |
| Arc | Above a bed | Headboard width | Strips | Medium |
| Picture ledge | Rentals, frequent change | 24 to 48 inches long | Ledge or freestanding | Easy |
| Leaning frames | No-hole rooms | Dresser width | None | Easy |
| Tension rod | Alcoves | Alcove width | Rod only | Easy |
| Vertical strip | Narrow wall | 10 to 16 inches wide | Strips or nails | Medium |
| Sloped group | Attic or eaves | Follows the slope | Nails | Hard |
Three example rooms
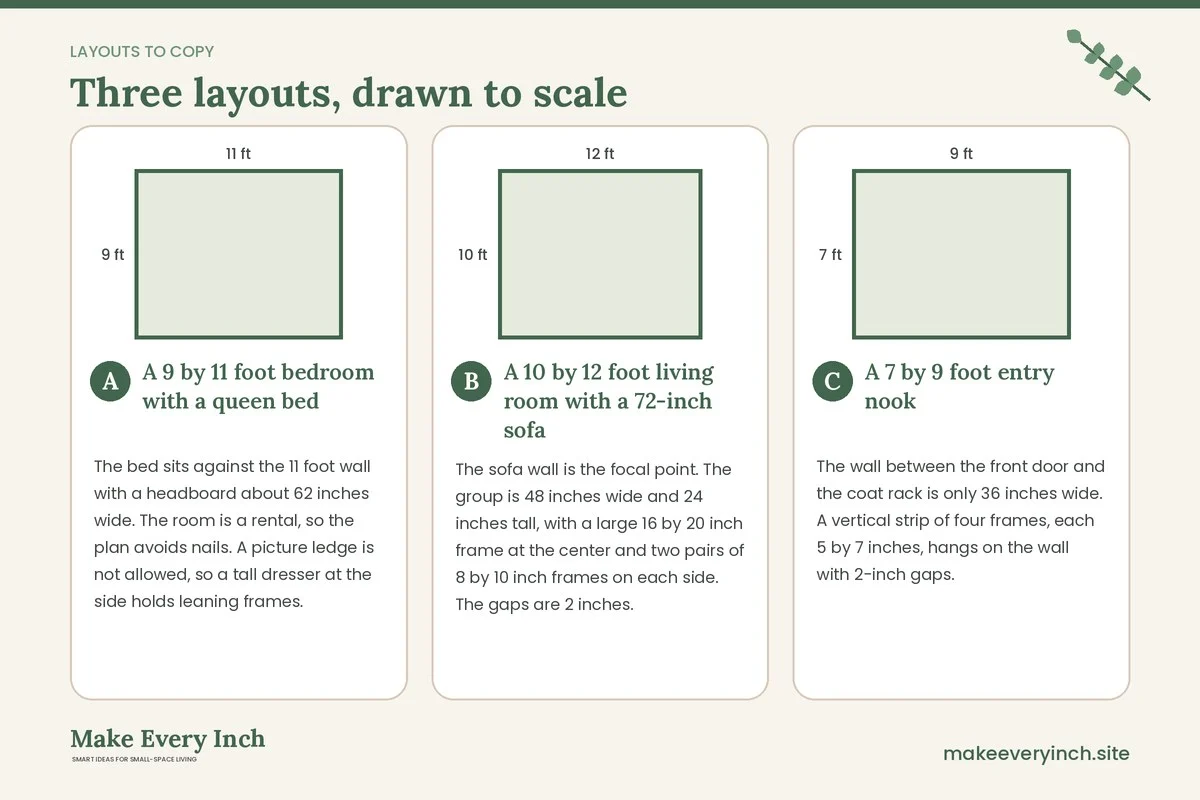
A 9 by 11 foot bedroom with a queen bed
The bed sits against the 11 foot wall with a headboard about 62 inches wide. The room is a rental, so the plan avoids nails. A picture ledge is not allowed, so a tall dresser at the side holds leaning frames. Above the bed, a row of three lightweight frames hangs from adhesive strips rated for their weight, kept within a 44-inch width and 9 inches above the headboard. The center line is 52 inches from the floor, because people mostly look at the wall from the bed. Frames are plastic or acrylic glazed, which is lighter and safer above a sleeping area than glass.
A 10 by 12 foot living room with a 72-inch sofa
The sofa wall is the focal point. The group is 48 inches wide and 24 inches tall, with a large 16 by 20 inch frame at the center and two pairs of 8 by 10 inch frames on each side. The gaps are 2 inches. The bottom of the group is 7 inches above the sofa back, and the center line is 55 inches from the floor. The owner uses picture hangers into studs for the large frame and nails for the others. A floor lamp stands to the left, and the group stays 12 inches away from it.
A 7 by 9 foot entry nook
The wall between the front door and the coat rack is only 36 inches wide. A vertical strip of four frames, each 5 by 7 inches, hangs on the wall with 2-inch gaps. The column is 14 inches wide and 28 inches tall, starting 8 inches above a narrow console. A small mirror takes the top position to bounce light. The frames are matted in white and set in thin black frames, which looks tidy next to a busy rack.
Choosing frames, mats and subjects
A cohesive small gallery depends on restraint. Pick no more than two frame finishes, such as thin black and natural wood, and repeat them across the group. A wide white mat inside a small frame makes the art look bigger and gives the eye a rest. Keep the subjects related by color or by subject, such as botanical prints and a family photo in black and white, so the group reads as one idea. Limit the palette to three or four colors, and let one piece be the largest or the brightest to give the group an anchor.
For an easy start, mix one large piece, two medium pieces and four to six small ones. Fill the larger gaps with a mirror or a small shelf, but do not pack the wall edge to edge. The empty margin around the group is part of the design. For ideas about what goes in the frames, our post on small space wall art ideas has plenty of options, and the ideas in small room decor ideas that avoid clutter will help you keep the wall restrained.
How to hang a gallery wall safely
Hang according to the wall, the weight and the lease.
- Check the lease first. Many leases forbid nails or limit the number of holes. Ask in writing, and photograph the wall before you start. If nails are forbidden, use leaning, ledge or strip-based layouts, and never drill without permission.
- Know your wall. Plaster, drywall, brick and concrete need different hardware. Use the right anchor for the weight, and never use an anchor that is too small for the load.
- Find studs for heavy frames. A large framed mirror or a big piece of glass belongs on a stud or on a proper wall anchor rated for the weight. Light paper prints can go on small nails or strips.
- Respect strip weight limits. Adhesive strips have a rated load, and the instructions give a number per pack. Stay below it, use the full number of strips the pack requires and press for the stated time. Strips hold poorly on textured, dusty, damp or freshly painted walls. Leave newly painted walls for the period recommended by the paint maker so the surface is cured.
- Keep glass away from beds and cribs. Above a bed, a crib or a changing table, use acrylic or lightweight frames, or hang the art higher on the wall with a secure fixing. Avoid heavy glass where a person sleeps or a child plays.
- Think about pets and children. Low frames can be knocked by a dog’s tail or pulled by a toddler, so keep the lowest frame at least 36 inches from the floor in a home with young children, and use safety hangers or museum putty on frames within reach.
- Mind electrical safety. Do not hang frames directly over an outlet cover, and do not drive nails into a wall near a switch or outlet, where wiring can run. If you are unsure what is behind a wall, ask the landlord or a qualified electrician before drilling.
- Do not hang over a heat source. A frame near a radiator, a stove or a fireplace can warp, and glass can crack.
- Anchor leaning pieces. Large leaning mirrors and tall frames can tip. Anchor them with a secure strap or a wall anchor where permitted, and place a non-slip pad under the bottom edge.
Common mistakes in a small gallery
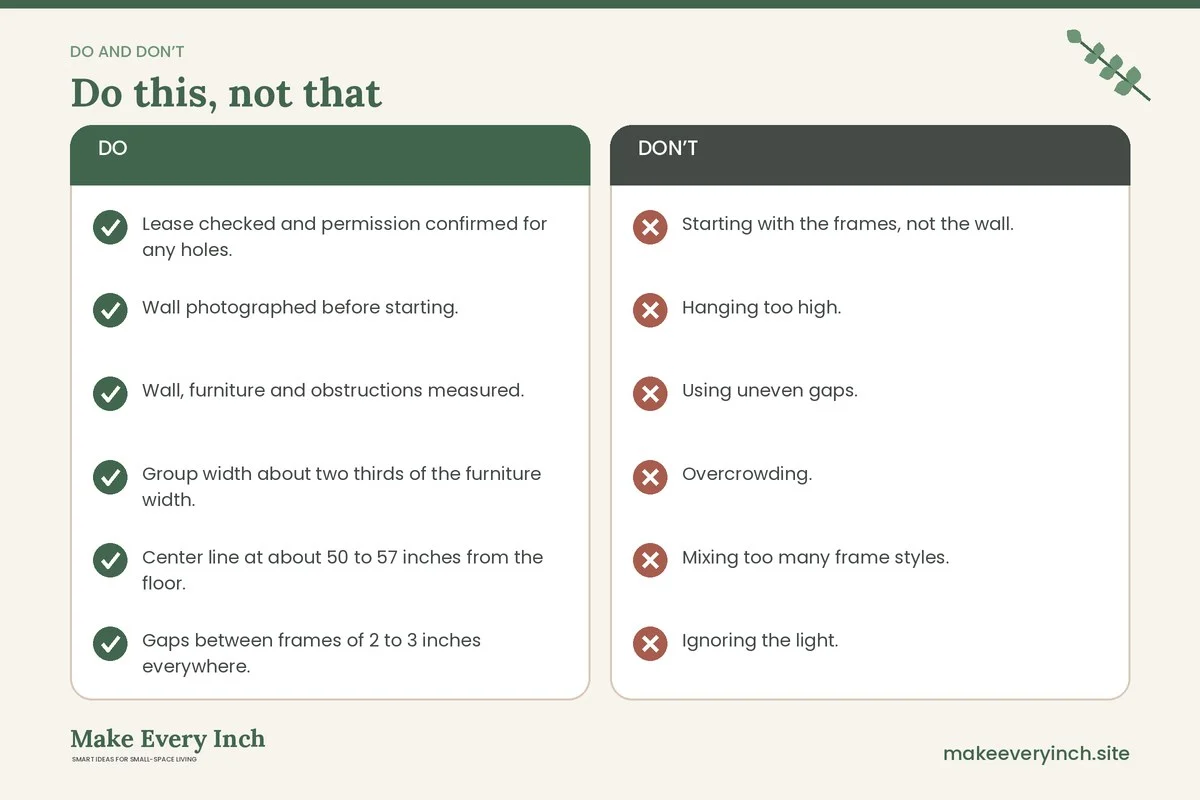
- Starting with the frames, not the wall. Always plan the outline and the center line first.
- Hanging too high. In a small room, frames above 60 inches tend to float away from the furniture. Aim for the center at 50 to 57 inches.
- Using uneven gaps. Inconsistent spacing is the fastest way to a messy look. Use a spacer, such as a cardboard strip cut to 2 inches.
- Overcrowding. A group with no breathing room around it eats the wall. Leave margins.
- Mixing too many frame styles. Three finishes or more tend to look chaotic at close range.
- Ignoring the light. Glare from a window can wash out glass. See the next section.
- Forgetting to plan removal. If you rent, record where every hook went so you can take everything down and fill any small holes at the end of the lease.
Lighting the wall
Light affects how a gallery reads in a small room. Glass reflects windows and lamps, so hang the group where reflection is limited, or choose non-glare glazing. Direct sun fades paper and photographs over time, so keep valued prints away from a south-facing window or use UV-filtering glazing. A plug-in picture light or a slim wall lamp can highlight the group in the evening, but use only fixtures that suit a rental, keep cords tidy and never run a cord where someone can trip. For more ideas, see our guide on renter-friendly lighting ideas and the post about layered lighting ideas for small apartments.
Painting and background
A gallery wall can sit on a plain neutral wall, which is the easiest background, or on a color that frames the art. A soft mid-tone can make white mats glow, while a light wall calms a busy mix. If you paint, choose low-VOC paint, ventilate the room during painting and for the drying time the label gives, and keep children and pets out of the room until it is dry. In a rental, ask before painting, and consider whether removable wallpaper is allowed. See our post on colors that make small rooms look bigger for guidance.
A simple step-by-step plan for one weekend
1. Choose the wall and photograph it.
2. Measure the wall, the furniture and every obstruction.
3. Decide the outer width and height of the group using the two-thirds rule.
4. Gather the frames and choose no more than two finishes.
5. Trace each frame on paper and cut templates.
6. Tape the templates on the wall and adjust until balanced.
7. Take a photo from the viewing spot and compare.
8. Mark the hanger positions through the templates.
9. Hang the largest frame first, then work outward.
10. Check level and spacing with a spacer and a small level.
11. Step back, look, and adjust the last frames.
12. Record the hook positions if you rent.
Small room gallery wall checklist
- Lease checked and permission confirmed for any holes.
- Wall photographed before starting.
- Wall, furniture and obstructions measured.
- Group width about two thirds of the furniture width.
- Center line at about 50 to 57 inches from the floor.
- Gaps between frames of 2 to 3 inches everywhere.
- Paper templates cut and taped up.
- Frames limited to two finishes.
- Strip weight limits respected.
- Large frames fixed to studs or proper anchors.
- No heavy glass above a bed or a crib.
- Tall leaning pieces anchored where allowed.
- Vents, switches and thermostats left clear.
- Glare and sun fade considered.
FAQ
How many frames should a small room gallery wall have?
Between 3 and 9 frames suits most small walls. Fewer frames in a larger size often look better than many tiny ones. Start with 5 and add if the wall asks for more.
How high should I hang a gallery wall in a small room?
Aim for the center of the group at about 57 inches from the floor, or 50 to 54 inches in rooms where you mostly sit. Over furniture, leave 6 to 8 inches between the furniture and the lowest frame.
What size frames work best in a small room?
Frames from 5 by 7 inches to 16 by 20 inches cover most needs. Use one larger piece as an anchor and smaller ones around it. Avoid oversized frames on a short wall.
Can I do a gallery wall in a rental without making holes?
Yes. Use picture ledges that stand, leaning frames, a tension rod with clips, or adhesive strips rated for the weight. Check the lease, test the strips on a hidden spot and photograph the wall first.
Should the frames match?
They do not have to match, but a limited set of finishes helps the group look cohesive. Two finishes and a shared palette are enough to make a mixed group look intentional.
How do I keep the wall from looking cluttered?
Leave margin around the group, keep the gaps even, repeat a color or a frame finish and keep the group to two thirds of the furniture width.
Keep going: Keep going with our guides to small room decor ideas, small space wall art ideas and small room mirror placement ideas.
Save this guide for later
Pin the ideas you like to Pinterest so you can come back to them when you plan your space.