Small Living Room Makeover Ideas Budget Plan: Stage the Work by Spend
Quick answer: The smartest small living room makeover ideas budget plan is to stage the work by spend. Start with free changes (declutter, rearrange, reuse), move to low-spend fixes (paint, bulbs, textiles), then fund one anchor piece, and only then think about upgrades. Spend in that order and each stage shows you whether the next one is still needed. Keep 30 to 36 inches of walkway and set your total before you shop.
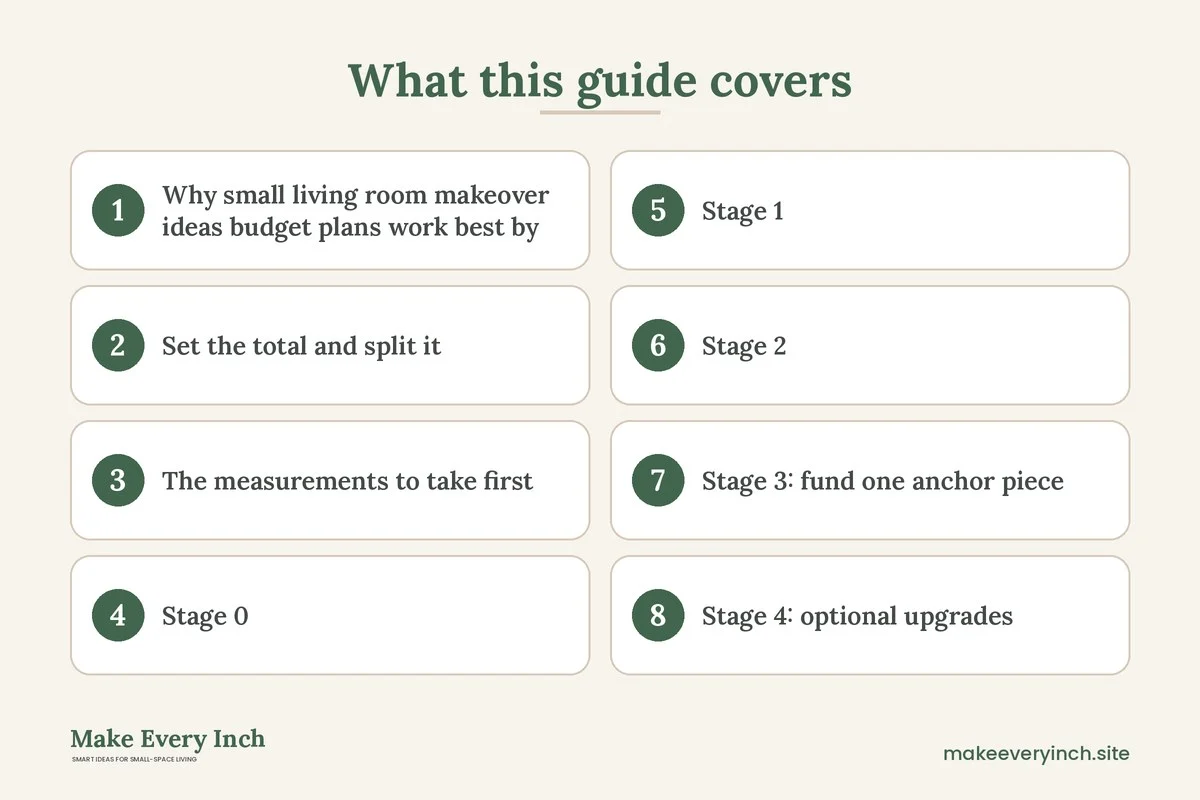
Small living room makeover ideas budget plans usually fail for one reason: people buy first and plan later. A cushion here, a lamp there, a rug that looked right in a shop, and a month later the room is fuller but not better. This guide takes a different route. Instead of listing ideas by style, it stages the makeover by spend, so you pay for the biggest visual change per unit of money first and stop as soon as the room works. The stages are Stage 0 (free), Stage 1 (very low spend), Stage 2 (low spend), Stage 3 (one anchor piece) and Stage 4 (optional upgrades). Along the way you will find measurements, a stage table, three example rooms, a four-week schedule, a checklist and a FAQ. If you want a fixed small total instead of a staged approach, read our separate guide to a small living room makeover under 500. For the wider topic, see the parent guide to small living room makeover ideas and the broader small living room ideas pillar.
Why small living room makeover ideas budget plans work best by stage
A makeover has a few jobs: make the room feel bigger, make it work better and make it feel like yours. Different kinds of change do these jobs at very different prices. Moving a sofa and clearing a shelf costs nothing and often does more for a small room than any purchase. A coat of paint or a better bulb costs little and changes the mood. A rug or a sofa costs more and changes the layout. Staging means you do the cheapest, highest-impact things first and let the room tell you what it still needs.
There is a second benefit. Money you do not spend on Stage 1 is still available at Stage 3, where it matters most. Many people discover after Stage 2 that the room already feels finished, or that the one remaining problem is a single piece, such as seating that is too deep or a rug that is too small. Knowing the real problem prevents the scatter-shot purchases that eat a budget.
Set the total and split it
Before Stage 0, choose a total you are comfortable with and write it down. Then split it in rough shares. A common starting split, which you should adjust to your room, looks like this:
- Reserve: about 10 to 15 percent held back for surprises, such as a missing fixing or a second coat of paint.
- Stage 1 and 2 (paint, light, textiles): about 25 to 35 percent.
- Stage 3 (the anchor piece): about 40 to 50 percent.
- Stage 4 (optional upgrades): whatever is left, which may be nothing.
These shares are guidelines, not rules. A room with decent furniture but flat walls might push more into paint and light. A room with a worn sofa might move the anchor share higher. The point is to decide the split before you shop, because a total without a split drifts toward whatever you saw last.
Prices vary by region and season, so this plan avoids fixed figures. Use your own local numbers when you fill in the planner at the end of each stage.
The measurements to take first
Good decisions start with a tape measure. Spend ten minutes recording the numbers below. They protect your budget because they stop you buying something that does not fit.
- Room length and width, wall to wall, plus ceiling height.
- Window width and height, and the distance from the window frame to the ceiling and to the nearest corner.
- Doorway clearances, including the swing of every door.
- Main walkway: keep it 30 to 36 inches wide. A rarely used side path can be 24 inches.
- Sofa to coffee table: 14 to 18 inches of knee room.
- Rug size: in most small rooms, 5 by 8 feet or a close size, with at least the front legs of the sofa and chairs on it.
- Sofa depth and height: shallow sofas of roughly 32 to 36 inches deep leave more floor than deep ones.
- TV viewing distance: often about 7 to 9 feet in a small room, depending on the screen.
- Curtain rod placement: about 4 to 6 inches above the window frame and 6 to 10 inches wider on each side.
Draw the room on graph paper with one square per foot, or use painter’s tape on the floor to mark furniture at full size. Tape is a free way to test a layout before you spend anything.
Stage 0: free changes (declutter, layout, reuse)
Stage 0 costs nothing but time, and it is where most small rooms make their biggest gain.
Declutter in three passes
Pass one removes things that do not belong in the room: mail, toys, laundry, empty boxes. Pass two removes duplicates and broken items. Pass three is the hard one: things you could keep but do not use. Photograph the room before and after each pass. Seeing the before image next to the after image keeps you honest about how much you removed. Use the same angle each time.
Rearrange before you buy
Try at least three layouts with tape. The common ones are the sofa on the longest wall, the sofa floating with a console behind it, and the seating angled into a corner. Pick the one that gives a clear walkway, keeps the window unblocked and lets the door swing fully. A layout that works well often removes the urge to buy a bigger sofa or more storage. For layout ideas, see our guide to small living room layout ideas.
Shop the rest of your home
Look in the bedroom, the hall and the storage cupboard for lamps, cushions, frames, trays and baskets. A lamp from a spare room, a mirror from a hallway and a tray from the kitchen can all work in the living room. Moving things costs nothing, and you can move them back.
Reset the walls
Take down anything that has not earned its place. Group what remains. A cluster of frames on one wall reads as a deliberate display, while art scattered around the room looks like clutter. Keep the bottom edge of a frame group about 8 to 10 inches above a sofa.
Stage 1: very low spend (light, small fixes)
Stage 1 is the cheapest paid stage. It deals with the details that make a room feel unfinished.
Fix the light first
Light changes how big a room feels and costs little to improve. Replace harsh or mismatched bulbs with warm ones, around 2700 kelvin for evenings, and keep the brightness similar across lamps. Make sure the bulb matches the fixture’s rating, and turn power off before changing a bulb. Do not exceed the wattage printed on a lamp. Use plug-in lamps rather than rewiring anything, and ask a qualified electrician if a fixture needs work. For more, see our guide to small living room lighting ideas on a budget.
Clean everything
A deep clean is a makeover. Wash the windows, wipe the baseboards, vacuum under the sofa and wash the curtains. Light comes in more cleanly through a clean window, and fresh surfaces look newer than they are.
Small fixes that show
Tighten loose handles, replace a missing knob, fix a sticking door and re-hang a crooked shelf. These tasks cost very little and remove the small signs of neglect that make a room feel tired.
A plant or two
One or two plants soften corners. Choose varieties suited to your light, and keep them off the walkway.
Stage 2: low spend (paint, curtains, textiles)
Stage 2 is where the room starts to look different.
Paint, the highest-impact low-spend change
Paint is the most transformative low-spend upgrade because walls are the largest surface in the room. Choose a light, warm color to bounce light around, or a single deeper accent wall if you like drama. A few notes:
- Check the lease first if you rent, and keep the original color if repainting is not allowed.
- Ventilate: open windows and run a fan while painting and for some time afterward. Choose low-VOC paint, which gives off fewer fumes, and follow the label.
- Protect floors and furniture with drop cloths and masking tape, and wear a mask if the label advises it.
- Sample first: paint a patch and look at it morning and evening. A color shifts with the light.
- Do the ceiling only if needed. A fresh white ceiling lifts the whole room, but it is the most tiring job.
For a small room, painting the trim and walls close in tone makes the edges blur, which can make the space feel larger.
Curtains: hang them high
Mount the rod 4 to 6 inches above the window frame, or closer to the ceiling if there is room, and extend it 6 to 10 inches beyond the frame on each side. Let the curtains graze the floor or stop about half an inch above it. Pick a light fabric that lets daylight through, or add a liner if you need privacy. High, full curtains make the window and the ceiling look taller. A tension rod costs little and avoids drilling.
Textiles: cushions, throws, a rug
Textiles add color and softness fast. Choose two or three colors and repeat them across cushions, a throw and a rug. Mix textures, such as a knit throw with a smooth cushion, so the room feels layered. Use a rug that is large enough to anchor the seating, because a small rug floating in the middle makes the room look smaller. Second-hand and off-season shopping often turn up a good rug for less.
Stage 3: fund one anchor piece
Stage 3 is the biggest decision. After Stages 0 to 2, the room usually has one problem left, and it is almost always the sofa, the storage or the table. Put the largest share of your budget into fixing that one problem rather than spreading it across several small purchases.
Choose the anchor by asking which one change would improve daily life most:
- The sofa is too deep, too bulky or worn. Look for a smaller sofa with raised legs and slim arms so you can see the floor beneath it. See our guide to best sofas for small apartments.
- There is nowhere to put things. A tall, narrow unit uses the wall. If you buy tall furniture, anchor it to the wall with the straps or brackets supplied, and keep heavy items on low shelves, since tall pieces can tip, especially around children and pets. See best narrow bookshelves.
- There is no surface near the seat. A pair of side tables or an ottoman with a tray solves it, and a storage version also hides clutter. See best storage ottomans.
Second-hand shops, online marketplaces and floor-model sales are good places to find anchor pieces for less. Inspect the frame, test the cushions and measure the door and stairs before you commit.
Stage 4: optional upgrades
If money remains, add upgrades that improve how the room feels rather than what it contains. Good candidates are a second lamp for layered lighting, a mirror opposite the window, a media console that hides cables, or a plant stand. Stop adding when the room reaches the point where it feels calm. Anything beyond that is decoration for its own sake, and it is easier to stop than to undo.
A mirror placed across from or beside a window reflects daylight and can make a small room feel wider. Hang it securely with fixings rated well above its weight, and keep it away from heat and splashes.
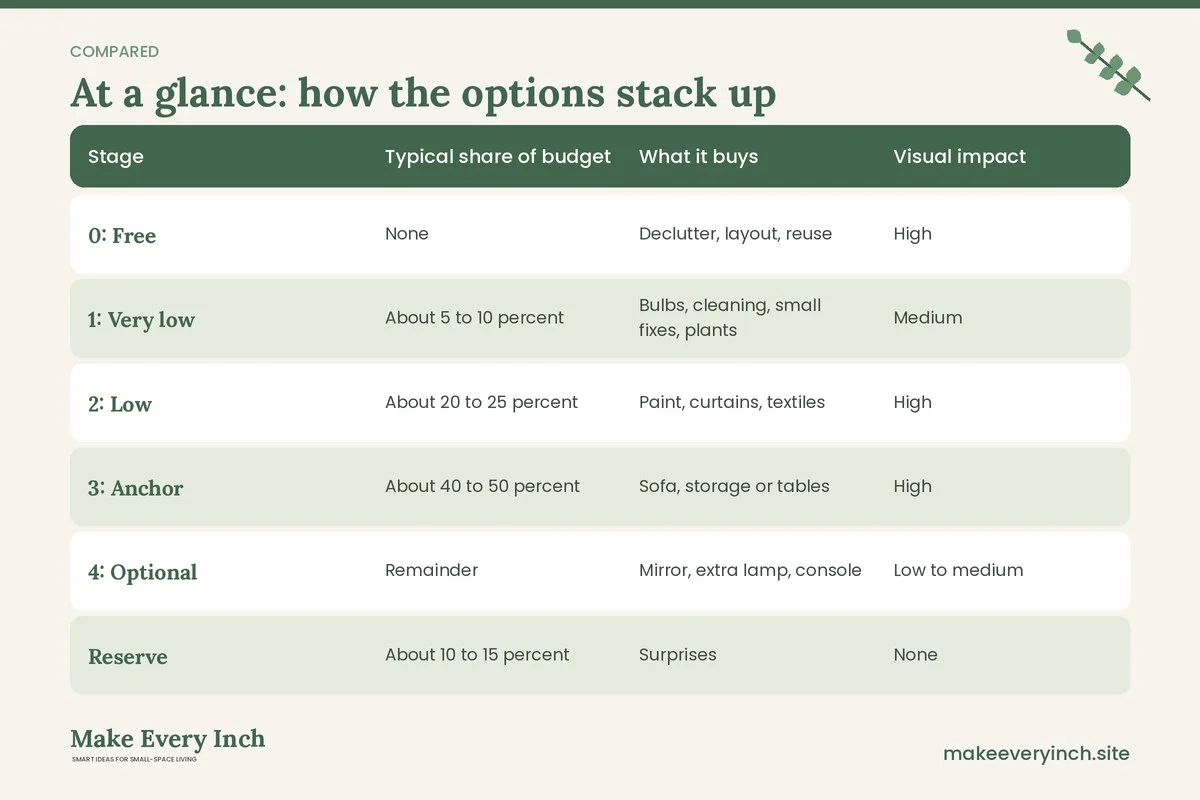
Stage table: what each stage does
| Stage | Typical share of budget | What it buys | Visual impact | Reversible? |
|---|---|---|---|---|
| 0: Free | None | Declutter, layout, reuse | High | Yes |
| 1: Very low | About 5 to 10 percent | Bulbs, cleaning, small fixes, plants | Medium | Mostly |
| 2: Low | About 20 to 25 percent | Paint, curtains, textiles | High | Paint is semi-permanent |
| 3: Anchor | About 40 to 50 percent | Sofa, storage or tables | High | Resellable |
| 4: Optional | Remainder | Mirror, extra lamp, console | Low to medium | Yes |
| Reserve | About 10 to 15 percent | Surprises | None | Not applicable |
Three example rooms
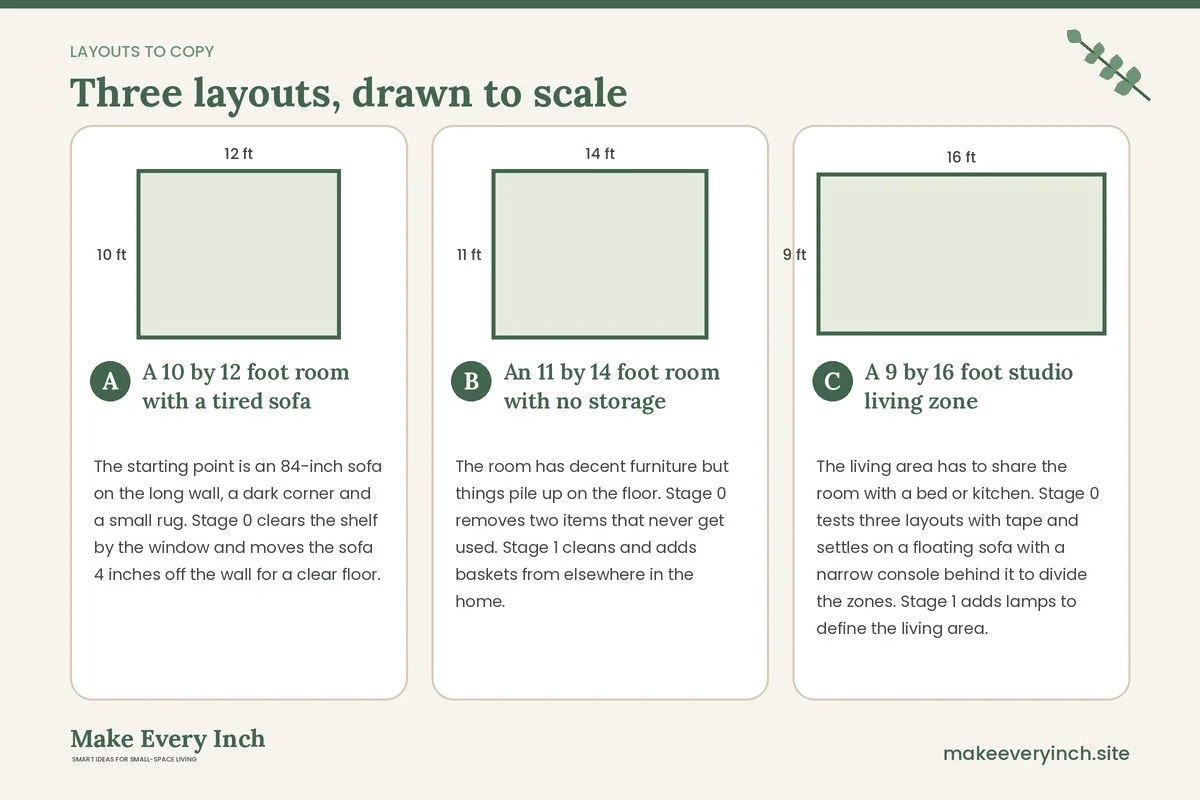
A 10 by 12 foot room with a tired sofa
The starting point is an 84-inch sofa on the long wall, a dark corner and a small rug. Stage 0 clears the shelf by the window and moves the sofa 4 inches off the wall for a clear floor. Stage 1 swaps the cool bulbs for warm ones and adds a plug-in lamp to the dark corner. Stage 2 paints the walls a light warm tone and adds curtains hung high. Stage 3 swaps the old rug for a 5 by 8 foot one that sits under the front legs, which is the real fix. The sofa stays. Stage 4 is skipped because the room now works.
An 11 by 14 foot room with no storage
The room has decent furniture but things pile up on the floor. Stage 0 removes two items that never get used. Stage 1 cleans and adds baskets from elsewhere in the home. Stage 2 adds curtains and textiles. Stage 3 funds one tall, narrow storage unit, strapped to the wall, and an ottoman with a lid. The change in clutter is bigger than any decorating would have been. Stage 4 adds a mirror opposite the window.
A 9 by 16 foot studio living zone
The living area has to share the room with a bed or kitchen. Stage 0 tests three layouts with tape and settles on a floating sofa with a narrow console behind it to divide the zones. Stage 1 adds lamps to define the living area. Stage 2 adds a rug that marks the zone and curtains that soften the window. Stage 3 funds the console and a pair of side tables. Keep a 30-inch walkway along the wall.
A four-week schedule
Spreading the work over four weeks also spreads the cost and gives you time to learn what the room needs.
Week 1: Stage 0
Measure, tape the layout, declutter in three passes, take before photos and move furniture. Write down what still bothers you.
Week 2: Stage 1
Deep clean, swap bulbs, add plug-in lamps, fix small things and bring in plants. Take a mid-point photo.
Week 3: Stage 2
Paint on a weekend with windows open and time to dry. Hang curtains. Add textiles and a rug. Allow the paint to cure before you push furniture against it.
Week 4: Stage 3 and 4
Buy the anchor piece, either new or second-hand, and place it. Add optional extras only if the room still needs them. Take the after photos from the same angles as the before photos.
If you only have a weekend, do Stage 0 on Saturday morning, Stage 1 in the afternoon and Stage 2 on Sunday. Leave Stage 3 for later.
Mistakes that waste a budget
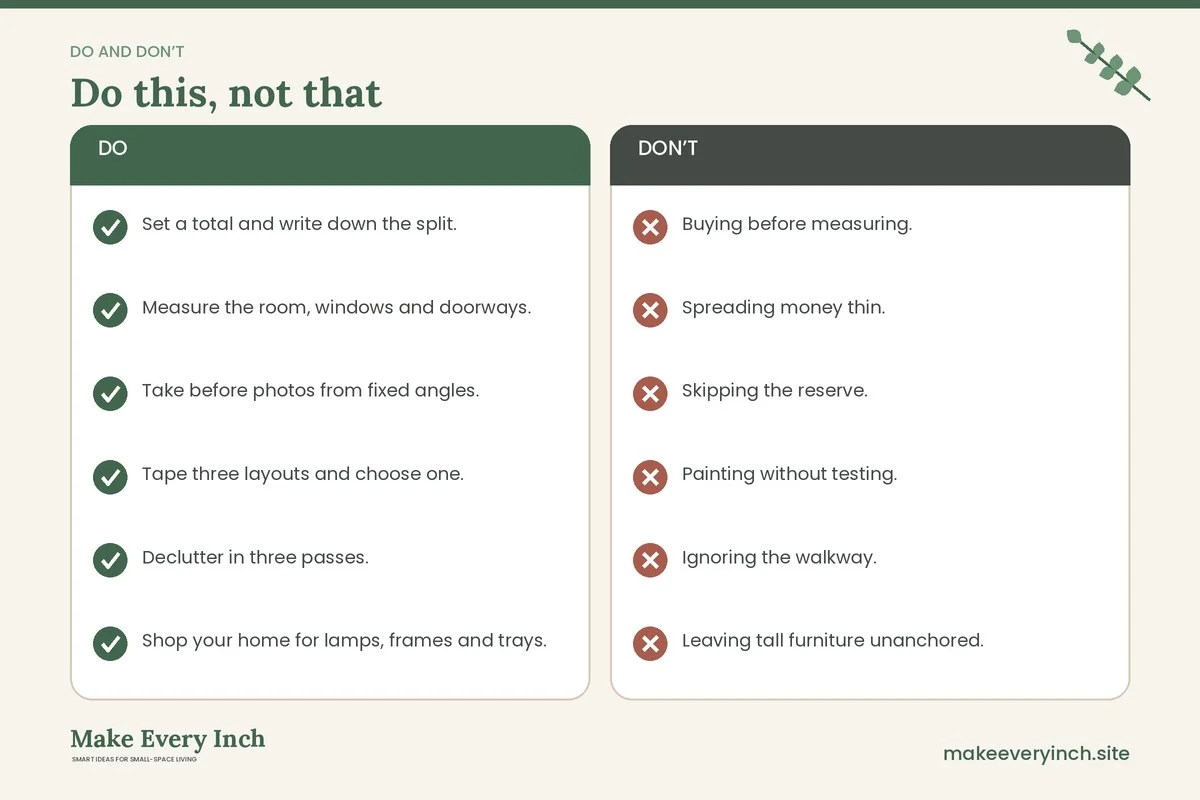
- Buying before measuring. A piece that does not fit is the most expensive mistake.
- Spreading money thin. Five small buys rarely beat one good one.
- Skipping the reserve. Something always comes up.
- Painting without testing. A color that looked good on a screen can look flat in your light.
- Ignoring the walkway. A full room that cannot be crossed does not feel bigger.
- Leaving tall furniture unanchored. Tipping is a safety risk, so use the straps.
- Overloading sockets. Do not daisy-chain extension leads or exceed the rating on a power strip.
Budget makeover checklist
- Set a total and write down the split.
- Measure the room, windows and doorways.
- Take before photos from fixed angles.
- Tape three layouts and choose one.
- Declutter in three passes.
- Shop your home for lamps, frames and trays.
- Swap in warm bulbs and clean the windows.
- Paint with ventilation and low-VOC paint.
- Hang curtains high and wide.
- Choose a rug that fits under the front legs.
- Fund one anchor piece and anchor tall furniture.
- Keep the walkway at 30 to 36 inches.
- Take after photos and note what to adjust.
FAQ
How do I decide how much to spend on a small living room makeover?
Choose a total you are comfortable with, hold back a reserve of roughly 10 to 15 percent and split the rest across the stages. Spend on the stage with the greatest visual change first, and stop when the room works.
What is the best first step for a small living room makeover on a budget?
Declutter and rearrange. It costs nothing and often changes the room more than any purchase. Test layouts with painter’s tape before you move heavy furniture.
Is paint worth it on a budget?
For most rooms, yes. Walls are the largest surface, so paint offers a large change for a small spend. Ventilate the room, choose low-VOC paint and check your lease if you rent.
Should I buy a new sofa or fix everything else first?
Fix the cheaper things first. Many rooms feel finished after layout, light, paint and a properly sized rug. If the sofa is still the problem, make it your Stage 3 anchor.
How is this different from the under 500 guide?
This post is a staged framework you can apply at any total, while the under 500 guide works to a fixed, small ceiling. Use the staged plan to decide where money goes, then use that guide if you want a specific low total.
Can I do a makeover in one weekend?
You can do Stages 0 to 2 in a weekend if you start with a clear plan. Allow paint to dry properly, and leave the anchor purchase for later.
Keep going: Keep planning with our small living room ideas for renters, small living room furniture ideas on a budget and small living room storage ideas on a budget.
Save this guide for later
Pin the ideas you like to Pinterest so you can come back to them when you plan your space.