Small Bathroom Ideas Before and After: Plan, Photograph and Compare
Quick answer: A small bathroom before after makeover works best when you treat the “before” as data, not just a photo. Measure the room, list what annoys you, shoot the same four angles before and after, change the biggest problems first (light, clutter, color, storage) and keep every step reversible if you rent. Ventilation, GFCI-protected outlets near water and low-VOC finishes matter more than any decorative choice.
A small bathroom before after project is satisfying because the change is so easy to see. A narrow room that felt dim and crowded can feel calm and bright after a handful of decisions, and a good pair of photographs shows exactly what changed. The trouble is that many makeovers are planned backwards. People buy items they like, install them, and only later notice that the room still feels cramped, because the original problem was never named. This guide shows a different approach: a small bathroom before after plan that starts with a written audit, uses a repeatable photo method, ranks changes by impact and effort, and ends with a comparison you can trust. It includes three example rooms with measurements, a table, a safety list and an FAQ. For the full range of options, read our main small bathroom ideas pillar, the small bathroom makeover ideas post and our guide to small bathroom layout ideas that work.
Why the “before” matters more than the “after”
Most people start a makeover by browsing finished rooms. That is inspiring, but it hides the most useful part of the story, which is the starting point. A finished photo tells you what the room looks like; a good before record tells you why it looked that way and which changes caused the improvement.
Think of the before stage as three jobs. The first is measuring, so that every later decision uses real numbers. The second is naming the problems, so you spend effort where it counts. The third is photographing in a repeatable way, so the comparison is honest. If you skip these jobs, you may end up crediting a new shower curtain for a change that really came from clearing a windowsill and opening a blind.
A written before also protects you from a common trap: changing everything at once. When several things shift together you cannot tell which ones helped, and you may keep items that did nothing. A staged plan lets you stop when the room works, and it keeps the project calmer.
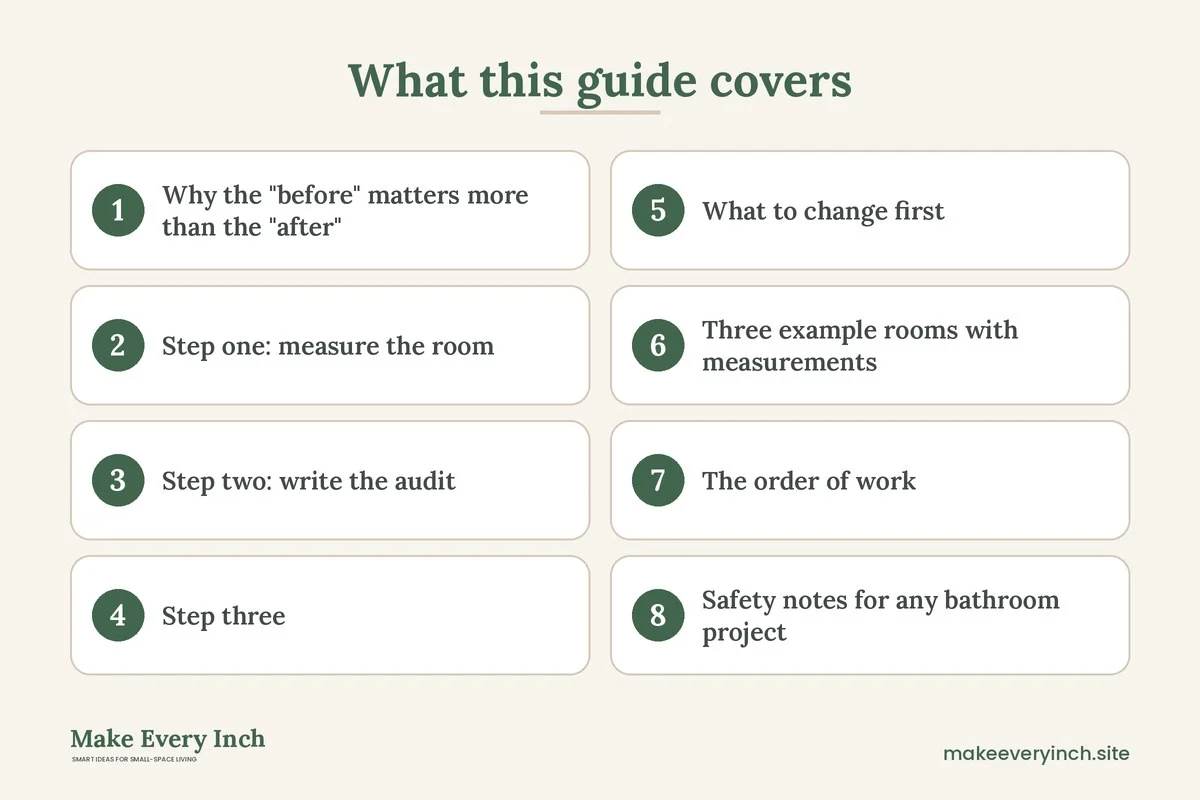
Step one: measure the room
Take a tape measure and a notebook. Record the following, in inches, so the numbers are easy to compare later.
- Room width and length at floor level and at counter height. Old walls are rarely square, and a difference of an inch can decide whether a vanity fits.
- Door swing: the width of the door and the arc it needs. A door that swings in can block 24 to 30 inches of floor.
- Clearance in front of the toilet: most guidance suggests at least 21 inches of open floor in front of the bowl, and 15 inches from the center line to a side wall or fixture. Check your local code, because requirements vary.
- Clearance at the sink: about 20 to 24 inches of standing room in front of the basin is comfortable.
- Ceiling height and any slope, bulkhead or exposed pipe.
- Window size and sill height, or a note that there is none.
- Position of outlets, switches, fan and light fixtures, drawn on a sketch.
- Wall condition: soft spots, peeling paint, stains or signs of damp. Photograph and report any of these to the landlord or a professional before decorating over them.
Draw the room as a simple box on graph paper, one square per 6 inches. Mark the fixtures and the door arc. This sketch becomes your reference for everything from towel hooks to mirror width.
Step two: write the audit
An audit is a short list of honest answers. Sit in the room for a few minutes at the time you use it most, and write down what you notice. Use these prompts.
- What do I bump into, step around or have to move to use the room?
- Where does water end up that I do not want it to, and what stays damp?
- What do I see first when I open the door? Is it something I want to see?
- Which items live on the floor, the tank or the edge of the tub?
- When is the room darkest, and where?
- Does the mirror show a useful reflection, or only the shower?
- What smell, sound or humidity bothers me?
- What do guests have to ask for because they cannot find it?
Score each answer from 1 (minor) to 3 (daily annoyance). The 3s become your first-wave changes. Typical 3s in a small bathroom are dim lighting, towels with no dry place to hang, product clutter on the counter and a door that hits the vanity.
Step three: a small bathroom before after photo method
A comparison is only believable if the photographs match. Use a simple routine and write it on the first page of your notebook.
- Same four angles: from the doorway looking in, from inside looking at the door, the vanity wall and the shower or tub wall.
- Same height: hold the phone at chest height and keep it level. A tilted shot can make a room look larger or smaller.
- Same light: shoot with the lights on and the blinds in the same position, at the same time of day. Take one more set with only the natural light.
- Same lens setting: do not zoom, and avoid wide-angle modes that stretch the corners and exaggerate the room.
- One detail shot of each problem on your audit, such as the cluttered counter or the stained grout.
- Mark the spot: a piece of tape on the floor shows where you stood, so the after photo can match.
Keep the files in a folder named for the date. If the room has personal items, tidy lightly but do not stage it so heavily that the before looks falsely bad. An honest before is more useful, and more persuasive, than a dramatic one.
What to change first: a table of impact versus effort
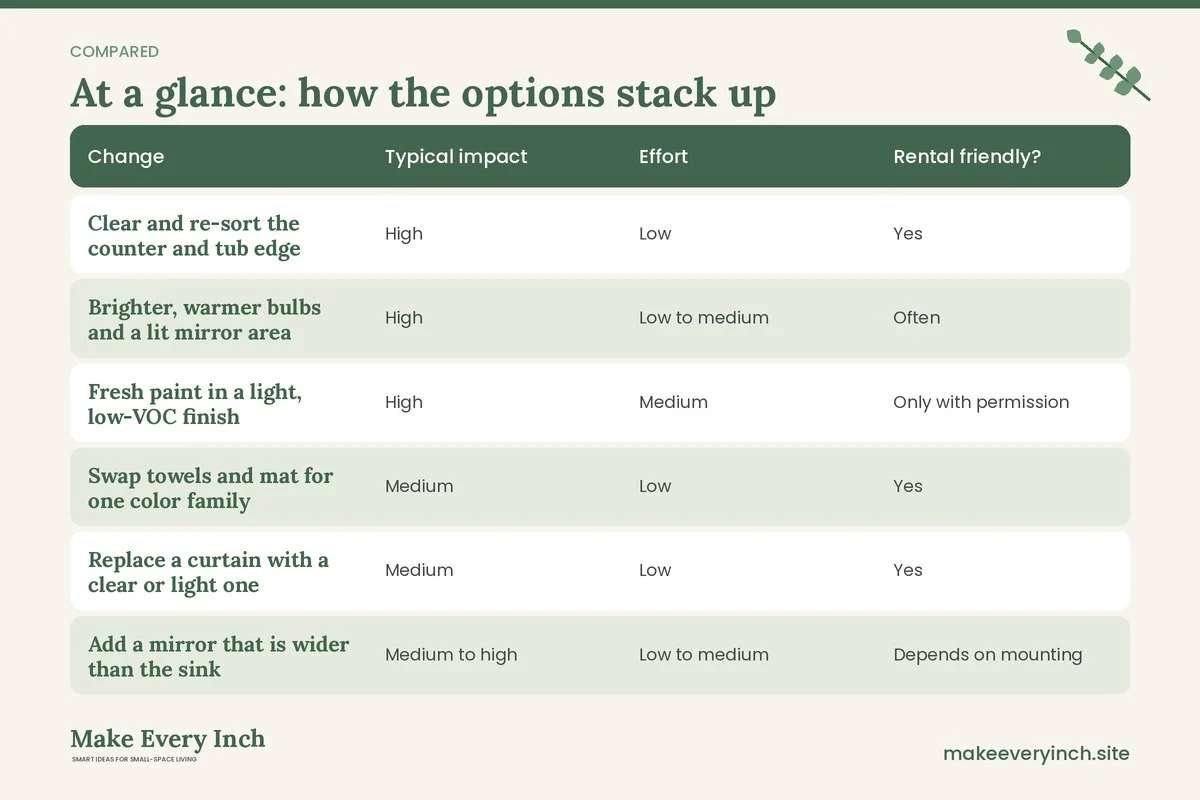
The table below ranks common changes by how much they usually affect a small bathroom and how much work they ask for. Impact depends on the room, so treat the ratings as a starting guide, not a promise.
| Change | Typical impact | Effort | Rental friendly? | Notes |
|---|---|---|---|---|
| Clear and re-sort the counter and tub edge | High | Low | Yes | Costs nothing and reveals the real size of the room |
| Brighter, warmer bulbs and a lit mirror area | High | Low to medium | Often | Use bulbs rated for the fixture and damp location |
| Fresh paint in a light, low-VOC finish | High | Medium | Only with permission | Choose a washable, moisture-resistant finish |
| Swap towels and mat for one color family | Medium | Low | Yes | Fewer colors reads as calmer |
| Replace a curtain with a clear or light one | Medium | Low | Yes | Lets light reach the room |
| Add a mirror that is wider than the sink | Medium to high | Low to medium | Depends on mounting | Use removable mounting only with permission |
| Over-the-toilet or leaning shelf unit | Medium | Low | Yes | Anchor tall units to the wall where allowed |
| Tile or flooring change | High | High | Rarely | Peel-and-stick options may need permission |
| New vanity or pedestal sink | High | High | Rarely | Check plumbing position first |
| Fan upgrade | High for damp rooms | Medium | Landlord decision | Electrical work belongs to a qualified person |
Notice how the high-impact, low-effort items cluster at the top. Many before and after pairs that look like a renovation are really a clear-out, a better light and one color change.
Three example rooms with measurements
These are scenarios, not case studies from a specific home. They show how the process changes with the room. All numbers are illustrative.
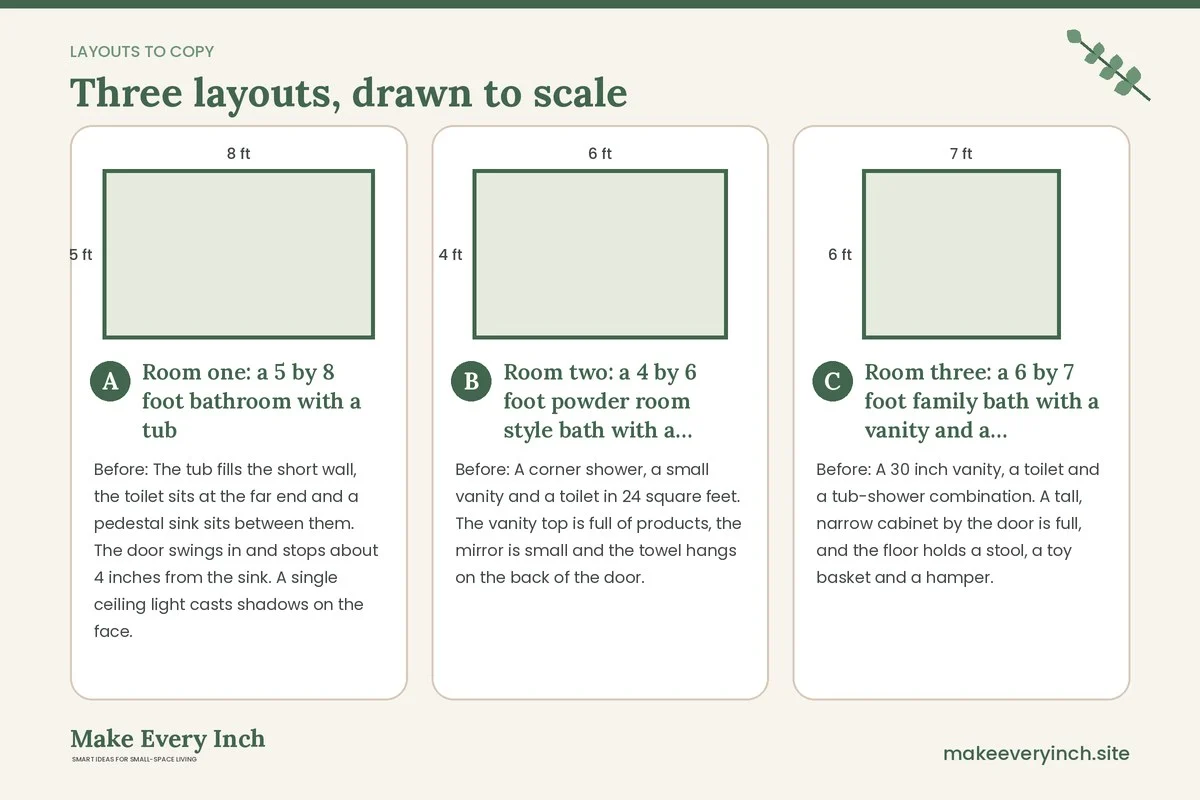
Room one: a 5 by 8 foot bathroom with a tub
Before: The tub fills the short wall, the toilet sits at the far end and a pedestal sink sits between them. The door swings in and stops about 4 inches from the sink. A single ceiling light casts shadows on the face. Shampoo bottles line the tub edge, a laundry basket stands against the wall and the floor has a bath mat that stays damp.
Audit scores: poor light (3), door hits the sink (3), clutter (3), damp mat (2).
After plan:
- Flip the door to swing out into the hall if the lease allows, or fit a pocket or outswing door through the landlord. If not possible, replace the bulky bath mat with a thin, quick-drying one and keep the door from hitting the sink.
- Replace the single ceiling bulb with a brighter, warm-white bulb and add a plug-in or hardwired light at the mirror if the existing wiring and the landlord allow.
- Add a shower caddy that hangs on the existing shower rod, so the tub edge is clear.
- Move the laundry basket to the hallway or a slim shelf outside the bathroom.
- Paint or at least wipe down the walls and choose one pale color.
Result to compare: the same doorway photo should show a clear tub edge, a visible floor and a brighter wall. In a room this size, floor visibility is often the clearest sign of a successful change.
Room two: a 4 by 6 foot powder room style bath with a shower stall
Before: A corner shower, a small vanity and a toilet in 24 square feet. The vanity top is full of products, the mirror is small and the towel hangs on the back of the door. The ceiling is low and the walls are a mid-tone color that absorbs light.
Audit scores: counter clutter (3), tiny mirror (2), nowhere to hang a towel (3), dark walls (2).
After plan:
- Install a towel hook or bar on the wall beside the shower, mounted only with permission or using a removable option rated for the towel weight.
- Place a mirror that is at least as wide as the vanity, about 20 to 24 inches, so the reflection doubles the room.
- Move daily items into a tray and everything else into a drawer or a lidded basket.
- Repaint in a pale, low-VOC color with good ventilation, or use a removable wallpaper panel behind the mirror only.
- Add a small plant that tolerates humidity, placed where it cannot be knocked over or reached by pets or toddlers who might chew it.
Result to compare: photo from the doorway showing a larger mirror, an empty counter and a towel in place.
Room three: a 6 by 7 foot family bath with a vanity and a tub-shower
Before: A 30 inch vanity, a toilet and a tub-shower combination. A tall, narrow cabinet by the door is full, and the floor holds a stool, a toy basket and a hamper. The shower curtain is dark and the light is a single fixture overhead.
Audit scores: floor clutter (3), cabinet overflow (2), dark curtain (2), no night light (2).
After plan:
- Replace the stool and hamper with a wall-mounted or over-the-door hamper that does not need drilling, and a hook for each child.
- Sort the cabinet by person and by frequency, then label the shelves.
- Swap the dark shower curtain for a lighter or semi-clear one.
- Add a plug-in night light placed away from water, with a safe plug position and no cords near the tub.
- Lock away medicines and cleaners in a high, latching cabinet out of children’s reach.
Result to compare: the floor photo should show a clear walking path to the toilet, the one thing that matters in the middle of the night.
The order of work
A sensible order avoids repainting over new items or moving the same object twice.
- Clear and clean: take everything out, wipe surfaces, and note which items you really use.
- Fix: repair drips, seal gaps, address mold and replace broken hardware. Do not decorate over damp or mold. Treat the cause or report it.
- Ventilate: check the fan and the window. A fan that does not move air is the most common hidden problem in a small bathroom.
- Paint or cover walls: use low-VOC paint, keep the window open or run the fan, and allow full drying time before putting items back.
- Light: replace bulbs and shades. Choose fittings rated for damp locations near the shower.
- Mirror and wall items: hang them after the paint has cured.
- Storage: add shelves, hooks and baskets in the zones you identified.
- Textiles and plants: finish with towels, mat, curtain and greenery.
- Photograph: take the after photos from the same marks, at the same time of day.
Safety notes for any bathroom project
Bathrooms combine water, electricity and slippery surfaces, so a few rules matter more here than in other rooms.
- Electrical work: all permanent wiring, new outlets and fan installations should be handled by a qualified electrician. Outlets near water should be GFCI-protected. Keep plug-in devices, cords and chargers away from the sink, the tub and splash zones.
- Wet areas: use only fixtures rated for damp or wet locations in or near the shower. Do not place a standard lamp or heater where it can be splashed.
- Ventilation: a working fan or an open window reduces moisture, mold and the buildup of fumes from cleaners and paint.
- Low-VOC paint and sealants: these produce fewer fumes. Follow the label for drying time, open a window, and keep children and pets out until the smell clears.
- Anchoring tall furniture: tall shelves and cabinets can tip, so anchor them to the wall where you are allowed. If you cannot anchor, choose low pieces.
- Weight limits: check the rating of every hook, rack and shelf, and remember that wet towels are heavier than dry ones.
- Lease permission: never drill, tile, paint or replace fixtures in a rental without written permission.
- Children and pets: store cleaners, razors, medicines and small items out of reach, keep toilet lids closed if a pet or toddler is curious, and use non-slip surfaces.
- Slips: a mat with a grippy back that dries quickly is safer than a thick rug that stays wet.
Small decisions that make the after photo look better
Some changes pay off in a photograph and in daily life alike.
- Edit color: pick two main tones, such as a pale wall and white towels, and one accent.
- Echo shapes: if the mirror is round, repeat that curve with a tray or a lamp base.
- Hide the brand labels: decanting products into plain containers makes a counter calmer. Use containers that can be labeled and that do not break easily.
- Leave negative space: a bare patch of wall or counter gives the eye a rest.
- Vertical lines: a long mirror or a tall narrow shelf draws the eye up. See our small room mirror placement ideas for positions that work.
- Match the light temperature: bulbs of mixed warmth make a room look patchy. Use the same warmth throughout.
A short note on color and light
If the room feels dark, light color helps, but placement matters more than the exact shade. Our guide to small bathroom color schemes that open up the room goes into the choices in detail, and the small bathroom lighting ideas post covers layers of light. For a room with no window, read small bathroom ideas without a window as well, since the ventilation and lighting priorities differ.
How to write the story of the change
A before and after is more useful when it comes with a short written note. Under each pair of photos, write three lines.
- What changed: one sentence, such as “cleared the tub edge and added a hanging caddy.”
- Why: one sentence, such as “the audit showed the tub edge was the biggest source of clutter.”
- What I would do differently: one sentence, such as “I would have measured the mirror before buying.”
These notes make the project reusable. If you move house, you will know what worked. If a friend asks for advice, you can answer from experience instead of from a mood board. Avoid claiming more than the evidence shows: a note that says “the room feels brighter to me” is honest, while a note that promises a specific improvement in resale value is not.
Common before and after mistakes
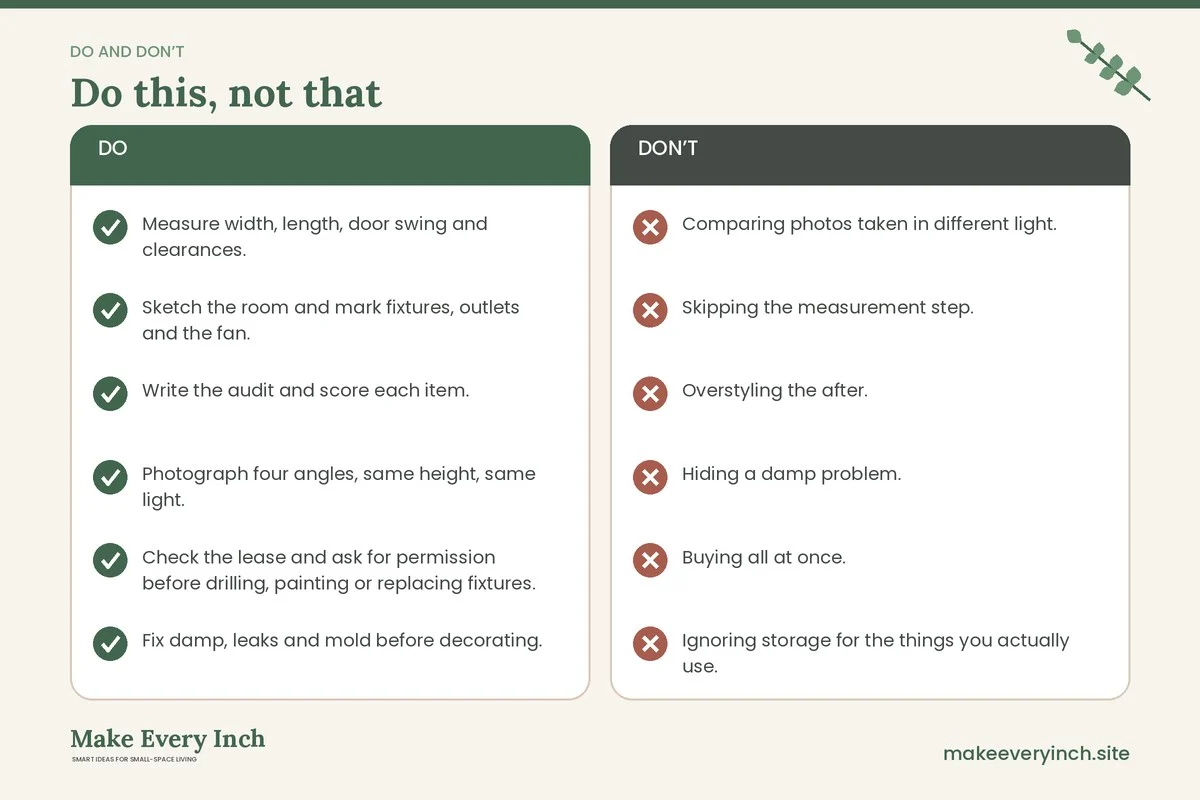
- Comparing photos taken in different light. A bright morning after beside a dim evening before exaggerates the result.
- Skipping the measurement step. A mirror or shelf that is two inches too large ruins the plan.
- Overstyling the after. Props that never stay in the room make the comparison feel false.
- Hiding a damp problem. Paint over mold or a leak will fail and may harm your health. Fix the cause.
- Buying all at once. Stage purchases so you can stop when the room works.
- Ignoring storage for the things you actually use. A beautiful counter that has nowhere for toothbrushes ends up cluttered again within a week.
- Forgetting the lease. Check which changes are permitted before you start, and keep receipts and photographs of the original state.
- Treating one-off tidiness as a result. The real test of the makeover is whether the room stays calm after a month.
Make it last: a four-week check
A bathroom can look perfect on the day of the photo and cluttered again a month later. Plan a short follow-up.
- Week one: note which items drift back onto the counter or the tub edge. Move their storage closer to where you use them.
- Week two: check for moisture on the walls, mirror and ceiling after showers. If it lingers, increase ventilation time.
- Week three: look at the hooks and shelves for movement or damp. Replace any that have loosened.
- Week four: take a third photo from the same marks and compare it with the after. This is the honest picture of how the room lives.
Checklist
- Measure width, length, door swing and clearances.
- Sketch the room and mark fixtures, outlets and the fan.
- Write the audit and score each item.
- Photograph four angles, same height, same light.
- Check the lease and ask for permission before drilling, painting or replacing fixtures.
- Fix damp, leaks and mold before decorating.
- Check the fan and ventilation.
- Use low-VOC paint and allow it to cure fully.
- Confirm outlets near water are GFCI-protected.
- Anchor any tall furniture where allowed.
- Check weight limits on every hook and shelf.
- Store medicines and cleaners out of children’s and pets’ reach.
- Retake photos from the same marks.
- Write three lines on what changed, why and what to do differently.
- Do a four-week check.
FAQ
What is the quickest small bathroom before after change?
Clearing the counter, the tub edge and the floor is usually the fastest and the cheapest, and it reveals how much space the room really has. Better light and a single color family come next.
How do I take fair before and after photos?
Use the same angles, the same height, the same light and the same lens setting, and mark where you stood. Avoid wide-angle modes that distort the room.
Can I do a before after makeover in a rental?
Yes, with removable items and written permission for anything permanent. Many of the biggest improvements, such as light, clutter and textiles, need no tools. See our guides to renter friendly bathroom upgrades and renter friendly bathroom ideas.
Do I need to paint?
Not always. Paint can help, but if the walls are sound and light, a clear-out and better lighting may be enough. If you paint, choose a low-VOC, moisture-resistant finish and ventilate.
Should I call a professional?
Call a qualified electrician for fans, outlets and fixtures, and a plumber for pipes and drains. A professional should also look at any recurring damp or mold.
How long should the project take?
A clear-out and styling can fit in a weekend. Painting adds drying time, and any plumbing or electrical work depends on the professional’s schedule.
Keep going: Keep going with our small bathroom storage ideas for tight spaces, small bathroom vanity ideas and small bathroom tile ideas to turn your audit into a plan.
Save this guide for later
Pin the ideas you like to Pinterest so you can come back to them when you plan your space.