12 Removable Wallpaper Ideas for Small Rooms and Tight Spaces
Quick answer: For removable wallpaper small rooms work best with one feature wall or a half-height treatment, a pattern scale of roughly 2 to 6 inches in tight rooms, and light or mid tones that bounce light. Measure the wall, add a few inches for trimming, test a hidden patch, get permission, and keep paper away from steam, heat and outlets that are not switched off.
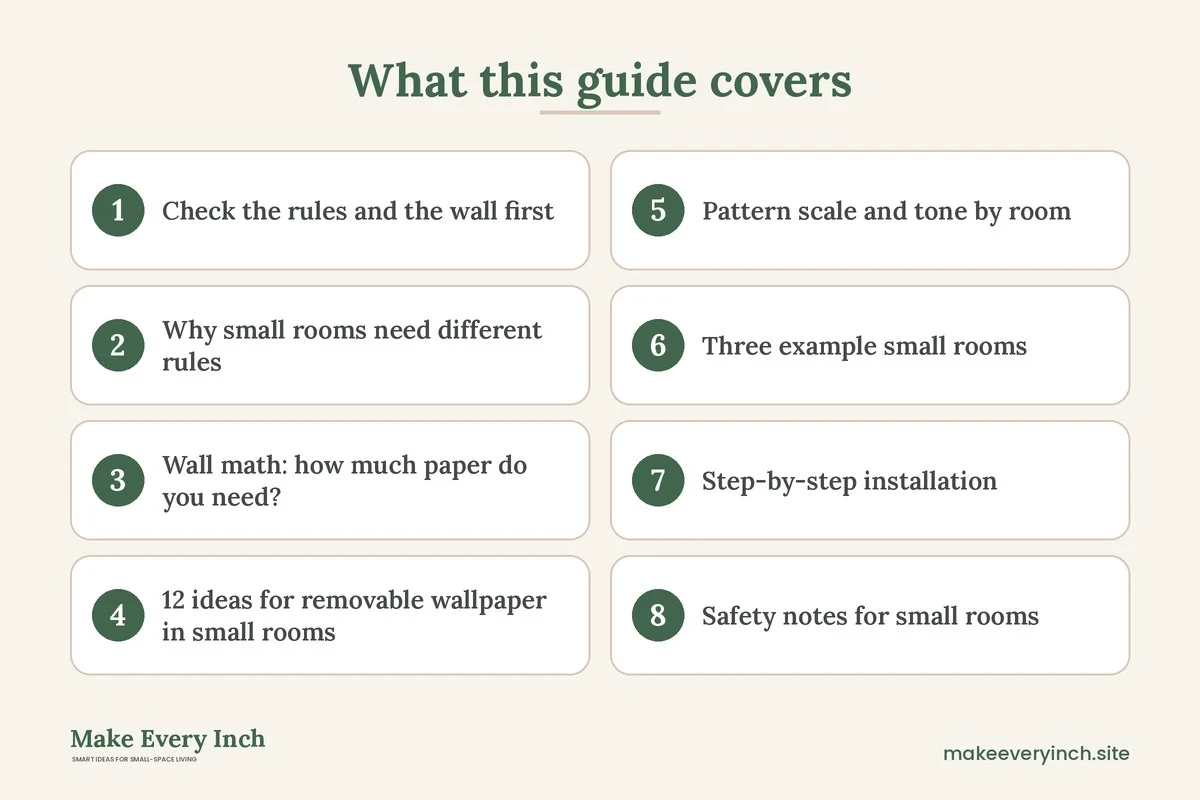
Removable wallpaper small rooms can handle looks like a lifted ceiling, a cozy reading corner or a calm bedroom wall without any paint, tools or a lasting commitment. The trick is that a small room punishes the wrong pattern. A large, high-contrast print can swallow a box room, and a busy repeat can make a narrow hallway feel like a tunnel. This guide focuses on the maths and the placement rather than only on pretty prints. It covers how to calculate rolls for tiny walls, how to choose pattern scale, 12 specific ideas, a room-by-room table, three example rooms, a step-by-step install, and a safe removal plan. For related reading, see the main post on removable wallpaper ideas, the wider renter friendly apartment decorating ideas pillar and the sister post on temporary backsplash ideas for rental kitchens.
Check the rules and the wall first
Removable does not mean risk free. The product is designed to peel off, but it depends on your wall.
Lease and permission
Read your lease for clauses on adhesives, paint and wall coverings. Ask your landlord in writing, describe the product and the area, and keep the reply. Never drill, nail or cut into a wall without permission, and do not use any adhesive on a surface the lease protects.
Wall condition
- Smooth, cured, flat paint: the best surface. Paint should have had a few weeks to cure before anything is stuck on it.
- Matte or textured paint: these grip unevenly. A hidden patch test is essential, and heavy texture may show through thin paper.
- Glossy paint: adhesive can hold very strongly, so plan a warm, slow removal.
- Cracked, powdery or flaking paint: do not stick anything on. The paint can come away with the paper.
- Damp or moldy walls: do not cover them. Moisture under a covering makes the problem worse, so report it to your landlord.
- Brick, rough plaster, unsealed wood: not suited to peel-and-stick paper.
The hidden patch test
Stick a small piece in a hidden place, such as behind a door or inside a closet. Leave it for a week, then peel it slowly with a little warmth. If the paint comes with it, choose a freestanding option such as a fabric panel or a leaning board.
Why small rooms need different rules
A large living room can take a bold mural. A small room has less wall to spread a pattern across, shorter sightlines and often one window, so a few choices matter more.
- Scale: a small repeat reads as texture in a tight room, while a large repeat can look cropped and heavy.
- Contrast: high contrast between motif and background shrinks a room. Low or medium contrast tends to feel calmer.
- Direction: vertical stripes lift the eye, and horizontal lines widen it. Pick according to which dimension feels short.
- Coverage: a single wall or a half wall usually looks larger than four walls of a dark pattern.
- Light: north-facing and shaded rooms may need warm, light tones to avoid a cave feel.
If your room is dark, our post on small room paint ideas for low light covers the same logic for color, and the guide to colors that make small rooms look bigger is worth a look before you commit.
Wall math: how much paper do you need?
Most people order too much or too little because they measure the floor, not the wall. Use this simple routine.
1. Measure the width and height of each wall in inches. Include the area behind a door if you plan to cover it.
2. Subtract big gaps only if they are large: windows and doors bigger than about 10 square feet can be deducted, but leave small gaps in, because pattern matching wastes paper.
3. Add trim allowance: add 2 to 4 inches at the top and bottom of every strip for trimming.
4. Check the pattern repeat. A repeat is the vertical distance before the pattern starts again. The bigger the repeat, the more paper you waste when matching strips. A repeat of 6 inches wastes little, while a 24 inch repeat can waste a good part of every strip.
5. Count strips. Divide the wall width by the strip width, and round up. A typical 20 inch wide strip covers a 10 foot wall in about 6 strips.
6. Add a spare strip. A tear, a bad cut or a misprint is far easier to fix when you have one extra.
For a 9 foot wall that is 8 feet high, a typical 20 inch strip needs about 6 strips at 100 inches each when trim allowance is included, which is about 50 feet of paper before pattern waste. Always read the manufacturer’s coverage notes, since widths and lengths vary.
12 ideas for removable wallpaper in small rooms
One wall, one focus
1. A feature wall behind the bed
A single wall behind the bed works as a headboard. Choose a small to medium repeat in a soft tone, and let the other walls stay plain. The panel frames the bed, and the room still feels open. Compare with the ideas in our small bedroom ideas for renters.
2. A narrow wall beside a window
A short wall beside a window is a good place to try a bolder pattern, because there is little of it. The window light changes the pattern through the day, and the rest of the room stays calm.
3. A feature wall at the end of a hallway
Papering the far wall of a narrow hallway draws the eye along it. Pick a low-contrast design so that the wall feels deeper rather than shorter. See our hallway gallery wall ideas for small homes for ways to combine paper with frames.
Half and partial treatments
4. Half-height paper with a rail
Apply paper from the floor to about 36 inches, and finish it with a painted or taped line. The lower half hides scuffs, and the upper half stays light. Use a spirit level for the top line, because a crooked line shows at once.
5. A paper panel framed like art
Cut a rectangle of paper and frame it with thin trim or tape to make a panel above a bed, desk or console. It adds pattern without covering a whole wall, and it comes off in one piece.
6. A paper stripe at the ceiling line
A band of 12 to 18 inches at the top of the wall draws the eye upward. Choose a light pattern and keep the lines straight. This idea pairs well with our guide to small room ceiling ideas that draw the eye up.
Furniture and fixtures
7. The back of a bookcase or open shelf
Apply paper to the back panel of a freestanding bookcase and leave the walls alone. The pattern shows when the shelves are styled sparingly, and the paper moves with you. If you need wall storage ideas, see renter friendly shelving.
8. Inside a closet or cabinet
The interior of a wardrobe, closet or glass-fronted cabinet is a lively place for a bolder print. It is hidden when the door is shut, so it does not dominate the room.
9. A desk nook or alcove
Papering the wall behind a small desk defines a work area. Choose a calm pattern so that the area does not feel noisy when you are working. Our post on small bedroom desk ideas has layouts that suit this approach.
Texture and color moves
10. A tone-on-tone pattern
When the pattern and background are close in tone, the wall feels textured rather than printed. This is a safe choice for the smallest rooms, since the pattern gives depth without shrinking the space.
11. A light geometric for a bathroom wall
In a bathroom only use paper in dry areas well away from the shower, the sink splash zone and any steam. Check the product instructions, ventilate well and avoid areas that stay damp. Our guide to renter friendly bathroom ideas lists safer swaps for wet zones.
12. A paper ceiling, only on request
A pattern on the ceiling can make a bedroom feel like a cocoon, but it is awkward to install and heavy to remove. Do this only with permission and a helper, and avoid it where there is a light fitting that gets hot.
Pattern scale and tone by room
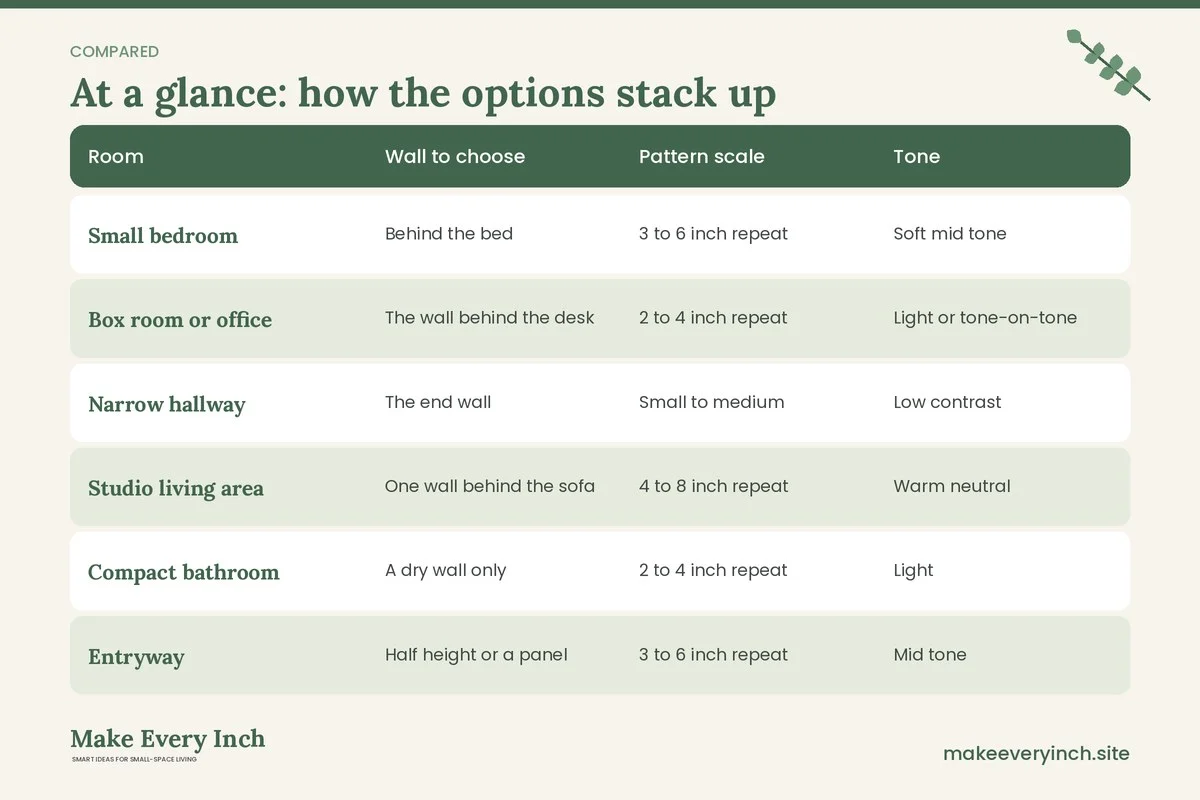
The table gives a simple starting point. Always hold a sample on the wall and view it in the room’s own light before you decide.
| Room | Wall to choose | Pattern scale | Tone | Watch out for |
|---|---|---|---|---|
| Small bedroom | Behind the bed | 3 to 6 inch repeat | Soft mid tone | Dark colors in a low-light room |
| Box room or office | The wall behind the desk | 2 to 4 inch repeat | Light or tone-on-tone | Busy patterns that distract |
| Narrow hallway | The end wall | Small to medium | Low contrast | Stripes that exaggerate length |
| Studio living area | One wall behind the sofa | 4 to 8 inch repeat | Warm neutral | Competing with art |
| Compact bathroom | A dry wall only | 2 to 4 inch repeat | Light | Moisture and steam |
| Entryway | Half height or a panel | 3 to 6 inch repeat | Mid tone | Scuffs near hooks and shoes |
| Kids’ room | One wall at play height | Medium | Gentle color | Little hands, pulling at edges |
Three example small rooms
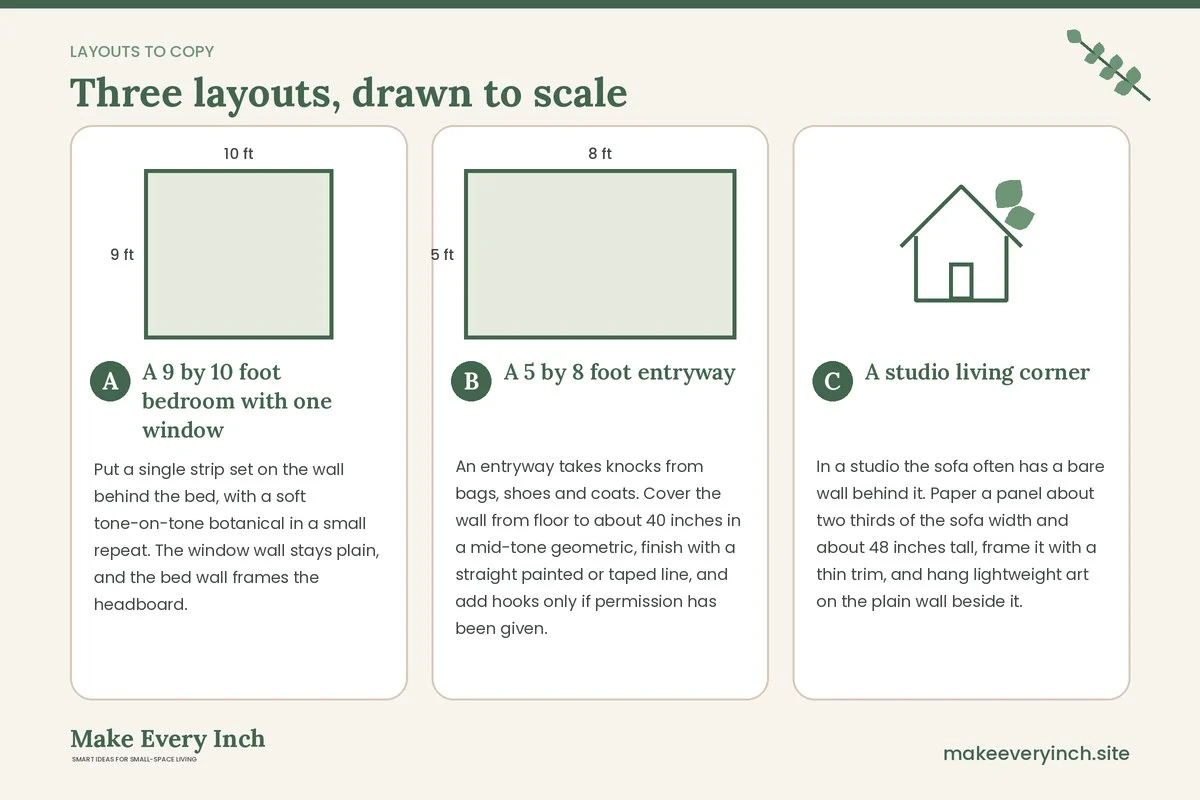
A 9 by 10 foot bedroom with one window
Put a single strip set on the wall behind the bed, with a soft tone-on-tone botanical in a small repeat. The window wall stays plain, and the bed wall frames the headboard. Keep the lamp on a side table away from the paper so no bulb is close to it. Add a mirror opposite the window to share light, following our advice on small room mirror placement ideas.
A 5 by 8 foot entryway
An entryway takes knocks from bags, shoes and coats. Cover the wall from floor to about 40 inches in a mid-tone geometric, finish with a straight painted or taped line, and add hooks only if permission has been given. A wipeable surface below and plain paint above keep the narrow space light. Our renter friendly entryway organization ideas post shows how to arrange storage around the paper.
A studio living corner
In a studio the sofa often has a bare wall behind it. Paper a panel about two thirds of the sofa width and about 48 inches tall, frame it with a thin trim, and hang lightweight art on the plain wall beside it. The pattern marks the lounge zone without cutting into the bed or kitchen. If you need a divider as well, see renter friendly ways to divide a studio apartment.
Step-by-step installation
Take your time. Most problems come from rushing the first strip.
1. Photograph the wall from several angles and keep the dated photos.
2. Clean and dry the surface. Remove dust and grease with a damp cloth and let the wall dry fully. Do not apply paper over damp or dirty paint.
3. Switch off power at outlets you will work around, and remove cover plates only if you are comfortable doing so. Never cover an outlet, and cut the paper around it.
4. Draw a plumb line. Use a level and a pencil to mark a vertical line, since walls and ceilings are rarely straight.
5. Cut strips with trim allowance of 2 to 4 inches, and number them on the back.
6. Peel the top few inches of backing and press the strip to the wall along your line.
7. Smooth from the center out with a soft smoothing tool, peeling the backing as you go. Lift and reposition if a bubble forms.
8. Match the next strip at the edge, and check the pattern at eye level.
9. Trim at the top and bottom with a sharp knife and a straight edge, cutting away from your body.
10. Press the seams and corners once more, and wipe off fingerprints.
Work in a well-ventilated room, keep the knife out of reach of children and pets, and do not leave offcuts on the floor where they can be swallowed or slipped on.
Safety notes for small rooms
- Heat: keep paper away from heaters, radiators, hot bulbs, candles and fireplaces.
- Steam and splash: avoid shower areas, the wall behind a kitchen sink and any place that stays damp.
- Electrical: do not cover switches or outlets, and do not stick paper behind sockets. Turn off the power when removing a cover plate.
- Ventilation: if you use primer or paint with the paper, choose a low-VOC product and open a window while it dries.
- Ladders: use a stable step stool for high strips and ask someone to hold it.
- Children and pets: edges that peel can be pulled and chewed, so press them down and check monthly.
- Furniture: if you move tall furniture to reach the wall, anchor it again properly afterwards to prevent tipping.
Making a small room feel bigger with paper
A few placement rules keep the effect pleasant.
- Match the line of sight. Put the pattern on the wall you see first as you enter, not the wall you pass.
- Keep the ceiling and floor quiet. A plain ceiling and a plain floor leave the pattern as the one focus.
- Repeat one color elsewhere. Echo a shade from the paper in a cushion or a lamp so the pattern feels planned.
- Use mirrors and lighting. A mirror opposite a window doubles the light, and a lamp beside the paper adds depth. See small room lighting ideas for every corner.
- Respect furniture height. Papering above a tall wardrobe wastes material, so cover the visible wall only.
Removing it cleanly on move-out
1. Gather tools: a hair dryer, a plastic scraper, a soft cloth and a mild adhesive remover that is safe for painted walls.
2. Start at a top corner and warm it for 20 to 30 seconds on a low setting.
3. Peel slowly, pulling back along the wall, not straight out, so the paper releases instead of lifting paint.
4. Work in short sections, warming as you go, and stop if the paint lifts.
5. Clean the residue with a cloth and warm soapy water or a small amount of mild remover.
6. Compare with your photos and tell your landlord about anything unexpected before the final inspection.
If paint lifts, stop. It is better to report a small repair honestly than to hide it. For other ways to protect your deposit, read our post on security deposit safe apartment upgrades.
Mistakes to avoid
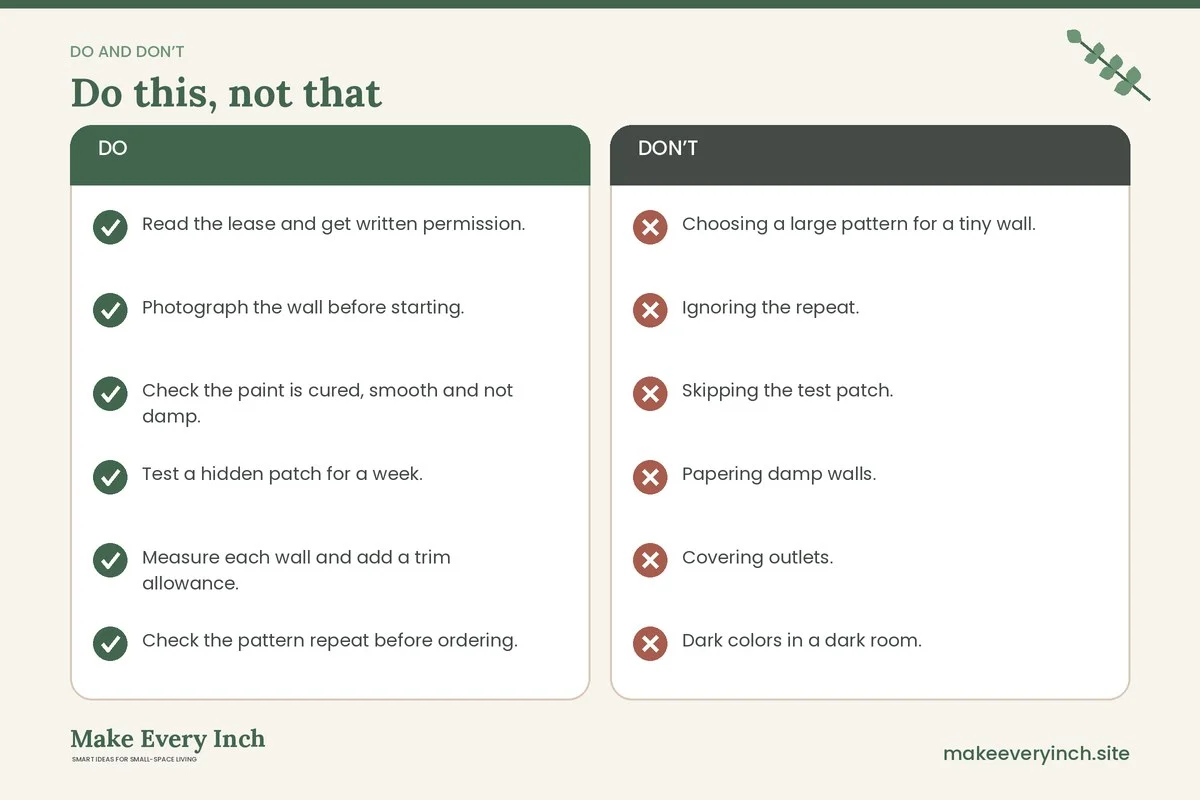
- Choosing a large pattern for a tiny wall. It can look cropped and heavy.
- Ignoring the repeat. A long repeat wastes paper and costs more.
- Skipping the test patch. One week of testing prevents most problems.
- Papering damp walls. Moisture under paper causes mold and peeling.
- Covering outlets. Always cut around them.
- Dark colors in a dark room. Warm, lighter tones usually work better.
- Pulling fast on move-out. Slow, warm removal protects the paint.
Renter checklist
- Read the lease and get written permission.
- Photograph the wall before starting.
- Check the paint is cured, smooth and not damp.
- Test a hidden patch for a week.
- Measure each wall and add a trim allowance.
- Check the pattern repeat before ordering.
- Order one spare strip.
- Choose a small to medium scale for a small room.
- Keep paper away from heat, steam and outlets.
- Use a level for the first strip.
- Keep offcuts away from children and pets.
- Plan removal with warmth and patience.
FAQ
What is the best removable wallpaper pattern for a small room?
A small to medium repeat in a light or tone-on-tone color usually suits tight spaces. Low contrast keeps the room calm, and a vertical element can lift the eye.
Will removable wallpaper make a small room look smaller?
Dark, high contrast or large-scale patterns can. Light tones, a single feature wall or a half-height treatment tend to keep the room feeling open.
Can I put removable wallpaper in a rental bathroom?
Only on dry walls away from showers and sinks, and only if the product instructions allow it and the room has good ventilation. Avoid wet zones entirely.
How do I take it off without damaging paint?
Warm the edge with a hair dryer, peel slowly at a low angle, and work in short sections. Stop if paint lifts and speak to your landlord.
How much extra paper should I order?
Add a few inches of trim to each strip, allow for the pattern repeat, and order at least one spare strip. Check the maker’s coverage notes.
Can I use it on textured walls?
It may not stick evenly or may show the texture. Test a hidden patch first, and consider a framed panel or a fabric alternative if it fails.
Keep going: Keep planning with our renter friendly wall decor ideas, small space wallpaper ideas that do not overwhelm and small room accent wall ideas.
Save this guide for later
Pin the ideas you like to Pinterest so you can come back to them when you plan your space.