Studio Apartment Layout Ideas That Create Zones
Quick answer: The best studio apartment layout ideas that create zones start with a measured plan, not furniture. Give sleep, living, work and eating each a clear footprint, mark the footprints with tape, and separate them with rugs, furniture backs and layered light. Keep a 30 to 36 inch main path, keep the door and any window exit clear, anchor tall pieces and ask your landlord before drilling.
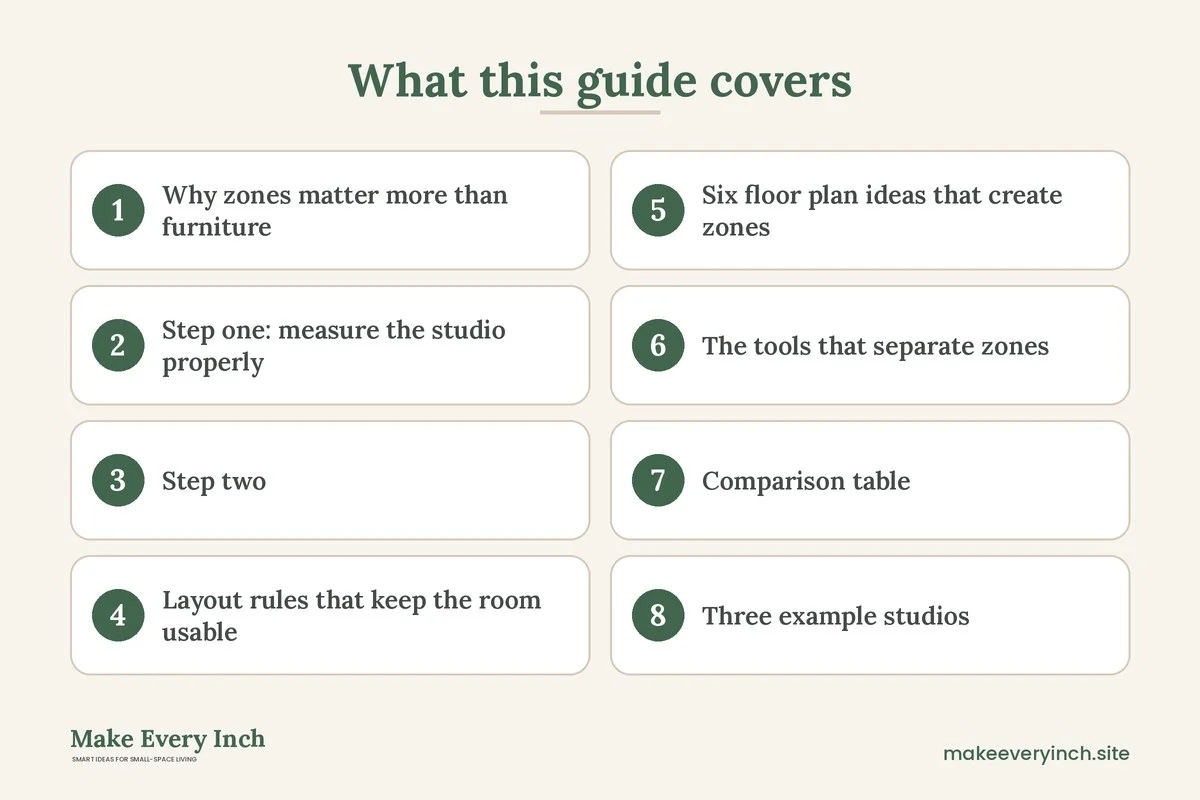
Studio apartment layout ideas that create zones solve the central problem of one-room living: everything happens in the same box, so everything blends together. The bed looks at the sofa, the desk looks at the bed, and the dining spot is a corner of the counter. A zone plan does not add square footage. It gives each activity a defined home, so your brain can switch modes and your belongings stay where they belong. This guide walks through measuring the room, choosing the zones you actually need, six floor plans, the tools that separate zones (rugs, furniture backs and light), a comparison table, three example studios, safety notes and a checklist. For the bigger picture, read our main guide to studio apartment ideas, and for a companion read on perception, see studio apartment ideas for making space feel bigger.
Why zones matter more than furniture
In a one-room home, the layout does the job that walls do elsewhere. When a studio feels cluttered, the cause is often not too much stuff but too little structure. Papers from the desk drift onto the dining spot, the bed becomes a couch, and nothing is ever fully “off”. Zones create small edges in the room. Each edge tells you, and your guests, what the space beyond it is for.
Zones also make a small room easier to clean and reset. If the sleep area owns a bedside table, a lamp and a basket for laundry, you only need to tidy that zone before bed. If the work area owns a desk, a chair and a shelf, you can close the laptop and the work stays inside its boundary. Think of a zone as a small room without walls, with a clear purpose, a floor footprint, a storage home and a light source.
Step one: measure the studio properly
Good zone planning starts with accurate numbers. Draw the room on graph paper, or use a free drawing tool, and write down every measurement before you buy or move anything.
- Room length and width: measure wall to wall at floor level and again at hip height. Old buildings often have walls that are not square, and a difference of an inch or two matters when a bed must fit between two walls.
- Door swings: measure the arc of the entry door, the closet door, the bathroom door and any balcony door. Mark the arc on your plan, because nothing tall should sit in it.
- Window positions: note the width, the sill height and how far each window opens. A window may be an emergency exit, so keep it reachable.
- Radiators, vents and outlets: mark them. Do not cover a heater or a vent with a bed or a sofa back, and note which wall has the most outlets for the work zone.
- Kitchen edge: measure how far open cabinet doors and the oven door reach into the room. A dining spot too close to them becomes a hazard.
- Ceiling height and any beams or soffits: these affect whether tall shelves, loft beds or curtain tracks will fit.
Once you have the plan, cut paper rectangles to scale for the furniture you own. A queen bed is roughly 60 by 80 inches, a full bed about 54 by 75 inches, a twin about 38 by 75 inches, a two-seat sofa often 60 to 72 inches wide and 32 to 36 inches deep, and a small desk about 40 to 48 inches wide and 20 to 24 inches deep. Check your own pieces, as sizes vary. Slide the rectangles around the plan until you find an arrangement you like, then tape it out on the floor.
Step two: decide which zones you really need
Not every studio needs four named zones. List what you actually do at home and rank the activities by how often and how long you do them.
- Sleep: a bed, a bedside surface, a lamp and clothing storage within reach.
- Living: seating, a surface for drinks, a screen or a shelf, and a soft light.
- Work: a desk or table, a chair that supports your back, an outlet and light on the task.
- Eat: a small table or counter seat, a place for plates and a clear path to the kitchen.
- Entry: a hook, a shoe spot and a drop tray, because an unplanned entry floods the whole room with coats and bags. Our guide to small home drop zone ideas covers it well.
- Hobby or exercise: a clear patch of floor or a wall for storage that folds away.
Combine zones when the numbers say so. In many studios the eat and work zones share one table, and the living zone doubles as the guest bed. That is fine, as long as you give the table a clear reset routine so the laptop and the dinner plate never meet.
Layout rules that keep the room usable
Before choosing a plan, learn the clearance numbers that make any studio comfortable. These are common guidelines, not strict rules, and local building codes and your own mobility needs come first.
- Main path: keep a 30 to 36 inch wide route from the entry door to the window, the bathroom and the kitchen. Side paths can be 24 to 30 inches.
- Beside the bed: leave about 24 inches on at least one side, and 18 inches on the other, so you can make the bed and get in and out.
- Sofa to table: 14 to 18 inches between the sofa edge and a low table, so legs do not collide.
- Dining chair space: about 36 inches from the table edge to the wall or the nearest furniture, so a chair can be pulled out and someone can pass behind it.
- Desk chair space: around 30 to 36 inches behind the desk for the chair to move.
- Front door: keep the area directly inside the door clear for 36 inches if you can, so the door opens fully and nobody trips over a bag.
Seeing these numbers on a plan quickly shows which ideas will fit. A large room with generous space can use floating furniture, while a narrow studio may need to line pieces along one wall to keep the path.
Six floor plan ideas that create zones
Each plan below assumes a typical studio of roughly 350 to 550 square feet. Adjust the dimensions to your own room, and always keep the exit route clear.
Plan 1: The long-wall line
In a long, narrow studio, place the bed at the far end, the sofa or seating in the middle, and the kitchen and table nearest the door. A rug under the seating and a console behind the sofa mark the middle. The light shifts from a bedside lamp at the back to a floor lamp in the center to a pendant or counter light near the door. The path runs along one side, and each zone is a short step from the next.
Plan 2: The window office
Put a table or desk at the window, facing the light, and the bed in the darkest corner. Daylight at the desk helps focus, and the bed gets dimmer, calmer conditions. Face the desk toward the room if you want to see the entry, or toward the wall if you want fewer distractions. Keep the window reachable, because it may serve as a ventilation and emergency route.
Plan 3: The shelf as a wall
Place a low or mid-height bookcase at a right angle to the wall to separate the sleeping area from the living area. A shelf about 30 to 48 inches high marks the edge without blocking light. Taller dividers feel more private, but they need anchoring and may block sight lines to a window or a door. See our guides to DIY room divider ideas for studio apartments and renter-friendly ways to divide a studio apartment for options that suit a lease.
Plan 4: The sofa as a divider
Float the sofa so its back faces the bed. The back becomes a long, low boundary, and a narrow console behind it can hold a lamp, a plant or a tray for keys. Leave at least 24 to 30 inches between the sofa back and the bed so the gap does not feel like a trap. This plan works in squarer rooms, where there is enough depth for both areas.
Plan 5: The corner bedroom
Tuck the bed into a corner or a nook, with the head against one wall and one long side against another. A bed against two walls gains stability and saves floor space, but it is harder to make, so use a bed with a smooth cover and a cushion to protect the wall. Put the seating on the opposite diagonal, and use the center for a rug that unites the room. Make sure you can still reach both sides if two people sleep there.
Plan 6: The L-shaped studio
Many studios have an L-shaped corner. Use the short leg of the L as the sleeping nook and the long leg as the living and eating area. The corner is a natural boundary, and a curtain, a bookcase or a screen fits there with no extra construction. Light the nook separately from the main room, so you can wind down while the rest of the apartment stays dim.
The tools that separate zones
Rugs
A rug defines a zone without any hardware. Choose one that fits the furniture it anchors. Under a sofa grouping, the front legs of the sofa and chairs should sit on the rug, or all legs for a smaller room. Under a bed, a rug that extends 18 to 24 inches beyond the sides and foot gives a soft landing. Under a table, extend it at least 24 inches past the edge in every direction so a pulled-out chair stays on the rug.
Use a rug pad to stop slipping and to protect the floor, and tape down or choose flat-weave edges to prevent tripping. Keep rugs a clear shape and size, and avoid layering too many. Two rugs in a small studio can mark two zones, but three or more tend to turn the floor into a patchwork.
Furniture backs
The back of a sofa, bookcase or console is the cheapest wall you can build. A piece of furniture with a clean, finished back works best. Keep these points in mind:
- Tall furniture used as a divider should be anchored to the wall or to the floor, or be low and wide enough to be stable. Always follow the maker’s instructions, and ask before drilling.
- Open-back shelves let light through and keep the room airy. Closed backs give more privacy but cast heavier shadows.
- Do not block a vent, a radiator, a smoke alarm or an exit route.
Light
Light draws invisible lines. Give each zone its own source and a distinct feel. A bedside lamp with a warm bulb marks the sleep zone, a task lamp focuses the work zone, and a pendant or a spotlight over the table marks the eating spot. Use plug-in fixtures, clip lamps and floor lamps if you cannot hardwire anything. Our guides to renter-friendly lighting ideas and best floor lamps for small rooms go deeper.
Do not overload a power strip or an extension cord, and keep cords out of the main path. Use a strip with built-in surge protection and a switch so one tap turns off a whole zone. If a plug or a cord feels warm, stop using it. Choose bulbs that suit the fixture’s maximum wattage rating.
Paint, curtains and screens
A painted stripe or an accent wall behind the bed marks the sleep zone, if your lease allows paint. Use low-VOC paint and ventilate the room while it dries. A ceiling-mounted curtain track or a freestanding folding screen gives privacy on request. Curtains are lighter and less final than a solid wall, and they pull back to open the room. Make sure any track is hung with permission and is installed into solid fixings.
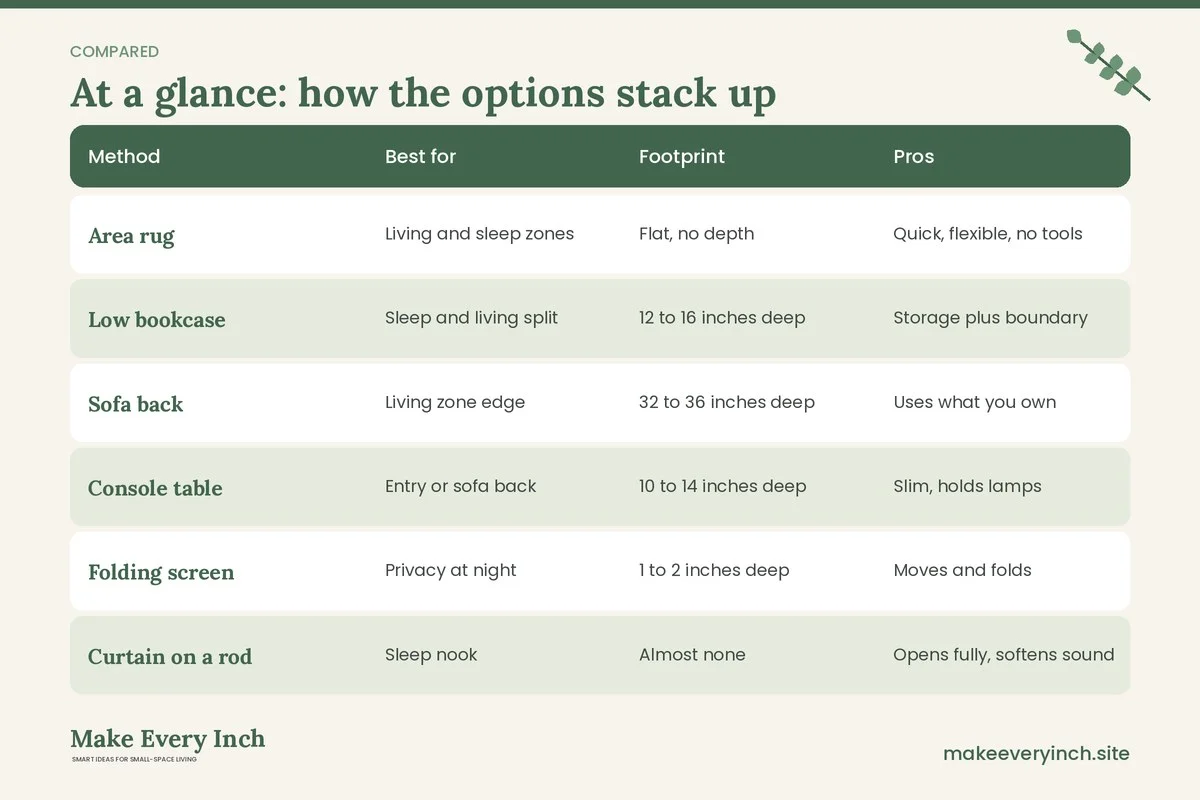
Comparison table: ways to define a zone
| Method | Best for | Footprint | Pros | Watch out for |
|---|---|---|---|---|
| Area rug | Living and sleep zones | Flat, no depth | Quick, flexible, no tools | Slipping and curling edges |
| Low bookcase | Sleep and living split | 12 to 16 inches deep | Storage plus boundary | Anchoring and blocked vents |
| Sofa back | Living zone edge | 32 to 36 inches deep | Uses what you own | Needs 24 inches behind it |
| Console table | Entry or sofa back | 10 to 14 inches deep | Slim, holds lamps | Weight limit on top |
| Folding screen | Privacy at night | 1 to 2 inches deep | Moves and folds | Can tip if lightweight |
| Curtain on a rod | Sleep nook | Almost none | Opens fully, softens sound | Needs a safe fixing and permission |
| Lighting layers | Every zone | None | Changes mood without furniture | Cords and overloaded outlets |
| Paint stripe | Sleep zone | Flat | Permanent look | Needs lease approval and ventilation |
Three example studios
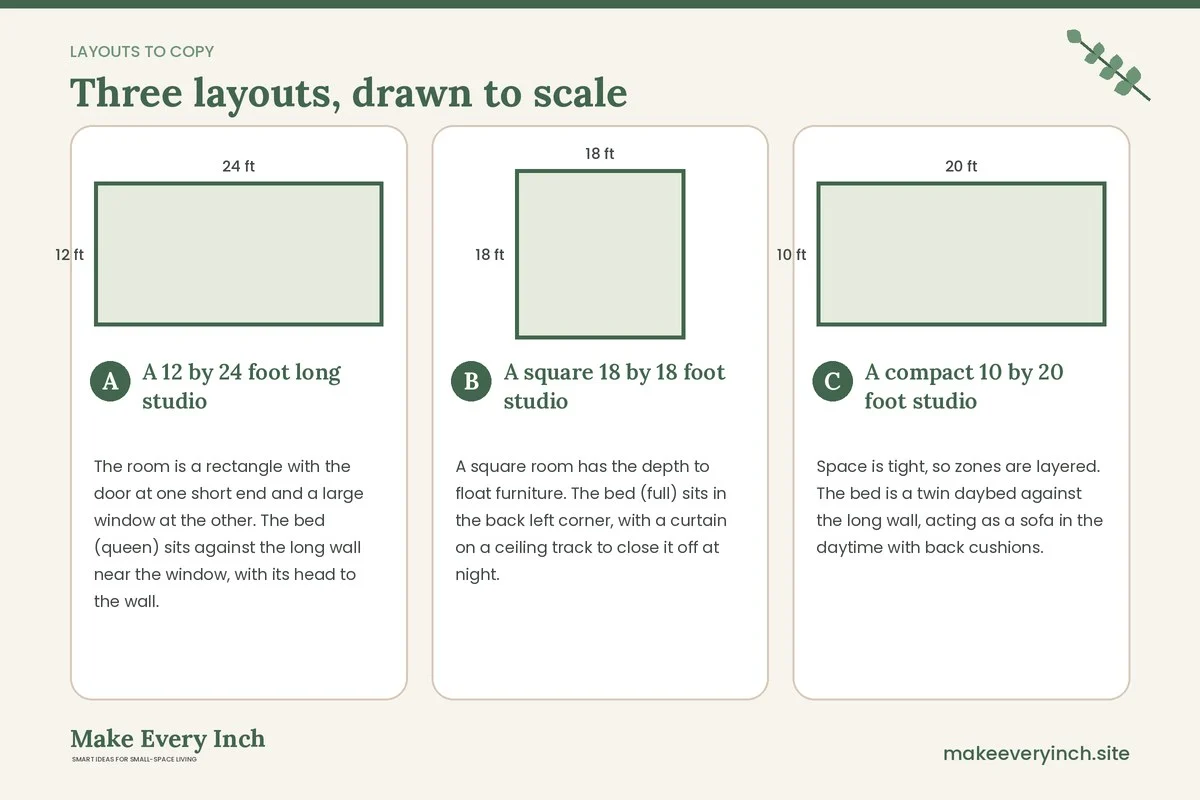
A 12 by 24 foot long studio
The room is a rectangle with the door at one short end and a large window at the other. The bed (queen) sits against the long wall near the window, with its head to the wall. A low bookcase, 36 inches high and 12 inches deep, stands at the foot of the bed as a boundary and holds books and baskets. In the middle, a loveseat floats with its back to the bookcase, and a rug anchors the seating. Near the door, a drop-leaf table with two chairs serves as the dining and work spot, with a wall hook and a shoe tray at the entry. The 30 to 36 inch path runs along the opposite wall from the window to the door. Light comes from a bedside lamp, a floor lamp by the loveseat and a plug-in wall light over the table.
A square 18 by 18 foot studio
A square room has the depth to float furniture. The bed (full) sits in the back left corner, with a curtain on a ceiling track to close it off at night. The sofa floats with its back toward the bed, 30 inches away, and a console behind it holds a lamp. A round table sits by the window, doubling as the desk and dinner spot. A rug under the sofa and another smaller one under the table separate the two zones. The 36 inch main path loops around the sofa to the kitchen, and the closet door swing stays clear.
A compact 10 by 20 foot studio
Space is tight, so zones are layered. The bed is a twin daybed against the long wall, acting as a sofa in the daytime with back cushions. A fold-down or wall-mounted table, installed with permission, serves as the desk and the dinner table, and a stool slides underneath. A tall, narrow shelf anchored to the wall near the door holds shoes and bags. The zones are defined with light only: a warm lamp by the daybed, a clip lamp on the table and a ceiling fixture on a dimmer for the center. A runner rug along the path adds one more guide for the eye. The clear floor in the middle stays open for stretching or exercise.
Safety notes you should never skip
- Exits first: a divider must never block the door, the window or the route to the exit. Keep a clear line from the bed to the door.
- Anchor tall furniture: bookcases, wardrobes and tall shelves can tip. Anchor them to the wall studs with the hardware the maker supplies, or choose lower pieces if you cannot anchor. Ask your landlord before drilling, and never drill without permission.
- Electrical load: do not daisy-chain extension cords, cover cords with rugs or run them through doorways. Use only as many devices as the circuit can handle.
- Heat and ventilation: keep space around radiators, vents and heaters. Do not hang fabric near a heat source. If you paint, use low-VOC paint, open windows and let the room air out as the product directions advise.
- Fire safety: keep smoke and carbon monoxide alarms uncovered and within sight. A tall divider can block the sound or the airflow around an alarm, so check after you rearrange.
- Lease rules: read what your lease says about ceiling tracks, hooks, paint and alterations. A removable solution is safer than an installation you are not sure about.
Mistakes that undo a good zone plan
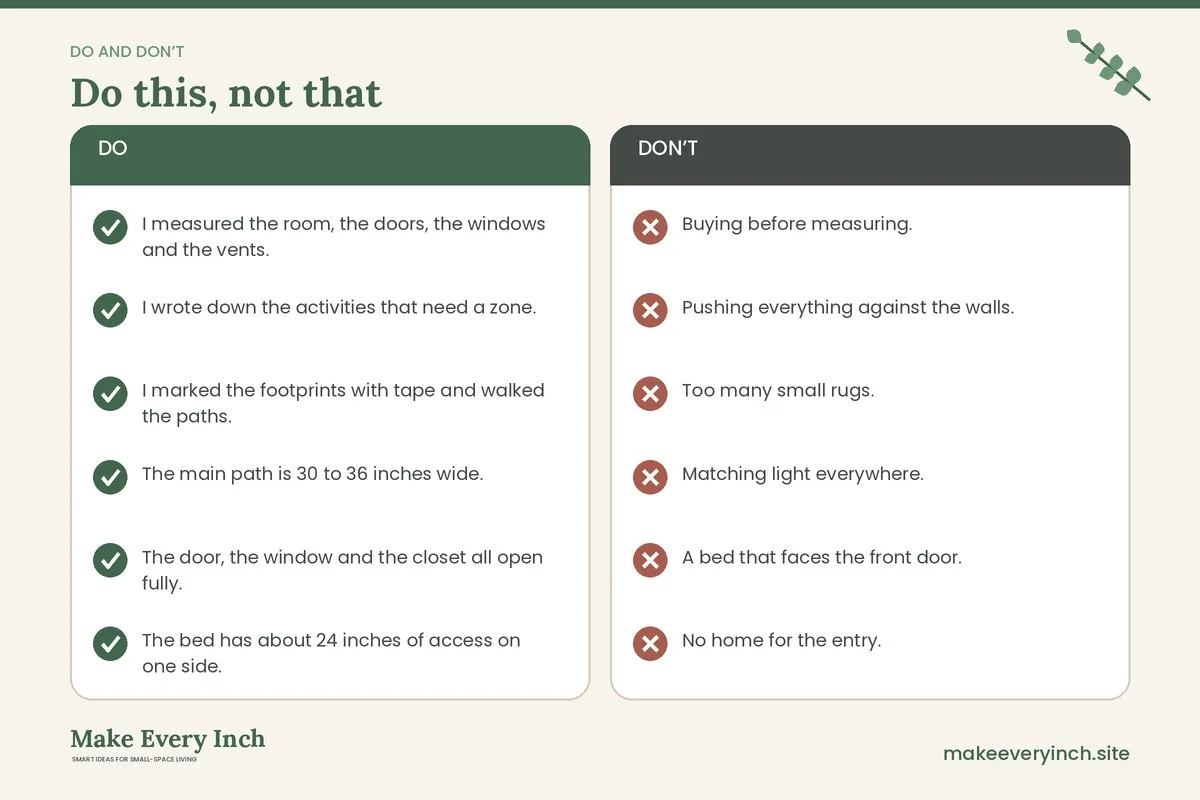
- Buying before measuring. A bookcase that is 2 inches too wide for the gap blocks the path.
- Pushing everything against the walls. It leaves a hollow center and looks like a waiting room. Floating one piece creates structure.
- Too many small rugs. They make the floor look busy and trip you up.
- Matching light everywhere. One bright ceiling light flattens the zones. Layer lamps at different heights.
- A bed that faces the front door. If you can, angle the bed or add a screen so the first thing a guest sees is not your pillow.
- No home for the entry. Without hooks and a tray, coats and bags spill into every zone.
- Ignoring the closet. A zone plan without storage fails. See our ideas on small space organization and vertical storage.
A weekend plan to set up your zones
Friday evening: measure and plan
Measure the room, mark door swings, and draw the plan. Cut the furniture templates and choose the arrangement. Decide where each zone starts and ends.
Saturday morning: edit and clear
Remove anything that does not belong to a zone. Sort belongings by zone, so the desk things go to the work zone and the bedding goes to the sleep zone. Our guide to decluttering rules for small homes can help.
Saturday afternoon: move the big pieces
Tape the footprints on the floor and live with them for a few hours. Move the bed, the sofa and the table last, once you have checked the path. Ask a friend to help with the heavy items, and use sliders to protect the floor.
Sunday: add the soft layers
Lay the rugs, set the lamps and hang any curtain you have permission for. Add a basket or tray to each zone as its storage home. Walk the room at night with just the lamps on, and adjust any glare.
Zone checklist
- I measured the room, the doors, the windows and the vents.
- I wrote down the activities that need a zone.
- I marked the footprints with tape and walked the paths.
- The main path is 30 to 36 inches wide.
- The door, the window and the closet all open fully.
- The bed has about 24 inches of access on one side.
- Each zone has its own light source.
- Each zone has a home for its belongings.
- Tall furniture is anchored, or it is low and stable.
- Cords are tidy and no outlet is overloaded.
- I checked my lease before drilling, painting or installing anything.
- Smoke and carbon monoxide alarms are uncovered.
FAQ
How many zones can a studio have?
Most studios work well with three to five: sleep, living, work or eat, entry and storage. If the room is under 300 square feet, combine zones, such as the work and dining zone, rather than trying to carve out more.
Should the bed be hidden?
It does not have to be hidden, but separating it with a bookcase, a screen or a curtain helps. Even a change in light and a rug at the bed gives a sense of a separate space.
What is the best divider for a renter?
Freestanding pieces, such as a bookcase, a folding screen or a plant shelf, require no installation. Check our guide to renter-friendly ways to divide a studio apartment for more options.
Can I use a rug in every zone?
You can, but keep it to two rugs in a small studio. If you want more definition, use light, a change in furniture direction or a runner along the path.
How do I make the room feel bigger while still using zones?
Choose low, open dividers, keep the main path clear and use consistent colors. Our post on studio apartment ideas for making space feel bigger explains the visual side.
Where should the desk go?
Near a window and an outlet, facing the room or the wall depending on your focus needs. If you share the table with meals, store work items in a lidded box that vanishes at dinner.
Keep going: Keep planning with our studio apartment ideas guide, best desks for small apartments and small apartment living room ideas for studios.
Save this guide for later
Pin the ideas you like to Pinterest so you can come back to them when you plan your space.