Small Living Room Before and After Ideas: 4 Makeovers with Sizes
Quick answer: A good small living room before after plan changes the layout first, then the light, then the storage, and only then the decor. Measure the room, tape new positions, keep walkways at 30 to 36 inches, anchor tall furniture and ask permission before drilling. Photograph the room from the same doorway spot before and after so you can see what actually improved.
Small living room before after ideas are useful for one reason: they show which changes matter. A pretty room tour can hide the choices that did the work, such as moving a sofa 8 inches, raising a curtain rod or swapping a deep media unit for a shallow one. This guide does the opposite. It walks through four example makeovers, each described with the starting problem, the room size, the steps in order and the measurements that changed. The scenarios are illustrative plans built from common room types, not records of specific homes, so adapt the numbers to your own space. You will also find a table that compares the changes, advice on photographing your own before and after, safety notes, a weekend schedule and a checklist. For the wider topic, start with our main guide to small living room ideas. If you want to diagnose problems before you plan a makeover, the companion post on small living room mistakes that waste space is a good first read.
How to set up your own before and after
A before and after is only convincing if the two photos are comparable. A few habits make that easy.
Take the “before” properly
Stand in the same spot, usually the doorway, and shoot at chest height with the camera held level. Take one wide shot, one from the opposite corner and one of each wall. Turn on the lights you normally use, and open the curtains the way you usually have them. Do not tidy first. The goal is an honest record, including the pile on the chair and the cable behind the sofa.
Write down the numbers
Photos do not show dimensions, so make a short list: room length and width, ceiling height, the widths of doors, the position of windows and outlets, and the footprint of each big piece. Note how wide the main walkway is and which spots feel cramped. A year from now, these notes will tell you why the room felt the way it did.
List what bothers you
Write three to five complaints in plain language. Examples are “I turn sideways to get past the table”, “the room is dark in the afternoon” and “nothing has a home.” Each complaint becomes a task, and at the end you can see which ones you solved. Makeovers that start with a goal tend to finish, while makeovers that start with a shopping list tend to sprawl.
Take the “after” the same way
Return to the same spot and shoot the same angles at the same time of day. Put the two photos side by side and look at the floor, the light and the walls. If you cannot see a difference, the room probably needs a bigger change, usually in layout.
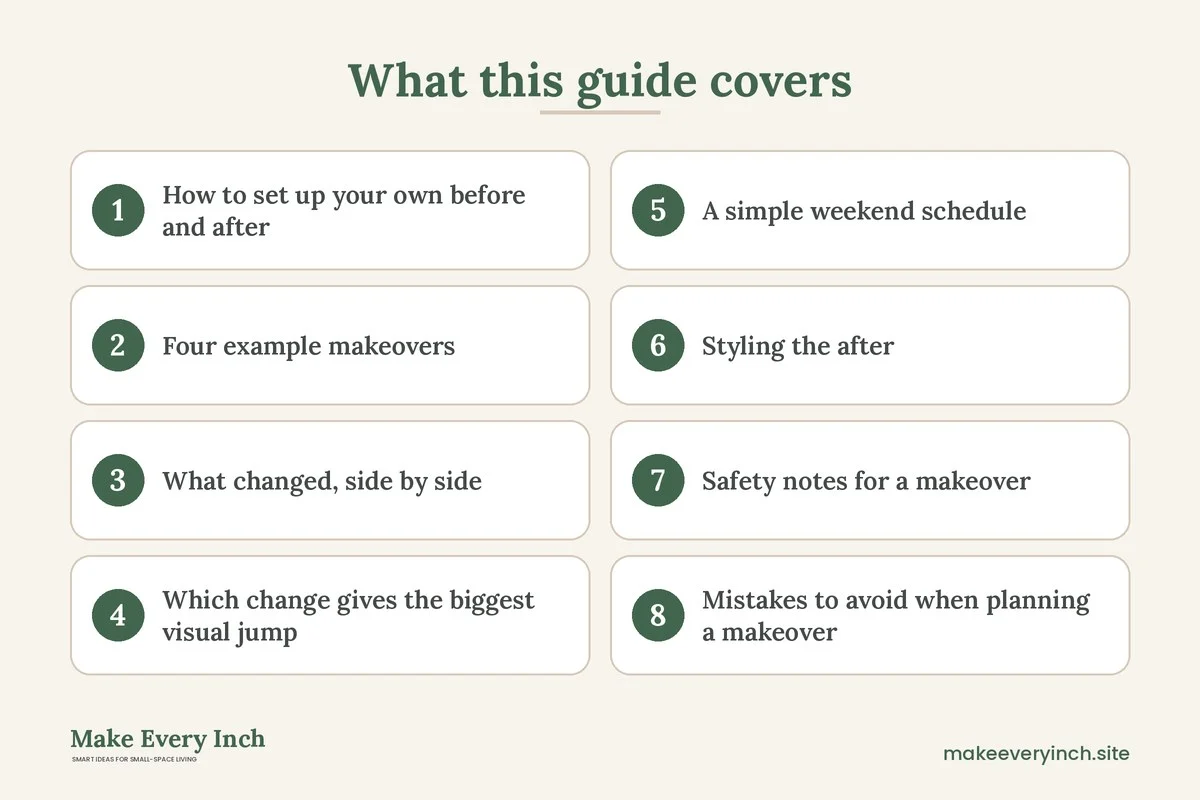
Four example makeovers
Example 1: The 10 by 12 foot room with a bulky sofa
Before
A 10 by 12 foot rectangular room has a deep 88-inch sofa against the long wall. A large coffee table sits 10 inches in front of it, and a TV unit about 18 inches deep stands on the opposite wall. The walkway between the table and the unit is about 20 inches. A small rug sits in the middle with no furniture on it. The room feels narrow and the family often steps over the table.
The changes, in order
1. Edit first. Remove two side chairs that nobody uses, a stack of magazines and a basket of cables. This frees about 6 square feet.
2. Test a new layout with tape. Mark an apartment-size sofa of 76 to 80 inches with a seat depth near 22 inches. Mark a nesting pair of tables in place of the big table.
3. Swap the TV unit. Replace the 18-inch unit with a 12-inch shelf or a slim wall-mounted solution. If the screen goes on the wall, use a bracket rated for the weight, fix it into studs or the correct anchors and get permission if you rent.
4. Replace the rug. A 5 by 8 foot rug that reaches under the front legs of the sofa pulls the zone together.
5. Add light. A floor lamp beside the sofa and a table lamp on the shelf remove the dark corner.
After
The main walkway grows from 20 to about 34 inches. The sofa takes up less width, so a 14-inch side table fits at one end. The room reads as one calm seating zone rather than a set of separate pieces. The biggest gain comes from the sofa and the unit. The rug and lamps are what make it look finished.
Example 2: The window wall that was blocked
Before
An 11 by 13 foot room has one window on a short wall. A tall bookcase stands in front of it, and the sofa has its back to the glass. Curtains hang from a rod mounted directly above the frame. The room feels dim by mid-afternoon, and the ceiling looks low.
The changes, in order
1. Move the bookcase. Relocate it to the blank wall beside the door, where a shelf 10 to 12 inches deep fits without crowding the entry. Anchor it to the wall studs with the supplied bracket or an anti-tip strap. In a rental, ask the landlord before drilling.
2. Place a low console below the window. Choose a console at about 28 inches high so the glass remains visible. It holds a lamp and a basket.
3. Raise the curtains. Mount the rod within 4 to 6 inches of the ceiling, extending 8 inches beyond the frame on each side. Hang floor-length panels in a light color so the walls feel taller. See small space curtain ideas to add height for fabric choices.
4. Add a mirror. Place a mirror on the opposite wall, angled so it reflects the window and not the clutter. Our guide to small room mirror placement ideas explains where to hang it. Secure it with hardware rated for its weight, and do not hang a heavy mirror above a seat on adhesive strips.
5. Turn the sofa. A quarter turn so the sofa faces the window area gives the room a view and a focal point.
After
Daylight now reaches the middle of the room, and the ceiling appears several inches higher. Because the bookcase is on the blank wall, the storage did not disappear. It moved. The cost of this makeover is mostly effort: moving furniture and raising a rod.
Example 3: The narrow room with a floating rug
Before
A 9 by 15 foot room is long and narrow, with the sofa on one long wall and a console and TV on the opposite one. A small rug sits in the middle. People walk down a corridor between the furniture, and the far end is dark and unused. The room feels like a hallway with a sofa in it.
The changes, in order
1. Break the corridor. Pull the sofa about 4 inches from the wall and angle an armchair at 20 to 30 degrees. Angled seats interrupt the straight line and create a conversation area.
2. Zone with a rug. Replace the small rug with a 5 by 8 foot version so both the sofa and chair sit on it. Read small room rug ideas to define zones if you want to choose the pattern and size.
3. Use the dark end. Place a slim shelf or a desk against the far wall, with a lamp. The dark end becomes a useful nook. See narrow living room ideas for more layouts.
4. Add height. Hang curtains from near the ceiling and stand a floor lamp in the corner.
5. Tame the cables. Gather cords with clips and covers, and run them along the baseboard, not across the floor. Our guide on renter-friendly ways to hide cords has tidy methods that do not damage the wall.
After
The room now has two zones: a seating area near the door and a small work or reading nook at the far end. The center path stays at about 32 inches. Because the armchair is angled, the room no longer reads as a tunnel.
Example 4: The renter with a no-drill lease
Before
A rented 10 by 11 foot room has plain white walls, a landlord rule against nails and a sofa that sits in the middle of the room because the owner could not decide where to put it. There is no storage, so shoes, bags and spare blankets gather in one corner. Nothing may be fixed to the walls.
The changes, in order
1. Photograph the walls. Record their condition before you start, so you can show that nothing changed.
2. Anchor tall furniture without drilling where possible. A freestanding shelf unit can be secured with a non-drill method only if the product is designed for that. If a bookcase can tip, ask the landlord whether an anti-tip bracket is allowed. If the answer is no, choose a low, wide shelf unit instead of a tall one.
3. Use leaning art. Lean one large print or mirror on a low console. A strap or a safety stop keeps a heavy mirror from sliding. Our no-drill storage ideas for renters have more options.
4. Add storage. Use a bench or an ottoman with a lid, such as the ones described in our guide to the best storage ottomans. Put a basket for blankets beside the sofa and a tray for shoes by the door.
5. Use removable wall finishes carefully. Peel-and-stick wallpaper on one wall adds color, but test a hidden spot first, and check the lease. See removable wallpaper ideas.
6. Define the layout. Push the sofa 3 inches off the wall, place the rug under the front legs and set a lamp at each end.
After
The corner is clear, the blankets and shoes have homes and the wall behind the sofa has a focal point. Nothing was drilled, and everything can be moved out at the end of the lease. For more, read our guide on renter friendly before and after small space ideas.
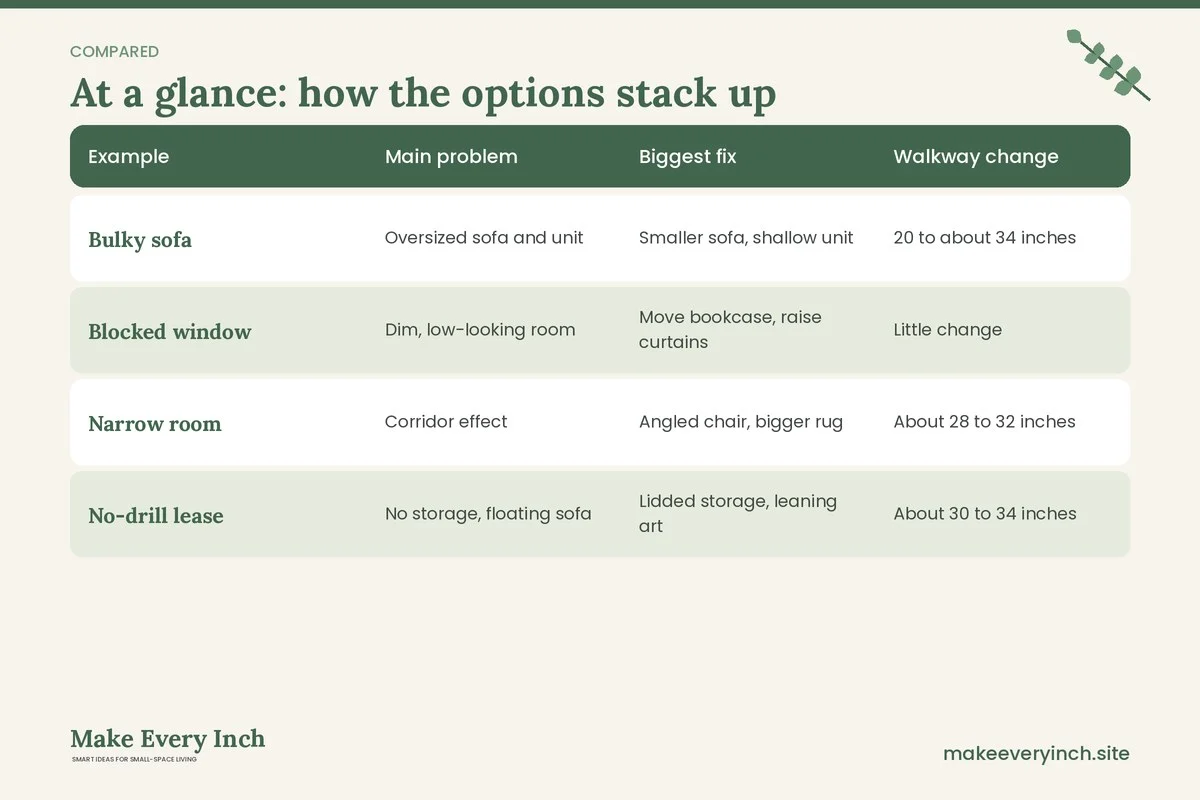
What changed, side by side
The table compares the four examples. Time and effort are rough ranges, and your own results will vary with the size of the room and the help you have.
| Example | Main problem | Biggest fix | Walkway change | Effort |
|---|---|---|---|---|
| Bulky sofa | Oversized sofa and unit | Smaller sofa, shallow unit | 20 to about 34 inches | Medium |
| Blocked window | Dim, low-looking room | Move bookcase, raise curtains | Little change | Low |
| Narrow room | Corridor effect | Angled chair, bigger rug | About 28 to 32 inches | Low to medium |
| No-drill lease | No storage, floating sofa | Lidded storage, leaning art | About 30 to 34 inches | Low |
Which change gives the biggest visual jump
If you can only do three things, these are the ones that usually show most clearly in a photograph.
Clear the floor
A visible floor reads as space. Remove loose items, fold the throw, tuck cables out of sight and keep a strip of floor visible under furniture. This costs nothing and takes minutes.
Fix the light
Open the window area, raise the curtain rod and add lamps at two or three heights. A warm bulb of around 2700 kelvin gives an evening glow. Light is one of the most obvious differences between a before photo and an after photo.
Anchor the layout with a rug
A rug of the right size groups the furniture into a zone and makes the room look planned. It is also easy to change later.
A simple weekend schedule
A makeover does not need a month. Many of the changes above fit into two days.
Friday evening
Take the before photos, measure the room and write your complaints. Tape the new layout on the floor and sleep on it.
Saturday morning
Edit. Take out what you do not use, and pack or donate it. Then move the large pieces according to the tape. Keep the walkways at 30 to 36 inches.
Saturday afternoon
Install light and window changes: raise the rod, hang curtains, move lamps and place the mirror. If a bracket or a shelf requires drilling, check the wall for pipes and wiring, use a stud finder and follow the product’s weight limits.
Sunday
Add storage, place the rug and style the surfaces. Leave one third of each shelf empty. Take the after photos at the same time of day as the before photos, and compare them.
Styling the after
Styling is the last 10 percent, but it is what makes a photograph look finished. Keep a limited palette of two or three colors and repeat them across the room. Mix textures, such as a woven basket, a smooth ceramic and a soft throw. Put objects in odd numbers and vary the height. Keep the coffee table or tray mostly clear, with one object and one stack. Add a plant if the room gets light, and choose a variety that is safe for pets if you have them.
A few small touches make a difference. Fold the throw over one arm of the sofa, not the middle. Line up the cushions so they are all roughly the same size, with a lumbar pillow at the center. Hide the remote and the chargers in a basket. Dust before you photograph, because camera lenses pick up dust more than people expect.
Safety notes for a makeover
Moving furniture is a good time to check the room for hazards. Keep these points in mind as you work.
- Anchor tall furniture. Use anti-tip straps or brackets for bookcases, shelves and dressers, and put heavy items on the lower shelves. This matters most in homes with children or pets.
- Respect weight limits. Shelves, brackets and hooks have capacities. Stay well below them.
- Never drill without permission. In a rental, read the lease and ask in writing. Choose freestanding or tension options if drilling is not allowed.
- Check before you drill in any home. Use a detector or look up the building plan for pipes and wires, and avoid areas near switches and outlets.
- Keep electrical safe. Do not overload outlets or daisy-chain power strips. Do not run cords under rugs or across walkways, and keep lamps clear of fabric.
- Allow ventilation. Do not block vents, radiators or heaters with sofas or curtains. Leave clearance as the manufacturer recommends.
- Use low-VOC paint. If you repaint, choose a low-VOC or zero-VOC product, ventilate while it dries and keep children and pets out of the room until it is dry.
- Protect little ones. Choose rounded edges at toddler height, keep small items out of reach and avoid long cords near cribs and play areas.
- Wet areas. If your living room joins a kitchen or bathroom, use outlets with ground-fault protection near water, and keep lamps and chargers away from sinks.
Mistakes to avoid when planning a makeover
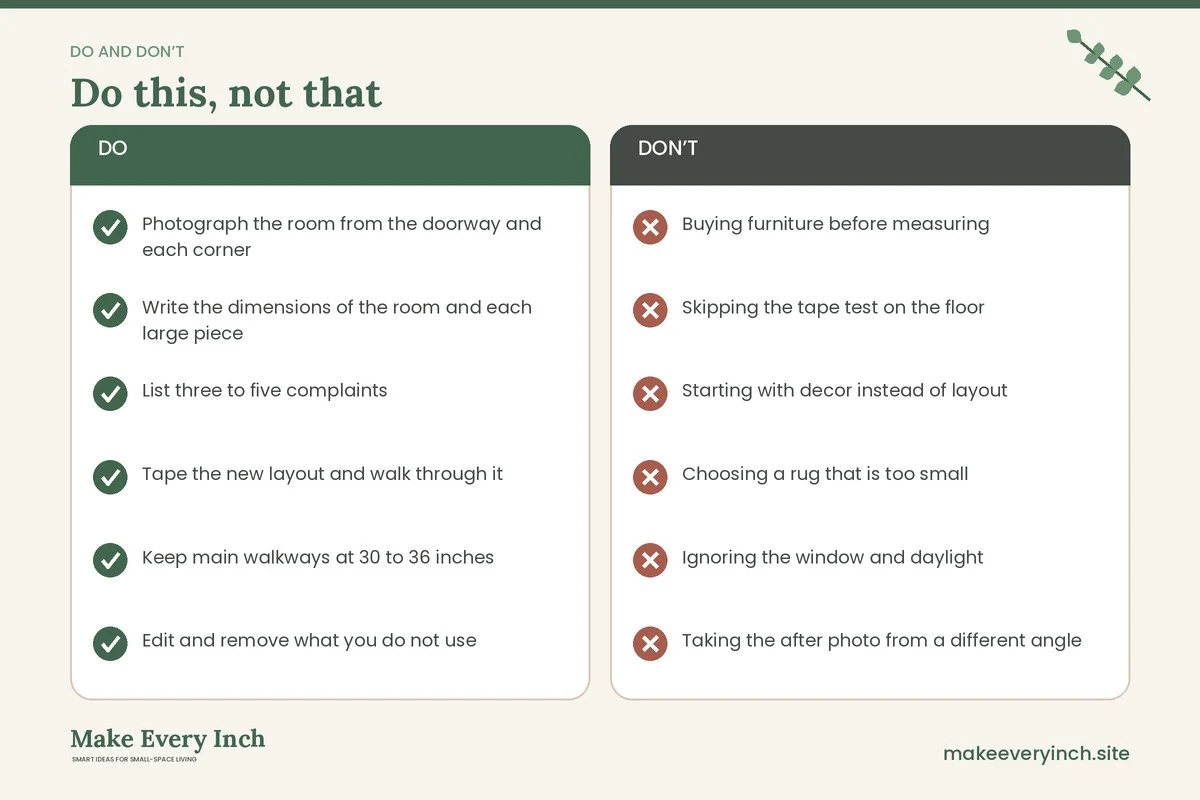
- Buying furniture before measuring
- Skipping the tape test on the floor
- Starting with decor instead of layout
- Choosing a rug that is too small
- Ignoring the window and daylight
- Taking the after photo from a different angle
- Forgetting storage for the things you edit out
- Hanging heavy items on adhesive strips
- Drilling without checking the lease or the wall
- Doing everything at once and not living with each change
Budget approach
A makeover can run from free to expensive, depending on the choices. Layout changes, editing and tape tests cost nothing. Light, curtains and a rug are modest purchases that you can often find second-hand. A new sofa or a built-in storage solution is the largest outlay, so leave it until the end and only if the tape test says the current piece does not fit. If money is tight, spend on the thing that fixes your biggest complaint, and live with the rest for a month. Our guide on small living room makeover ideas and the post on before and after budget small space makeovers have more.
Checklist: your own before and after
- Photograph the room from the doorway and each corner
- Write the dimensions of the room and each large piece
- List three to five complaints
- Tape the new layout and walk through it
- Keep main walkways at 30 to 36 inches
- Edit and remove what you do not use
- Raise curtains and clear the window
- Add lamps at different heights
- Choose a rug that reaches under front legs
- Anchor tall furniture and check weight limits
- Ask permission before drilling in a rental
- Leave clearance around vents and heaters
- Use low-VOC paint if you repaint
- Style with a limited palette
- Retake the photos from the same spot
- Compare the two and note what worked
FAQ
What should I change first in a small living room makeover?
Start with the layout and the clutter. Edit what you do not use, then move the furniture to open the walkways and the window. Decor comes last.
How do I take good before and after photos of a living room?
Stand in the same spot, usually the doorway, hold the camera level and use the same lighting and time of day. Take a wide shot and one from the opposite corner.
Can I do a small living room makeover in a weekend?
Many changes fit into a weekend: editing, moving furniture, raising curtains, adding lamps and placing a rug. Larger items, such as a new sofa, may take longer to source.
How much walkway do I need in a small living room?
A main path of 30 to 36 inches is comfortable for most people. A secondary path can be 24 inches.
How do I make a makeover without drilling?
Use leaning art, freestanding shelves, tension rods, plug-in lights and lidded storage. Ask your landlord before fixing anything to the wall, and do not hang heavy items on adhesive.
What makes the biggest difference in a before and after?
Usually a clear floor, better light and a rug of the right size. Furniture scale matters too, especially the sofa and the media unit.
Is paint a good way to change a small living room?
Paint can change the feel quickly. Choose a low-VOC product, test a small patch in different light and check the lease if you rent.
How long should I live with a change before I decide?
A week is a good rule. Notice whether the walkway feels easy, whether the light works at different hours and whether things have homes.
Keep going: Keep going with our small living room mistakes that waste space, small living room layout ideas and small living room storage ideas.
Save this guide for later
Pin the ideas you like to Pinterest so you can come back to them when you plan your space.